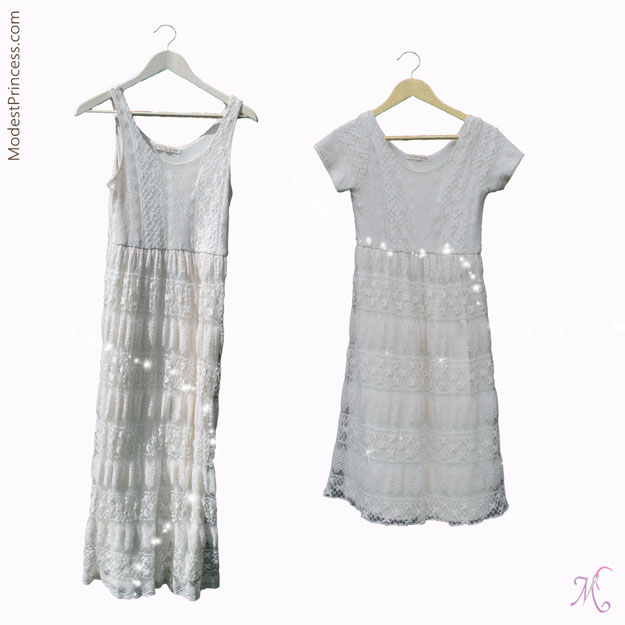
This Lace Dress just needs sleeves to #MakeitModest and the length was a bit awkward- not quite full length so we decided to shorten it and thus we’d have the matching lining and lace fabric to make #CapSleeves.
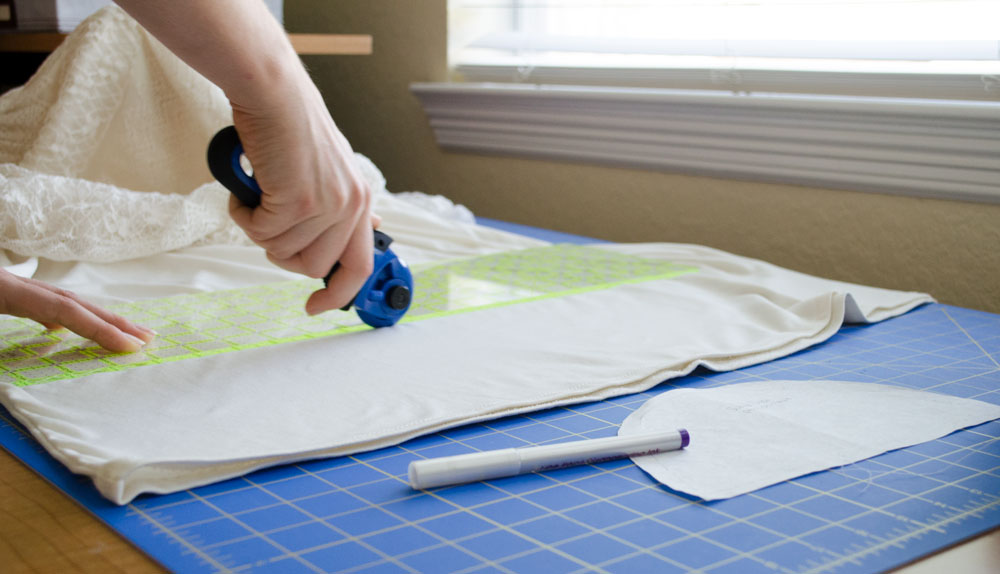
Having measured how much shorter we wanted to make the dress (and made sure that would be enough fabric to make the cap sleeve, we cut the lining first.
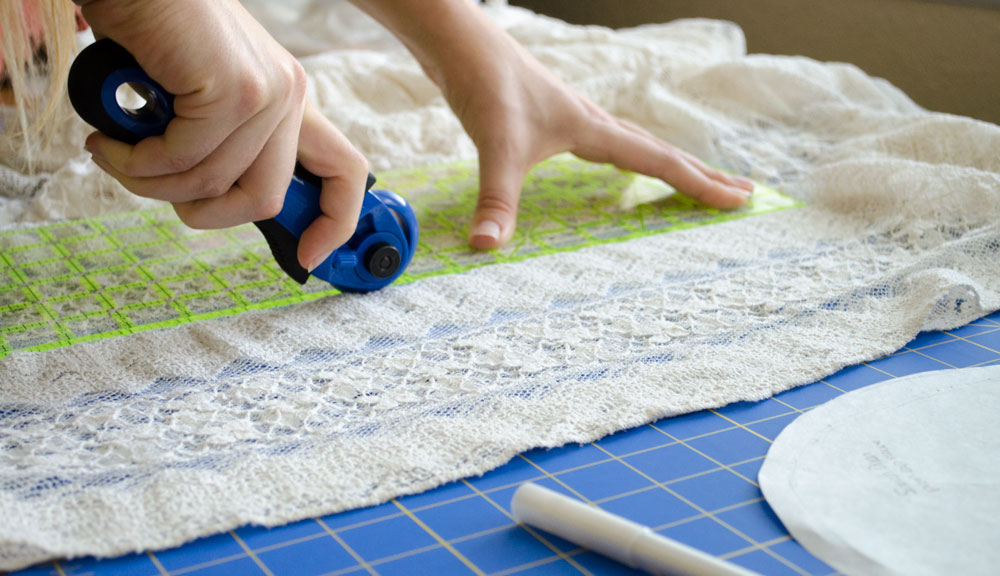
Next we cut the lace layer, making sure to leave it a little longer than the lining.
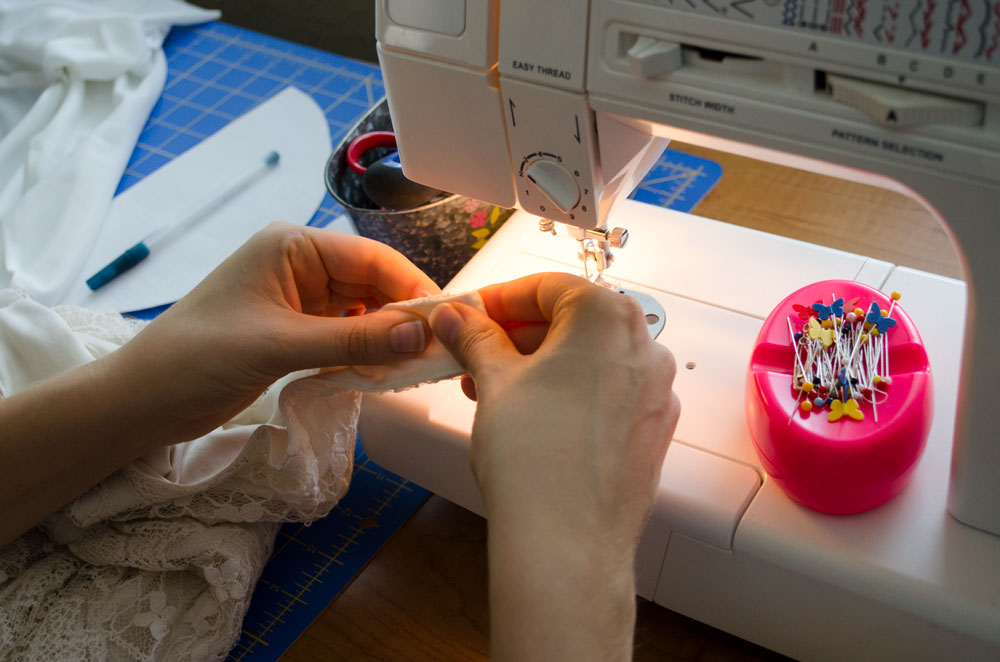
Having tried a sample cap sleeve we determined the arm hole was a little too large for the cap sleeve and the neckline was bit low anyways so we shorted the straps a little by simply sewing across the top of them making them about an inch shorter.
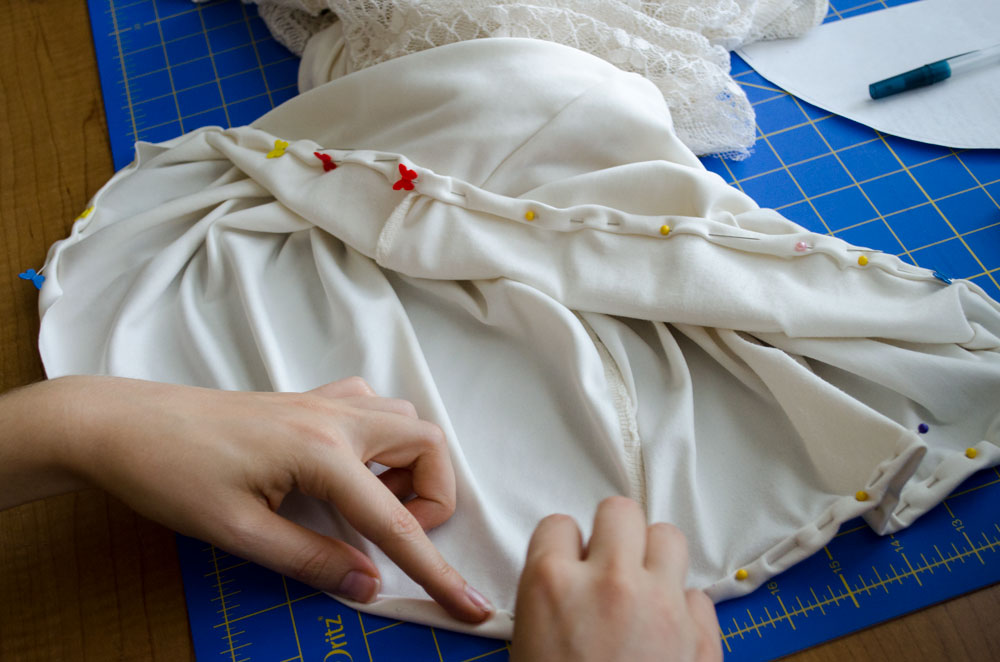
We now had to hem the bottom, we pinned and sewed the lace lining – not the easiest to sew because of the stretchy slippery fabric.
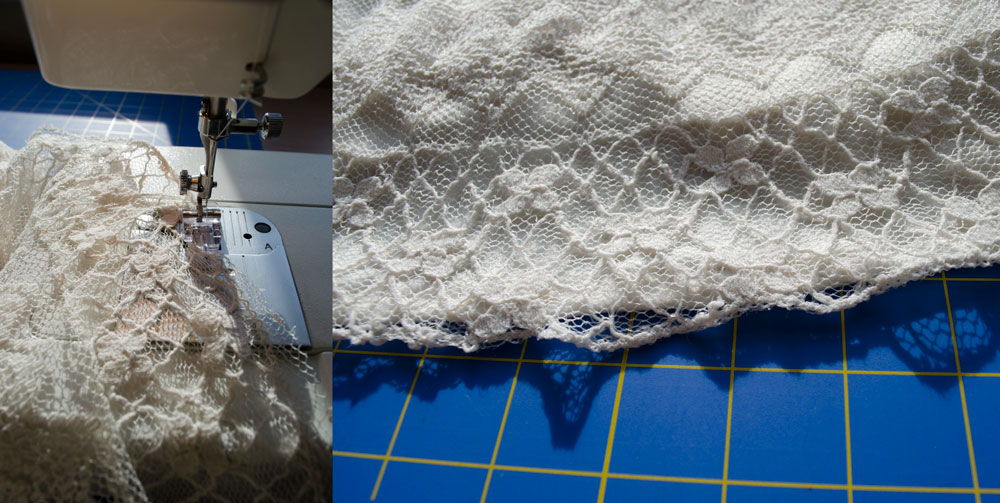
I thought the lace lining would be tricky to hem, but using a zigzag stitch and one simple fold over it was actually really easy. It helped that when we decided where to trim the lace we decided to cut at the bottom of one of the panels of pattern.

We then placed the cap sleeve pattern on the surplus fabric cut from the bottom of the dress, using the bottom hem to line up with the sleeve edge so we wouldn’t have to hem that.
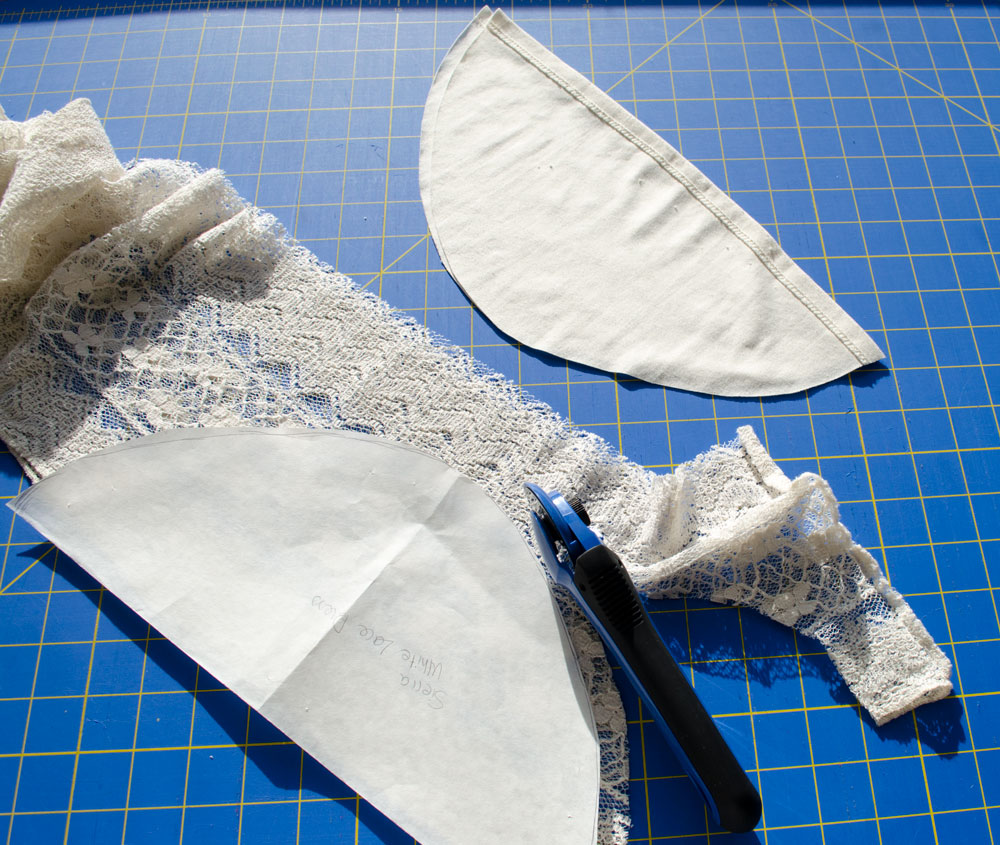
We cut two sleeves out of the lining, followed by two out of the lace (also using the original hem as the sleeve hem).
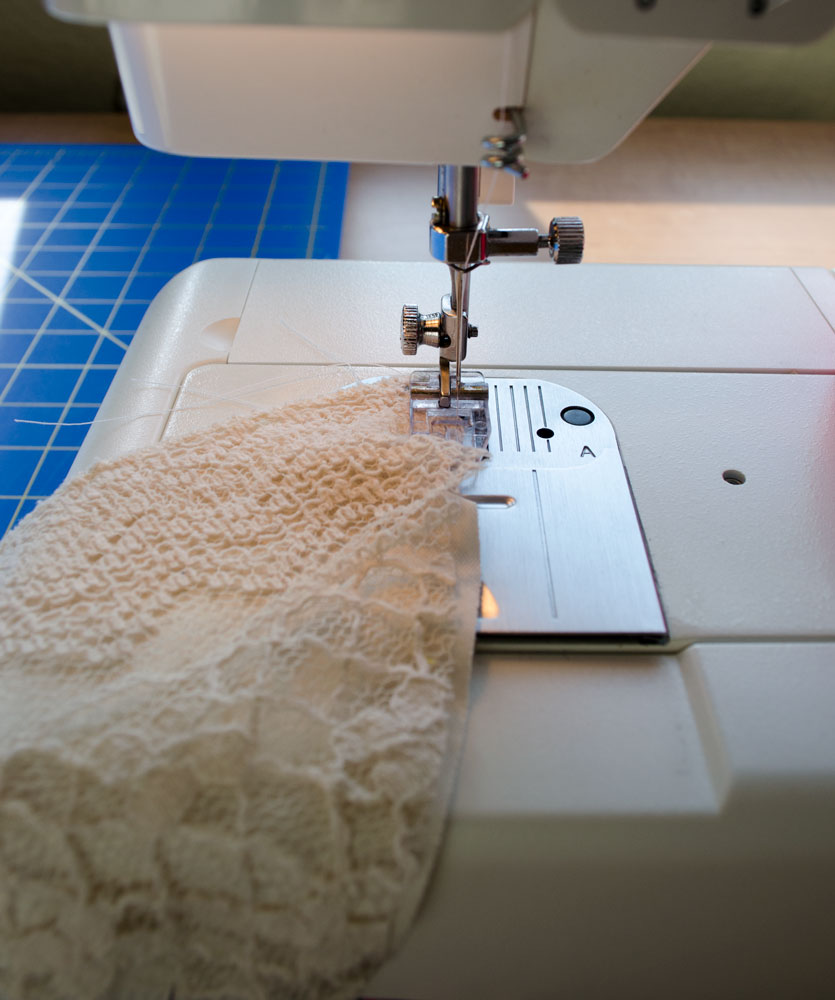
We then decided to sew the two layers of sleeve together with a zigzag stitch to make sure they stayed together.
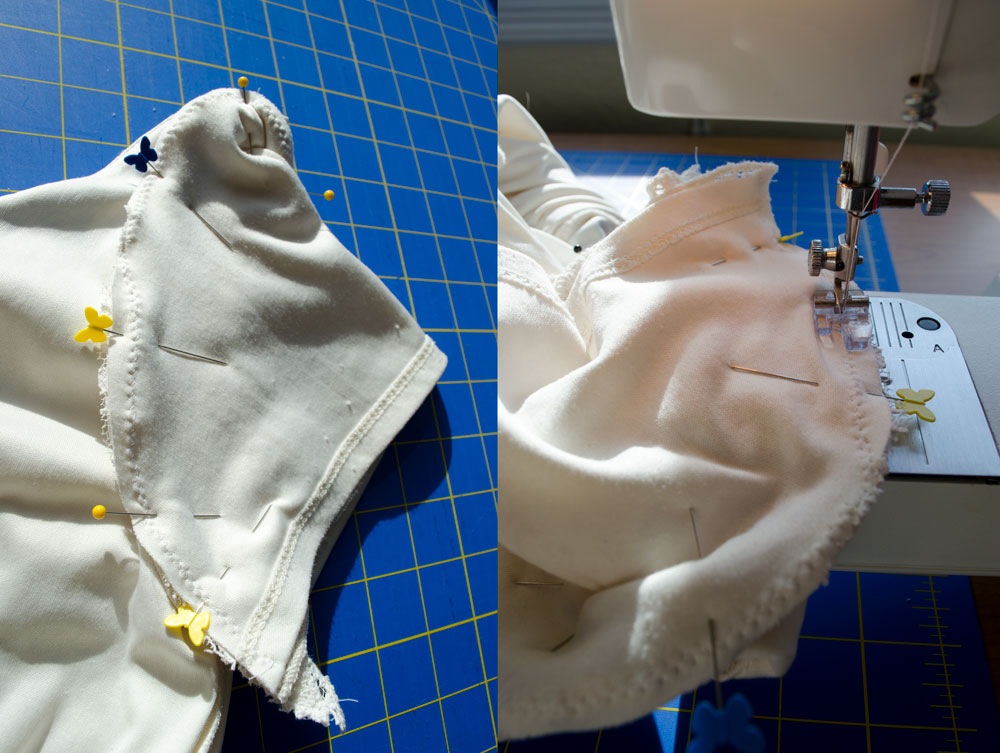
Now the sleeve is ready to be pinned to the arm hole of the dress. We didn’t do any seam ripping this time, lace is really hard to seam rip, so we just pinned and sewed to the edge of the original armhole (now slightly smaller because we shortened the strap). The cap sleeve was large enough that it went all the way round the arm hole with an inch or so extended which we sewed up to complete the sleeve.
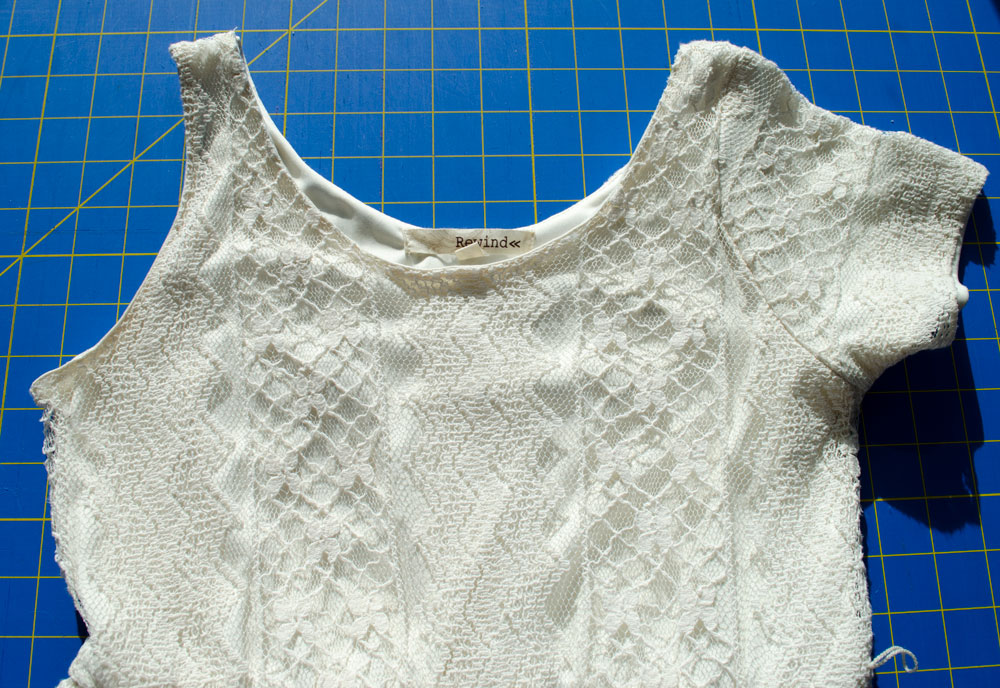
Here’s one completed sleeve, with one more to sew in.
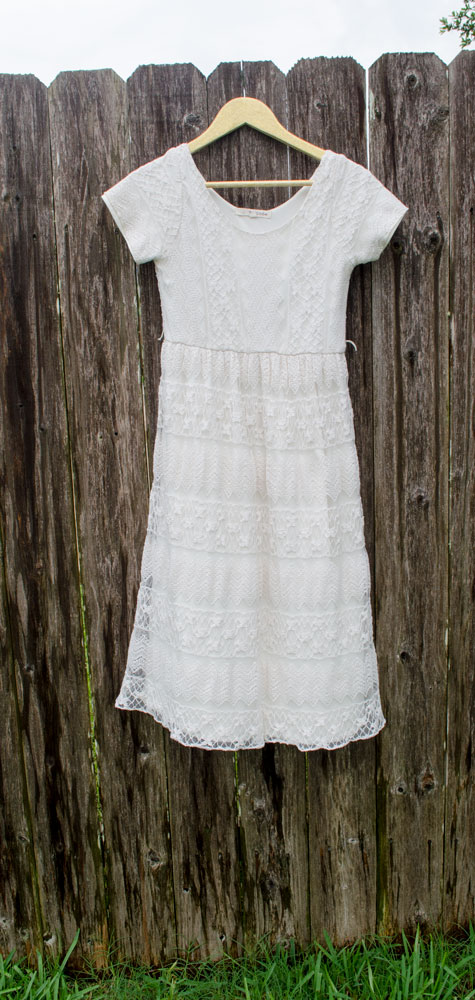
And how we have a fully lined modest lace dress!

 Skirt Extender
  Exercise Tank to Exercise Top
So, what do you think ?