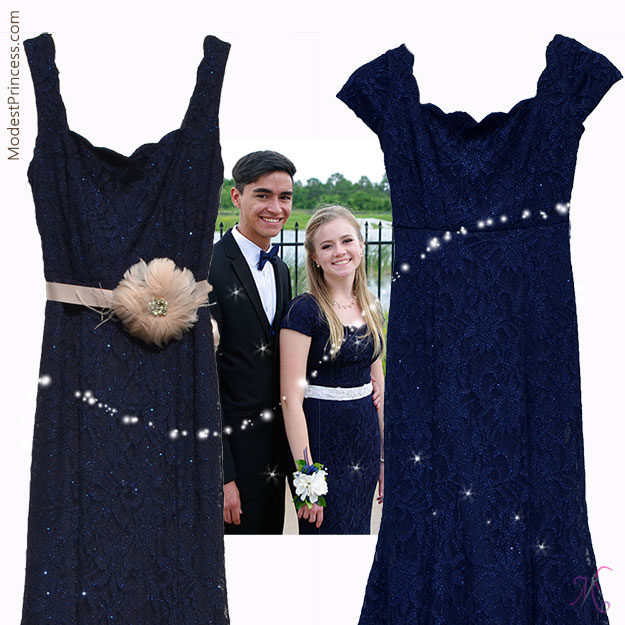
Photo by Dana Larsen
The key to adding sleeves to a dress and making them look like they were part of the original design is mainly in the choice of fabric. In this refashion I was fortunate to have the exact fabric to work with, as the dress was on clearance and Sariah bought two of the same dresses! Leaving more than enough fabric for not only one prom dress refashion but also a second with still enough left over to make a skirt.
I also discovered through this refashion that the simplest style of dress to add sleeves to is one that has straps! This is far easier than having to build up the top of a strapless dress. Here’s how I added cap sleeves to this dress:
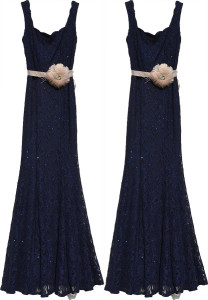
I started with two identically dresses, the fabric to make the cap sleeves is to be cut out of the bodice of the 2nd dress so that we can make a skirt out of the remaining fabric.

First I seam ripped the zipper from the bodice, and then the bodice from the lower part of the dress. I wanted to get the most possible fabric and not use any of the skirt for the cap sleeves so I also seam ripped the princess seams which gave me a couple of extra inches of width of fabric.

The neckline was too low for Sariah because the straps were too long, so first I had her try on the dress and pinned them to the desired height. I then seam ripped the top strap seam then cut off about 1 inch from each side. I next sewed the bottom layer of the straps back together, leaving the top and edges open for insertion of the cap sleeve piece.
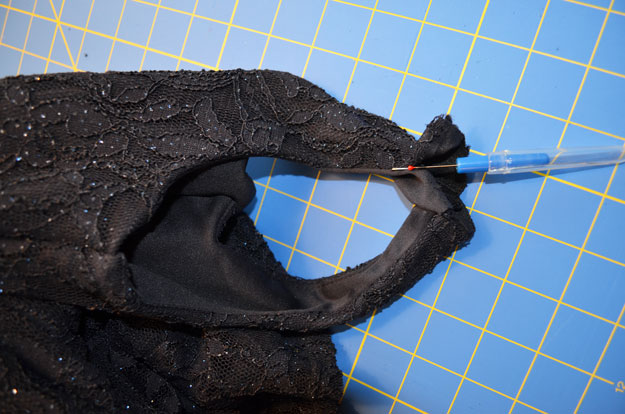
I then seam ripped the outside seam of the strap, as this is where the cap sleeve would be inserted.
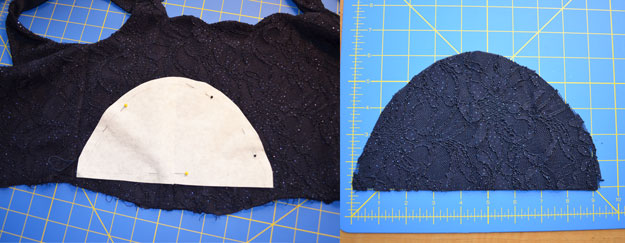
Using a cap sleeve pattern from a previous project, I cut a cap sleeve out of the bodice of the 2nd dress of both the lace layer and the lining layer.
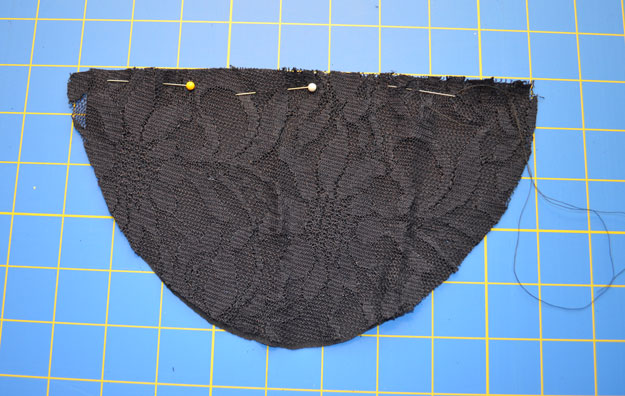
Once cut out, the first step was to place right sides together and sew the hem of the sleeve. I made sure to keep this stitching loose so it wouldn’t come out when arms were raised and the sleeve stretched.
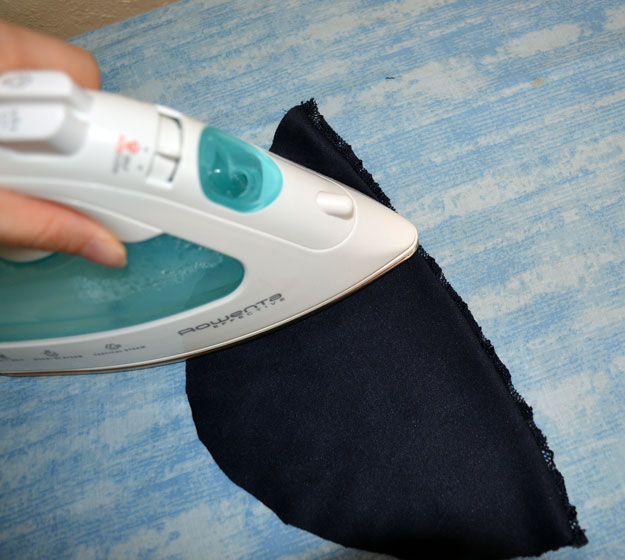
I then ironed the seam so that the lace would slightly overlap the lining creating a more elegant finished edge to the sleeve.
The cap sleeve was then ready to be pinned into the opened seams of the strap. I first pinned both the top and bottom layers of the cap to the lining layer of the strap and sewed the inside seam of the sleeve.
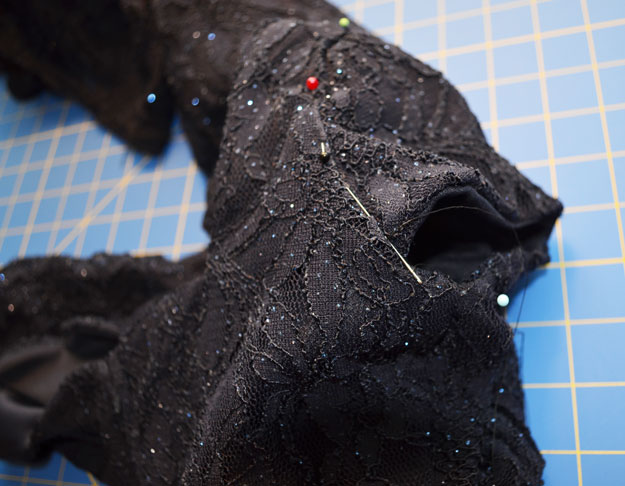
Next I folded the lop lace layer of the strap over the cap sleeve and stitched it into place.
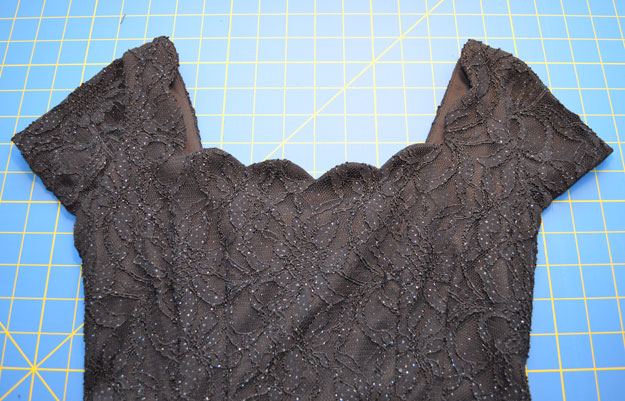
That’s it! By far the easiest adding sleeves I’ve ever done and with the matching fabric they really look like they belong and certainly made the dress more beautiful.


 Lace Overlay Prom Dress
  Adding a T-shirt to a Strapless Yellow Dress
Great job. It looks like it did go together. Thanks for sharing. It gave me a visual for my sleeve pattern design. Jnetti
Thanks for the comment – I’d love to see how yours turned out!