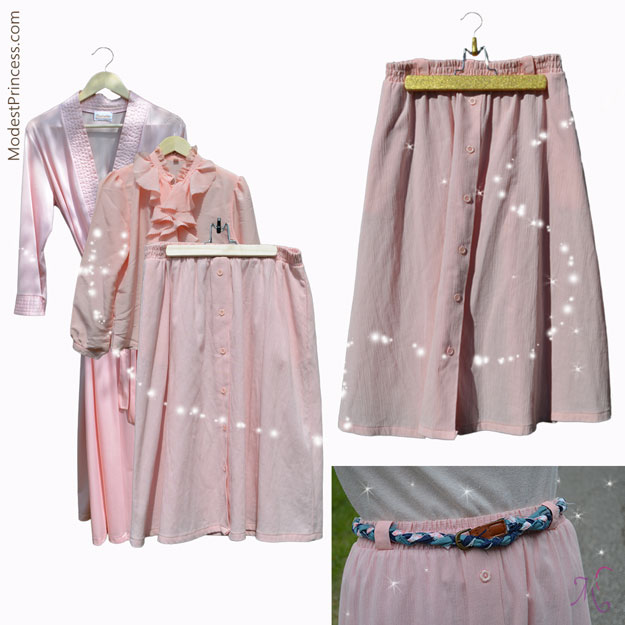
Sometimes all that is needed to upcycle is to add details and of course make the clothing item fit! I originally picked up this 25cent skirt for the buttons but Sierra liked the skirt and so with a few alterations we made it work for her.
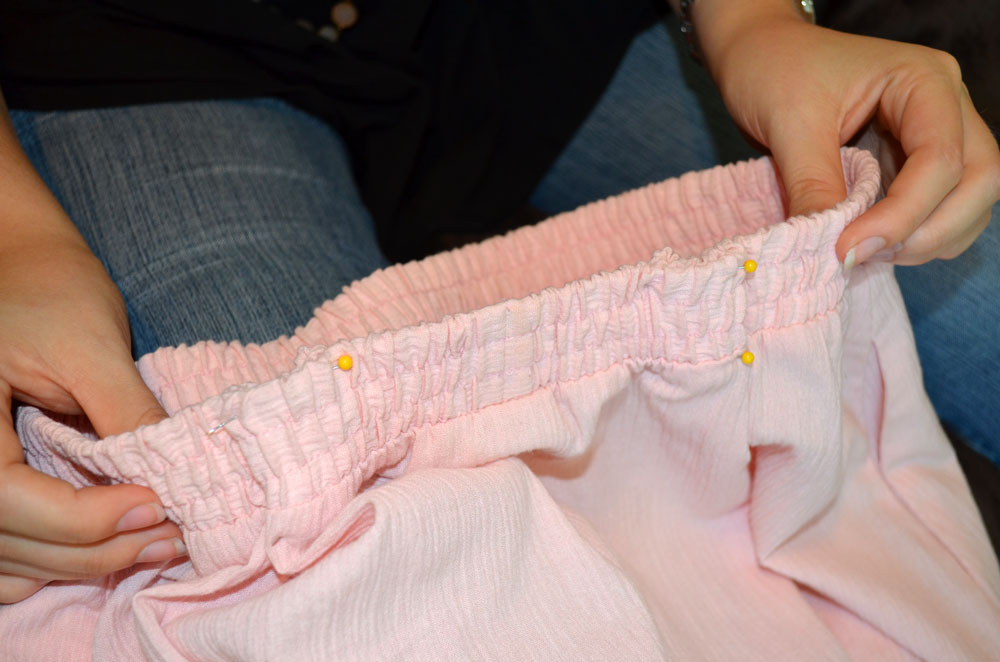
The skirt was too big at the waist, so we did an accordion fold at the back and stitched it in place. For this skirt we did the folds wider apart as that looked the best. We stitched around all of the fold, top and sides to help it lay flat.
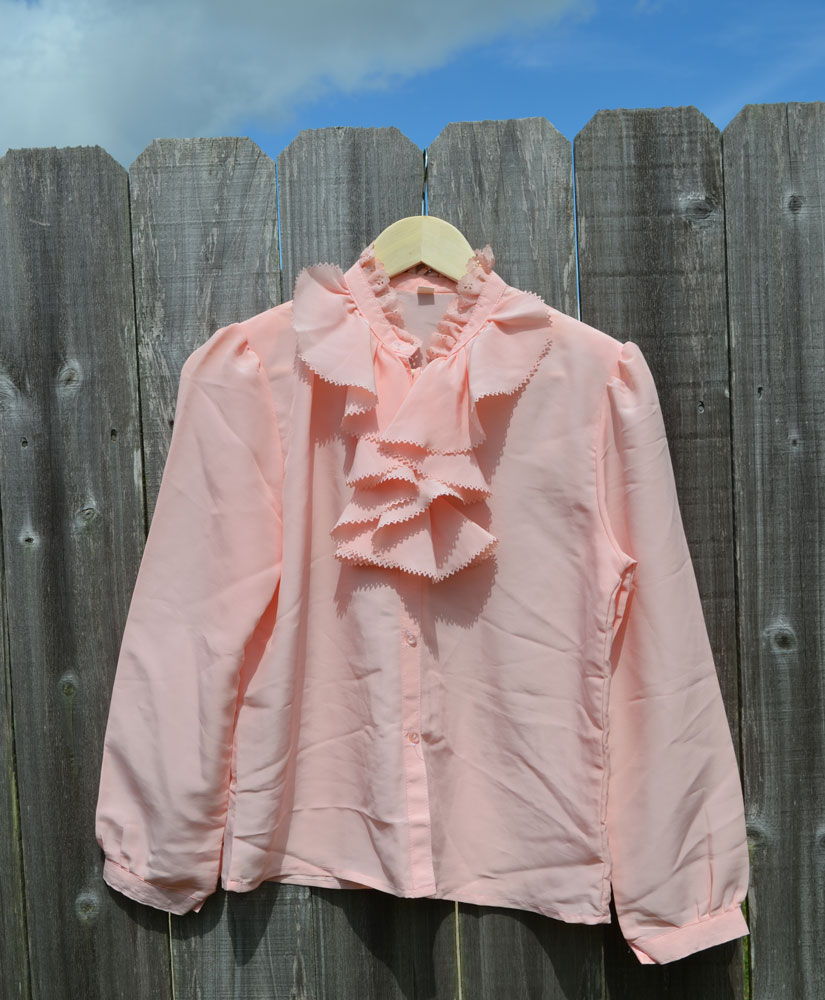
Sierra wanted to wear a belt with the skirt and it didn’t come with belt loops – so we added them. We had a 25cent shirt from the thrift outlet in a very similar color (it’s one of her favorite colors and so she always gravitates towards it).

We decided to use the button strip from the shirt to save some steps in creating the belt loops. We first removed the buttons and then seam ripped the button strip from the shirt.
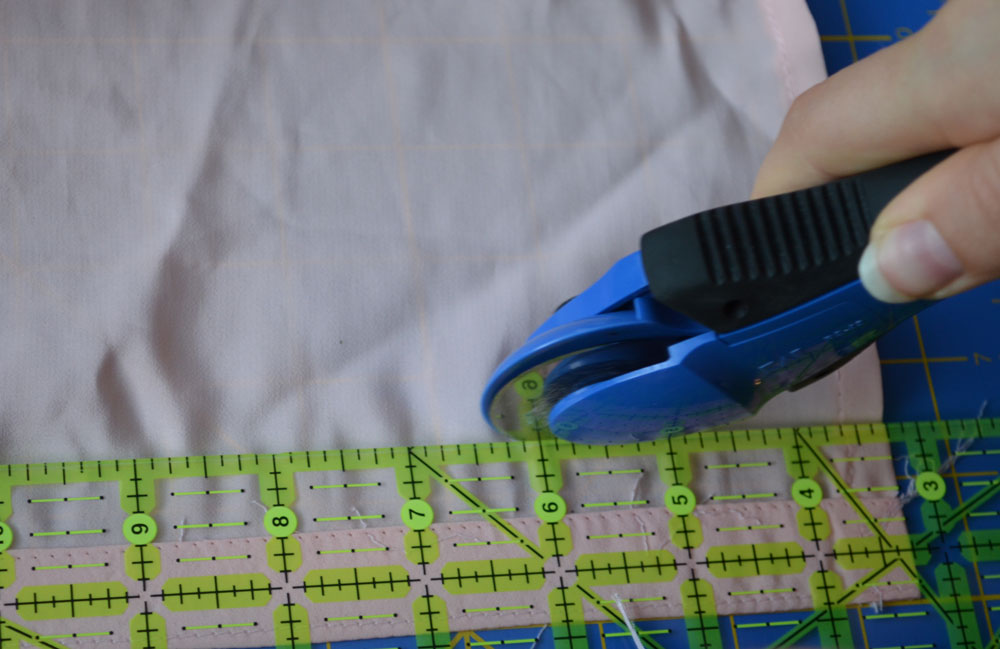
Cut the button strip off the shirt with added seam allowance. One edge is already finished.

We folded in the seam allowance to match the seam ripped edge of the button strip and ironed it then sewed the unfinished edge of the button strip, so that both edges are now finished. We then cut this long button strip into 5 pieces because we wanted 5 belt loops.
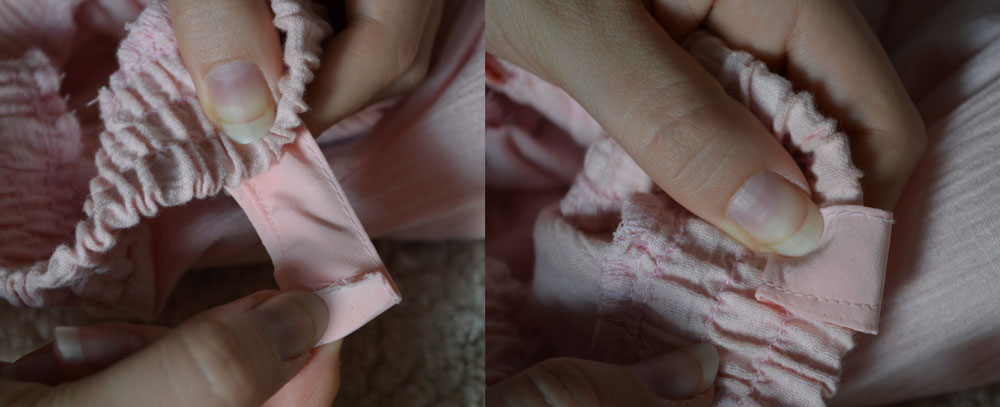
We folded the edge of the belt loop and sew to the bottom of the front waistband. Then folded the edge of opposite end of the belt loop and stitched to the inside of the skirt waistband, repeating for all 5 belt loops.
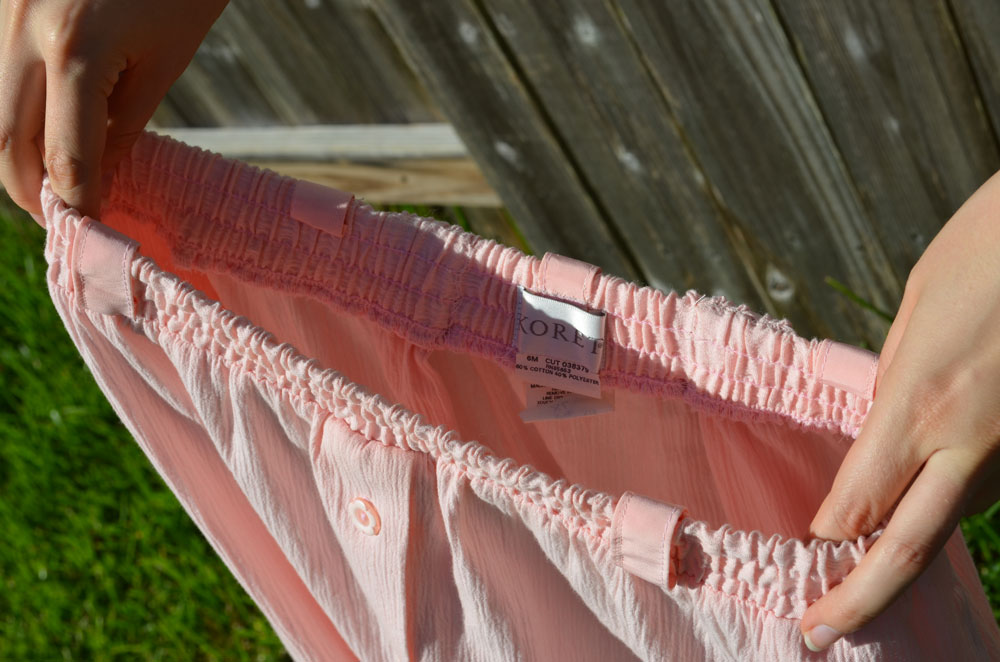
The color match is pretty impressive and now a belt can be worn with the skirt and even without a belt the loops add a little extra style. The skirt now fits, and has belt loops but would need to be worn with a slip because it’s sheer, we decided instead to add a lining to the skirt.
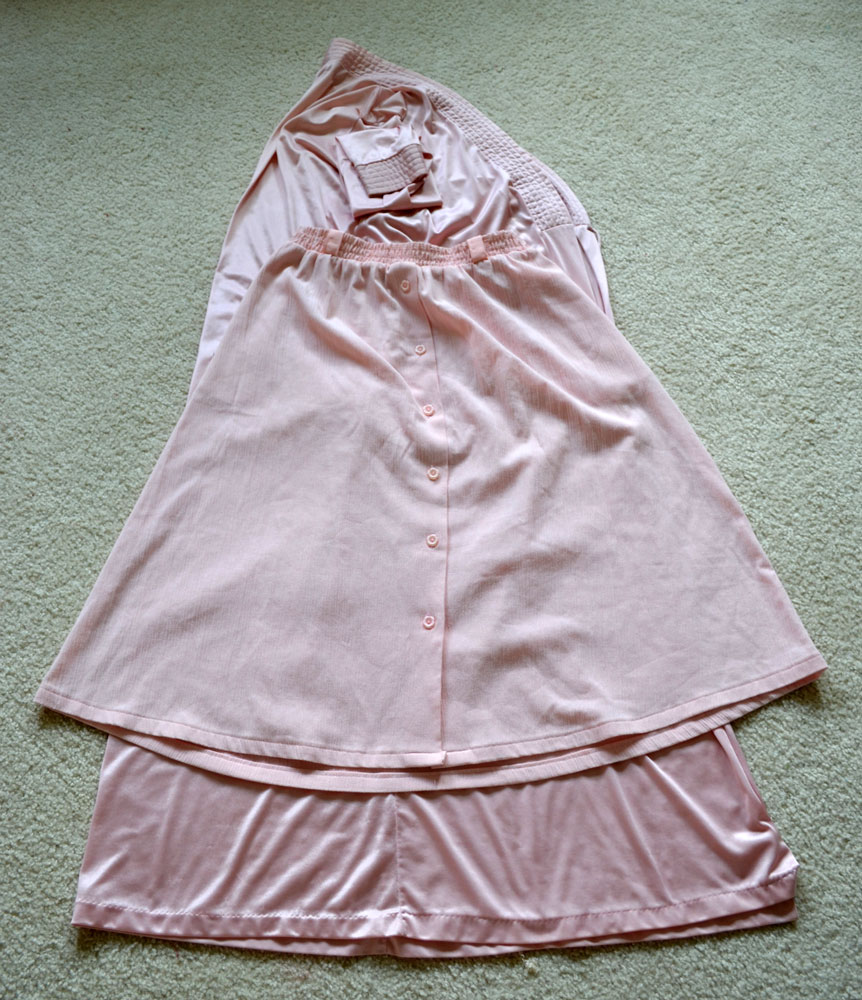
Another 25cent find, a pink polyester night robe of a similar pink to the skirt and really thin and light, looks like it will be perfect for the lining. The robe was slightly narrower at the bottom than the skirt but as the fabric is stretchy we feel mobility will not be lost.
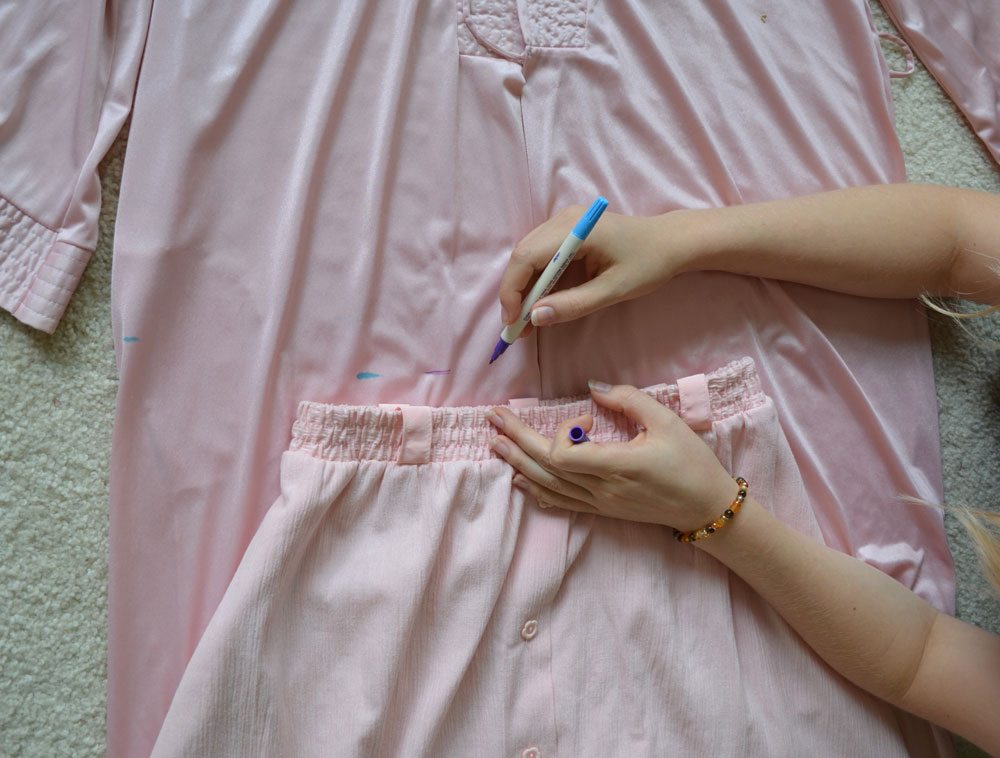
We placed the skirt a couple of inches above the bottom edge of the robe, so that the lining will not stick out from the bottom of the skirt. We then marked the robe just above the waistline, allowing seam allowance for the lining to be sewed to the waistband.

There was a pocket in the robe, which was in the middle of the cut we needed to make, so we first used a seam ripper to remove the pocket and sewed the space where the pocket had been shut.
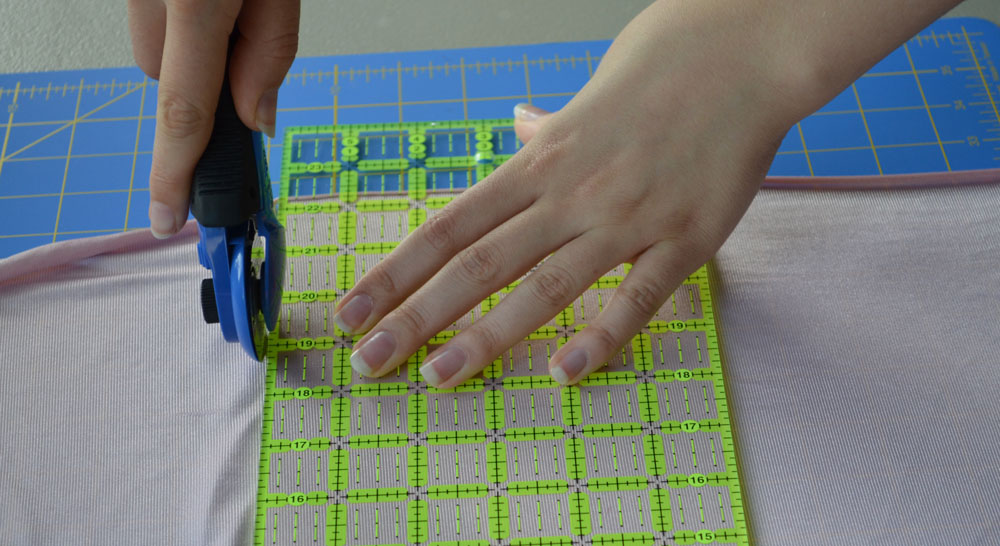
We cut off the top of the robe.

We sewed the open edges together to create a tube which we then slipped over top of the reversed skirt. In order to fit the lining fabric to the waist of the skirt it was necessary to make several pleats in the lining evenly spaced around the waistband.

The lining did not fray, so we simply folded a small edge and hand stitched it to the inside of the skirt waistband without need for hemming.
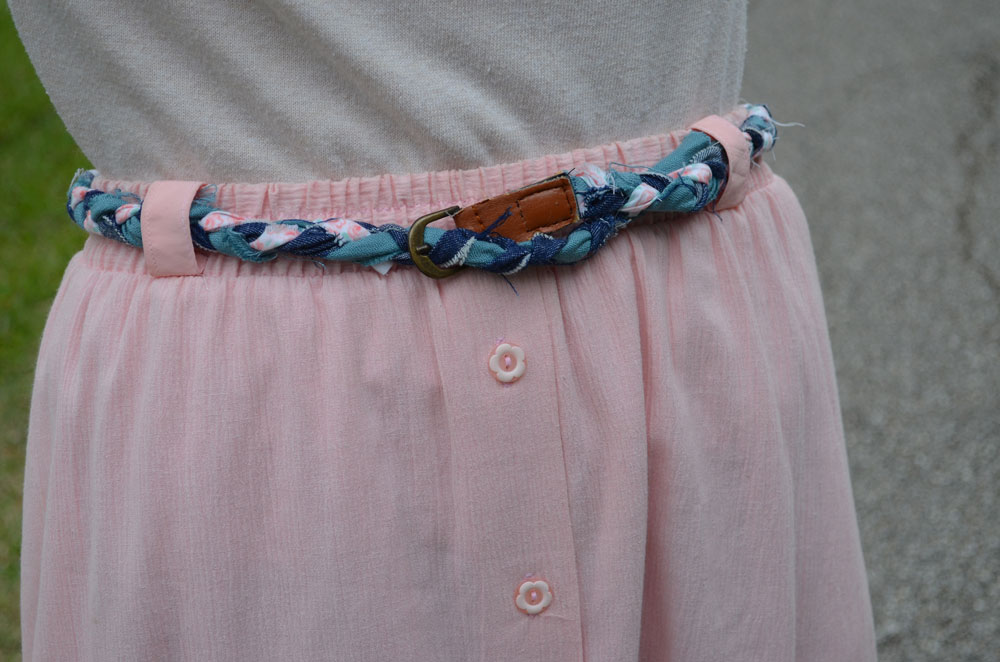
Here’s the finished skirt worn with a belt – also a refashion project from a buckle off a worn out leather belt and braided fabric scraps.

 Two Skirts & a Shirt to a Reversible Skirt
  P-Jays to Maxi Skirt
So, what do you think ?