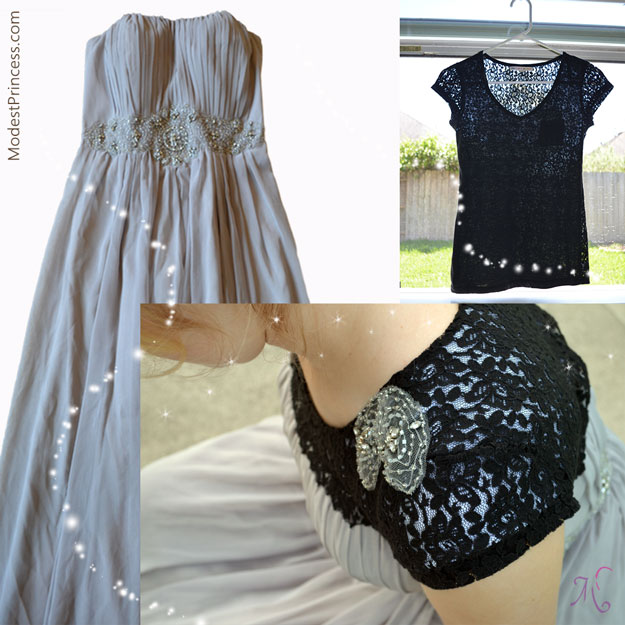
Finding the right dress for prom is hard and finding a modest dress even harder. Sierra found and ordered a modest prom dress online – however when it came she was not happy with the color – it was bubblegum pink, not the pale pink it appeared in the picture on the website. The dress made her feel like a little girl, and not elegant like she was hoping for. So she went shopping – on a budget. She tried a few dresses at Ross; even found some lace ones she contemplated altering however they were not what she was looking for. Later, she went to a resale shop, Blackbird, where she found not only one dress she liked – but two. She had enough money, so she bought both. They were, as most prom dresses are, immodest, and therefore needed altering- and quick, Simply Prom (a Mormon Prom) was just one week away.
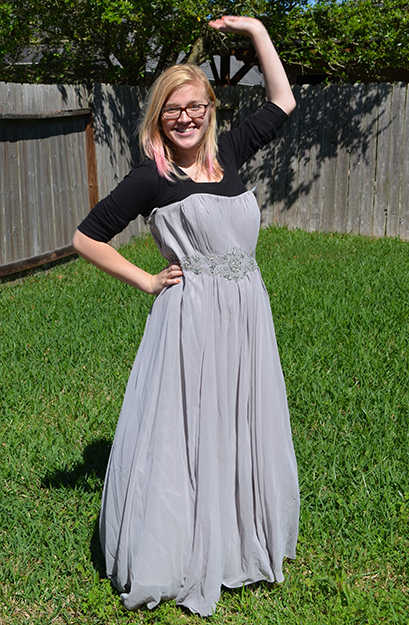
Dress #1 was grey and strapless with beading at the waist. First it needed to be taken in to her size. As the dress had a zipper up the back, we decided to remove the zipper, take in the sides and replace the zipper. A section of beading was cut off each side and these would later be key in tying in the added top to the dress.
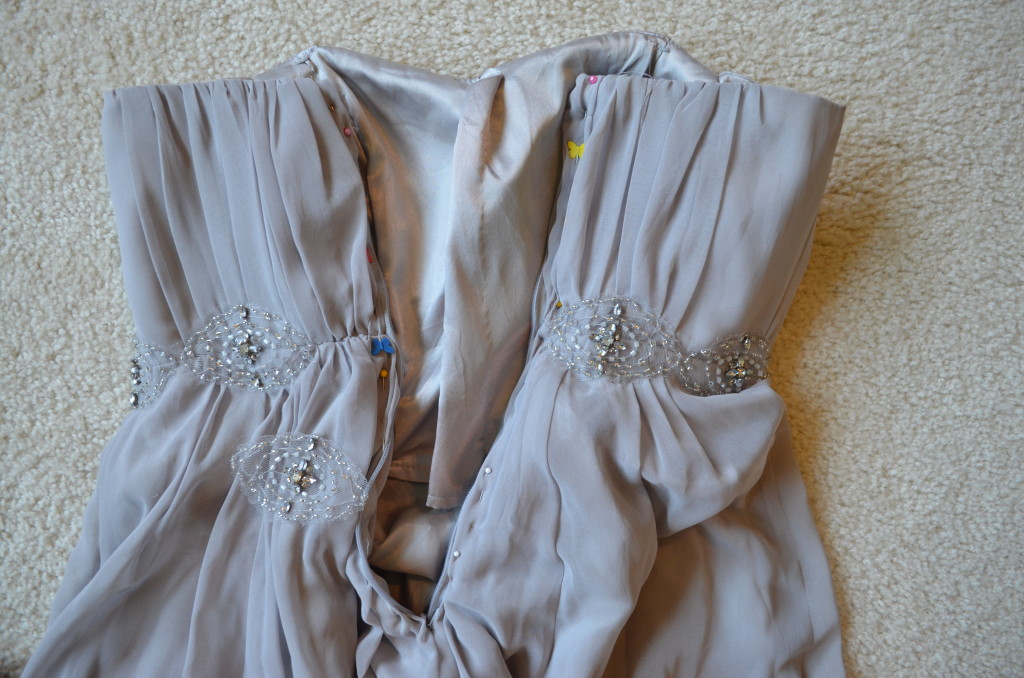
We also added a fold in the inside center, as this helped the dress fit her better. After removing the zipper, she slipped into the dress and we pinned it to fit her.

Clear thread was used to avoid seeing any stiches – this was my first experience hand sewing with clear thread… and I would not recommend it unless the stiches are going to be REALLY obvious. The thread twists and tangles very easy and is impossible to see – yes this is the point but it also makes it very hard to work with.
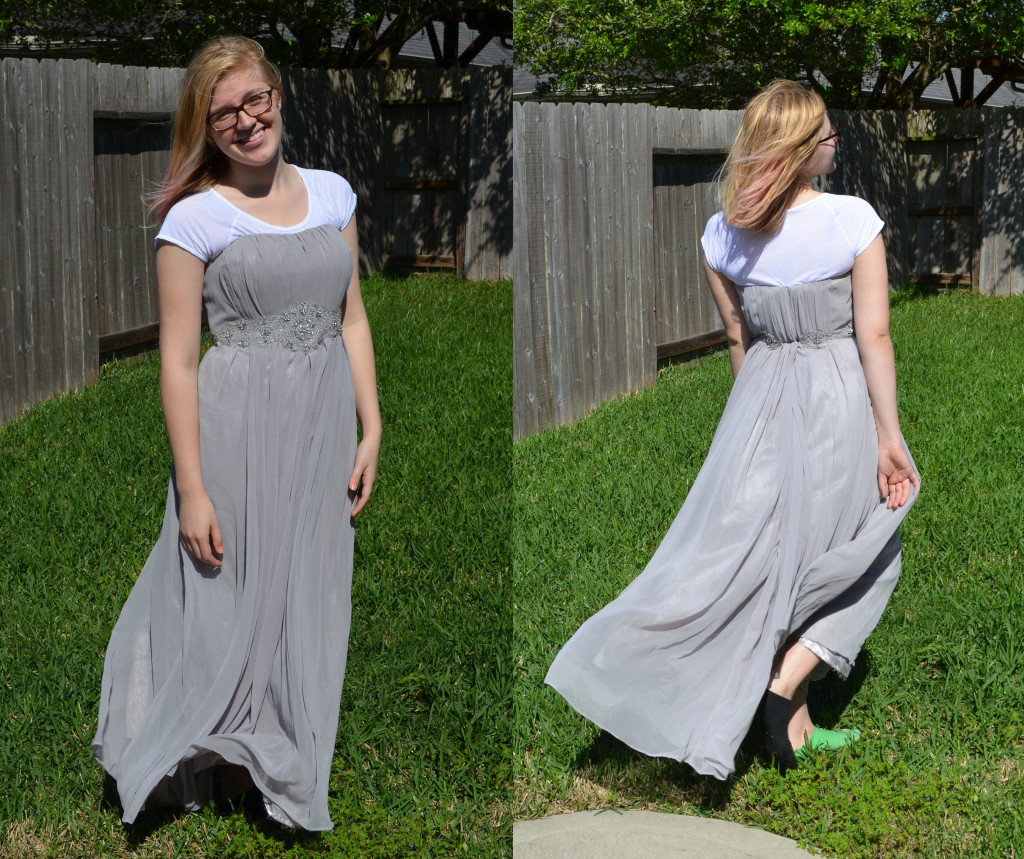
Now the dress fits! And the gathers in the fabric cover up the zipper and the invisible sewing. So now all that is left is to add sleeves! We’d decided on a lace overlay, inspired by Kristina J. Clemens and her ‘How to make a strapless Dress Modest’ in The Chic Girl’s Guide to a One-of-a-Kind Wardrobe by Kristina Clemens (2013) and online at Kristina J. Blog.
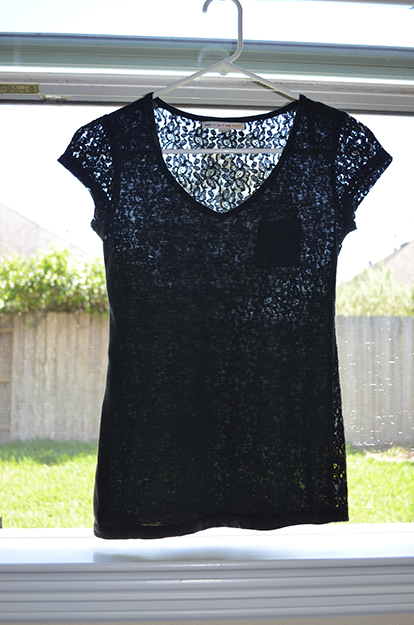
Luckily I had just picked up a black lace t-shirt at a resale shop. This would prove to be a great time saver as not only the entire back of the t-shirt was lace but also the sleeves – thus we wouldn’t need to create and cut our own pattern for sleeves.
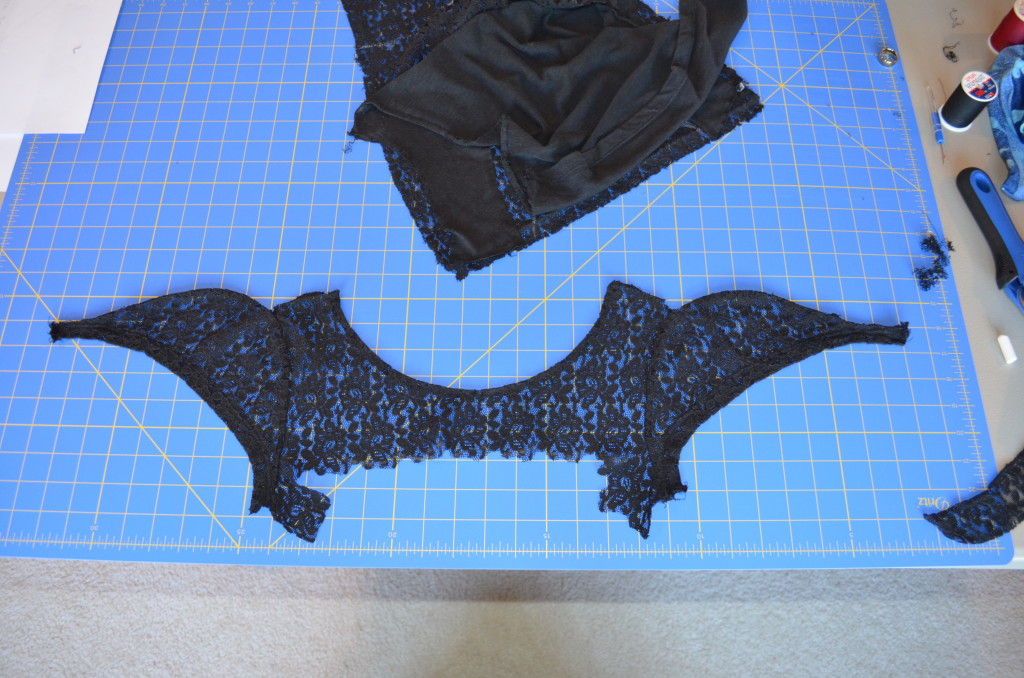
We simply unpicked the seams and deconstructed the t-shirt. We measured how much lace was needed for the front and trimmed off the excess. Sierra picked a t-shirt that she liked the neckline of, and we traced this neckline onto the lace. We then cut the neckline, folded the edge over and sewed a small hem.
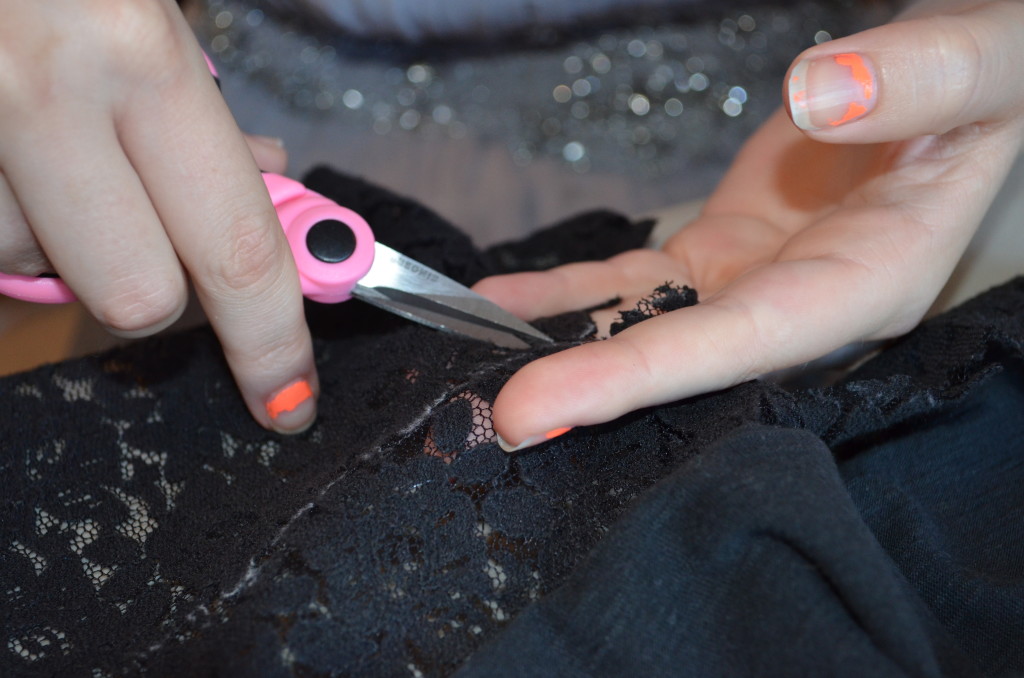
We carefully cut around the lace to create a scalloped edge. From the remaining lace we cut a piece to fit the back, again using the neckline of the t-shirt Sierra had picked as a pattern, we again folded the edge over and sewed a small hem.
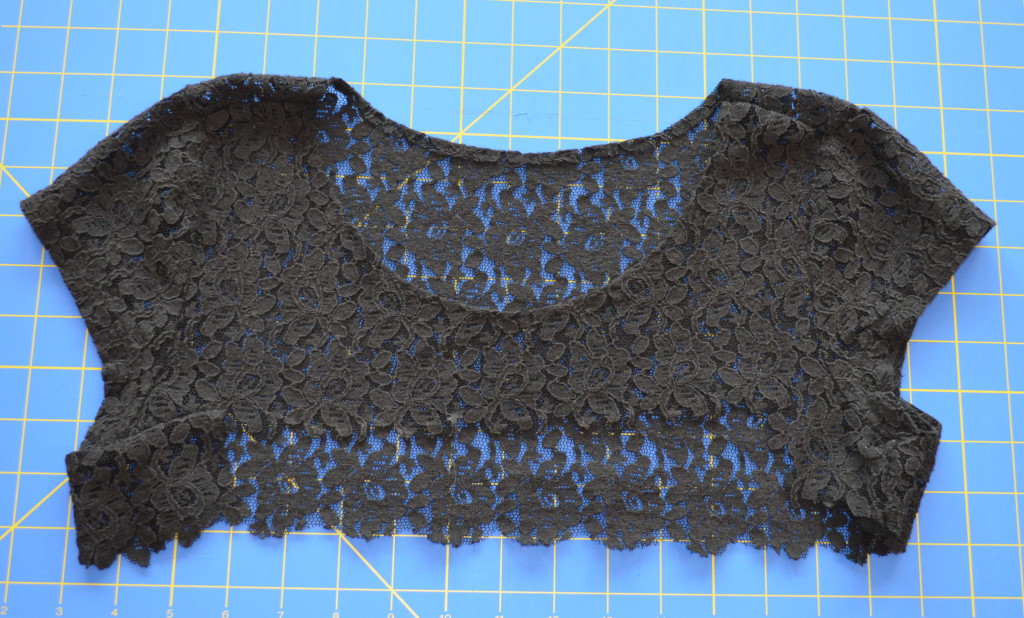
We then sewed the “t-shirt” back together – now front to back lace with the original lace sleeves.
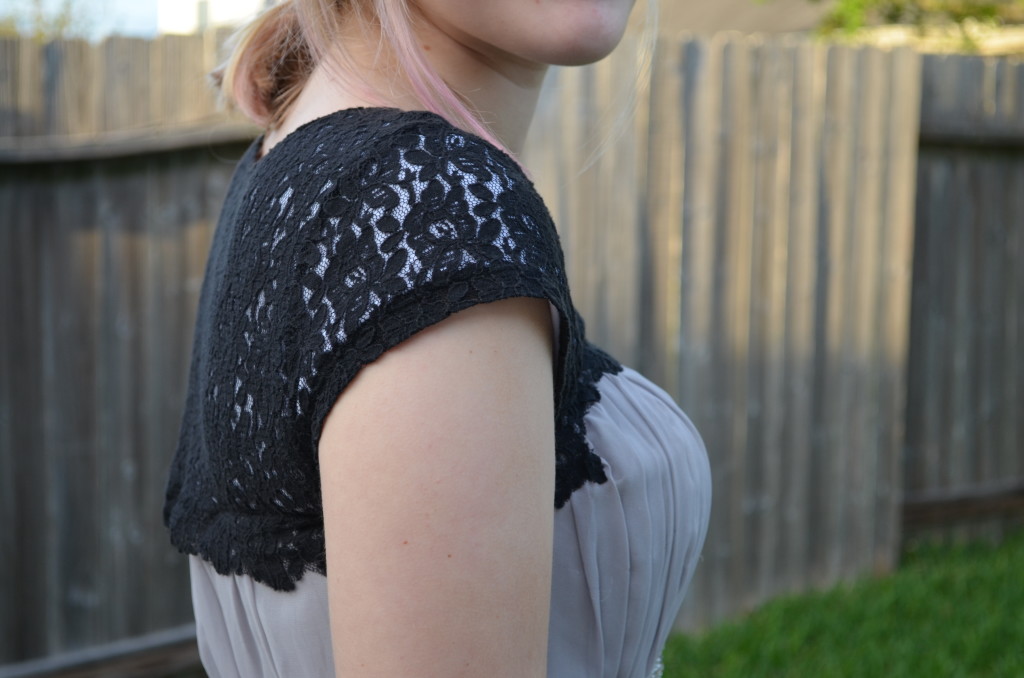
For lack of time we did not line the lace, we simply sewed it on to the dress and Sierra wore a white t-shirt underneath that she cut to match the sleeves and neckline of the lace.
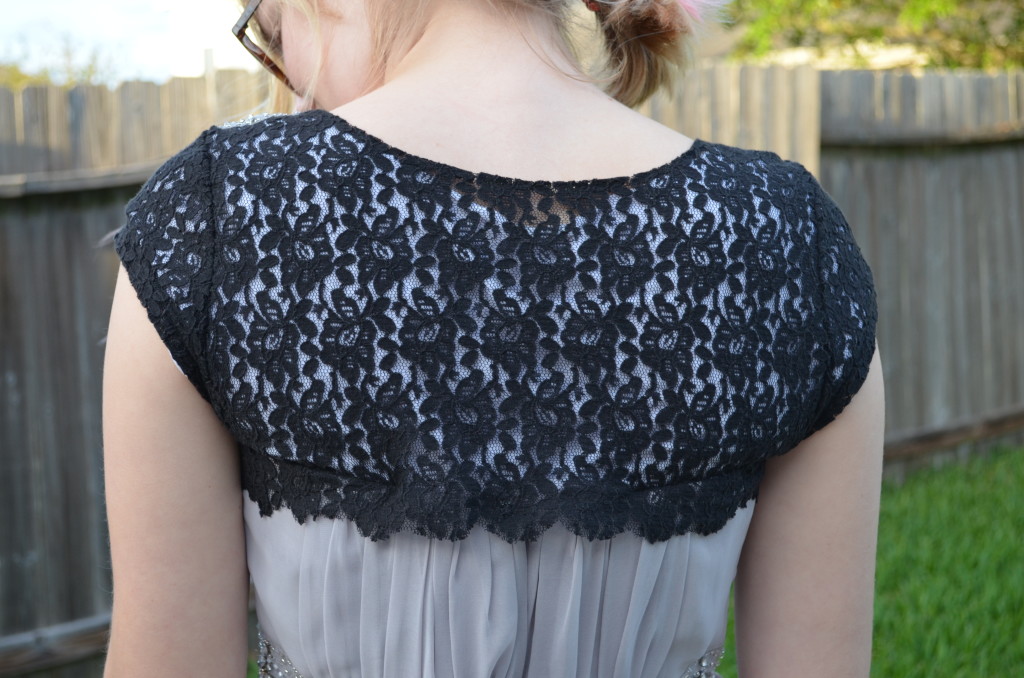
We left the back of the lace unstitched from the dress at the center back so that the zipper could still be closed up to the top. We did not make a seam all the way up the back, for lack of time to figure out how to make that look good. So it is a little tricky to get into the dress, it has to go over the head – but for a limited use prom dress that didn’t bother us.
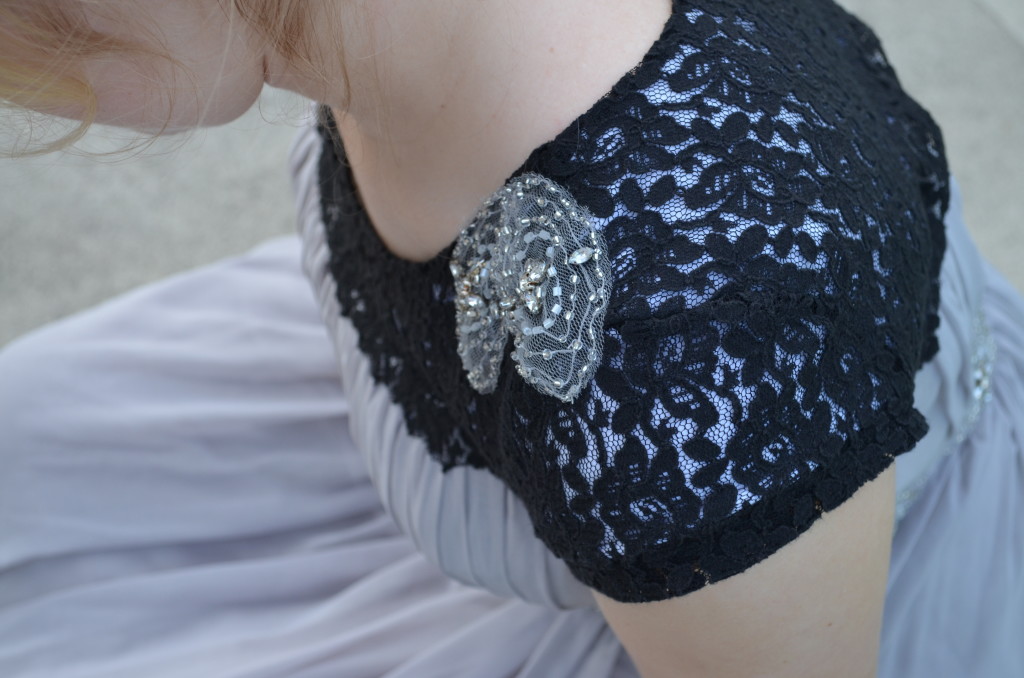
The finishing touch came when we sewed the beading that we cut off the back onto the shoulder; this small element made the plain black lace fancier and tied the top back to the waist of the dress.
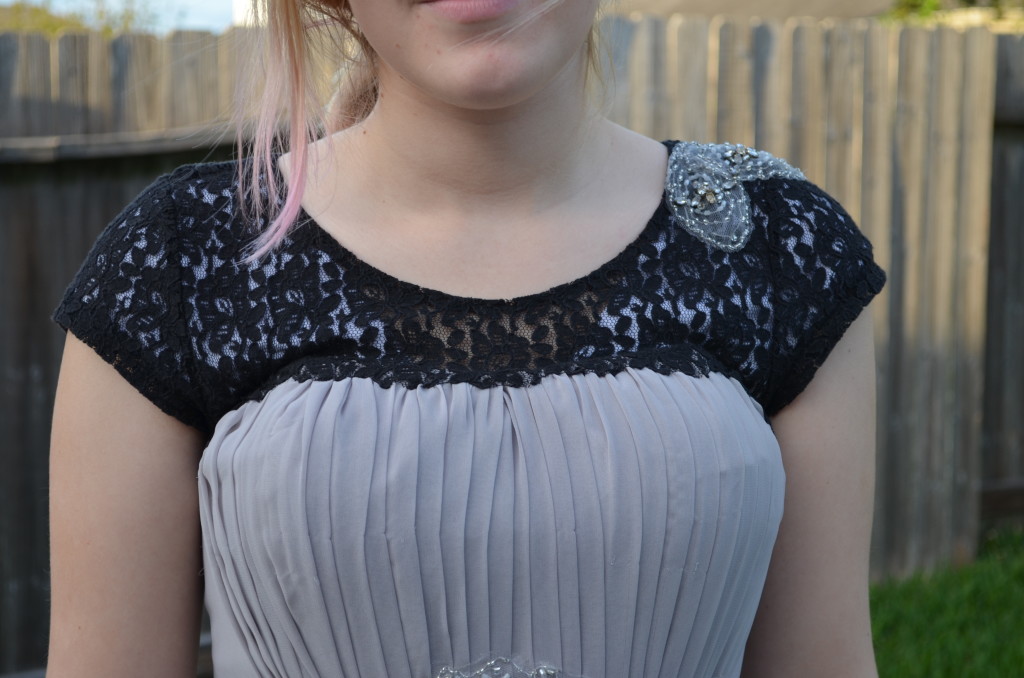
And with hair and make-up, Sierra was not only gorgeous but modest for Simply Prom!


 An American Doll Modest Princess
 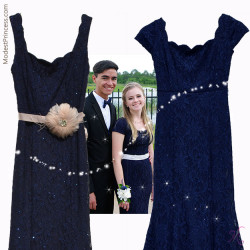 Adding Cap Sleeves to a Formal Dress
Love lace overlays! Lace is such a romantic medium to use when refashioning a prom or wedding dress. Love it!