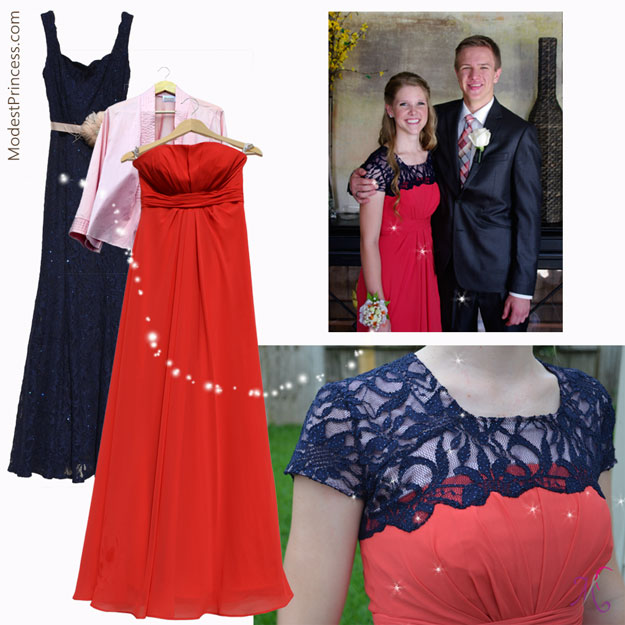
Elise wasn’t sure how she wanted to make her strapless gown modest for Prom, I suggested we do a lace overlay like Sierra’s Lace Overlay Prom Dress using some leftover lace from Sariah’s dress and it turned out that the navy lace went well with her coral/orange prom dress. I even had leftover pink silk night robe which worked as the lining and made the lace stand out without giving a sheer appearance.
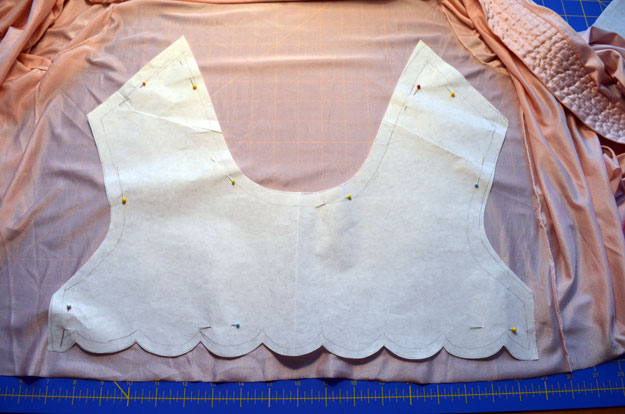 I first created a paper pattern, Elise and her friend Camille helping to design the neckline and desired sleeve length and we decided on a scalloped edge to overlay the lace on the dress.
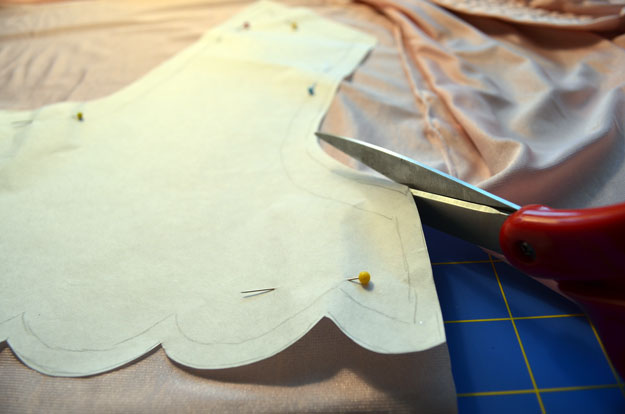
I then cut pattern pieces out of lining (in this case the top of a nightgown leftover from a previous refashion project).
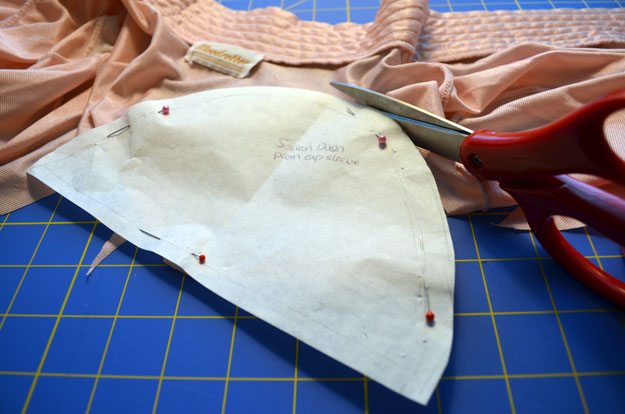
We used the same cap sleeve pattern as Sariah used for her Adding Cap Sleeves to a Formal Dress.
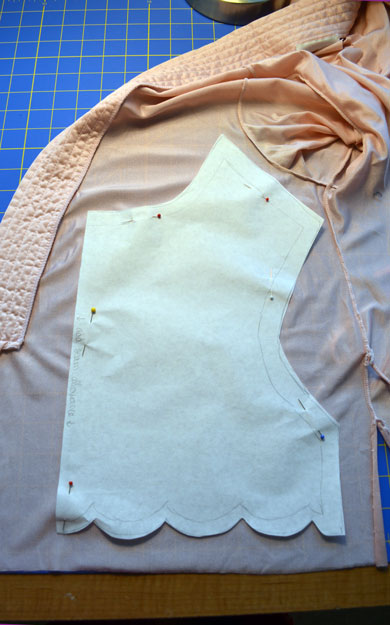
The back was similar to the front but with a higher neckline and cut down the middle so that Elise would still be able to get in and out of the dress.

With all the lining pattern pieces cut out, now comes the time to sew them together. I did this before cutting out the lace pieces because I first fit the lining on Elise and ended up making a few adjustments to the pattern.
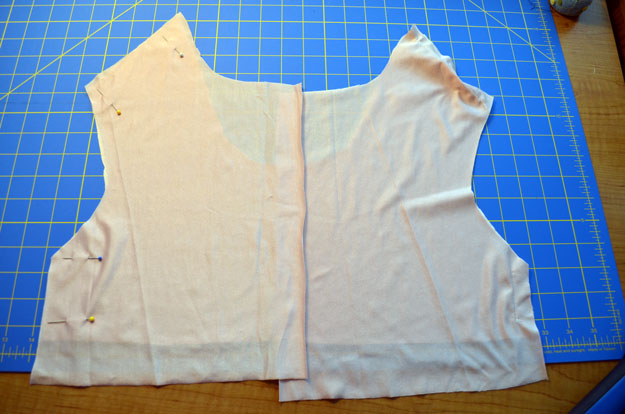
I first pinned & sewed the shoulder and side seams of the lining pieces together.
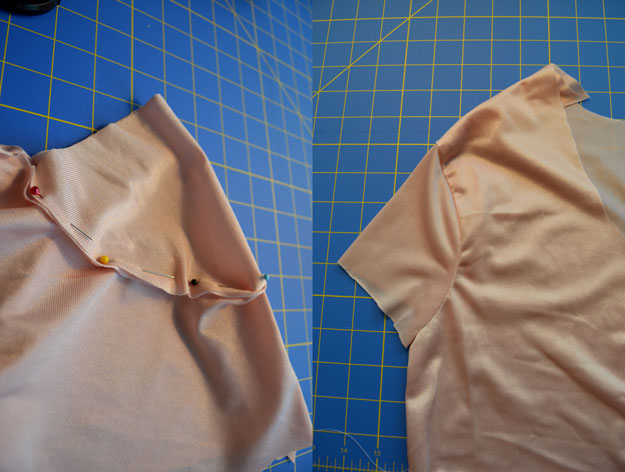
Next I sewed on the lining of the cap sleeve.
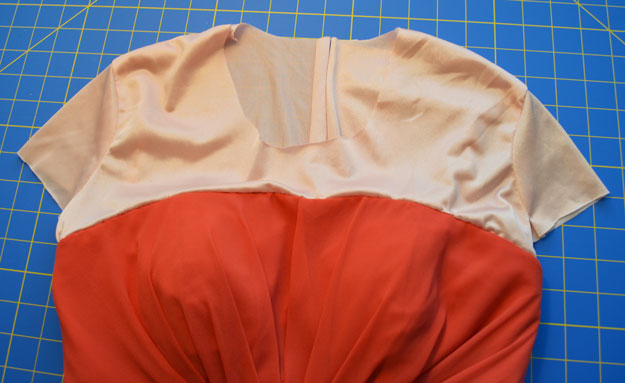
Then we had a fitting to make sure the lining was the desired cut and size, we ended up adjusting the shoulder seams but the rest worked and so the lining was sewn to the inside of the dress.

The extra lining length was trimmed and I then tucked it under and sewed it to the inside of the dress for comfort and extra strength.
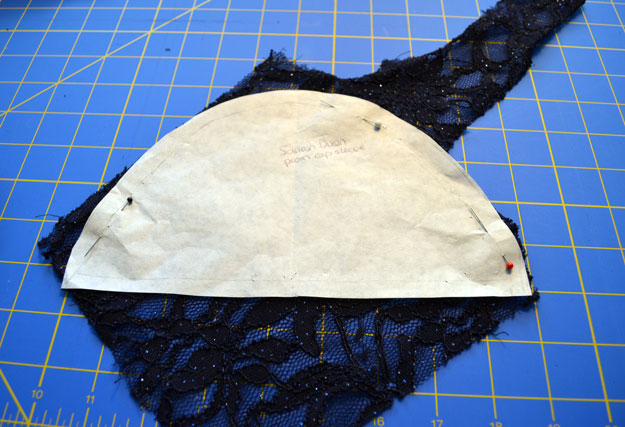
Then came the hard part, figuring out how to piece together the small scraps of lace to cover the lining. There were only two pieces big enough for the cap sleeve pattern so I cut those out first.
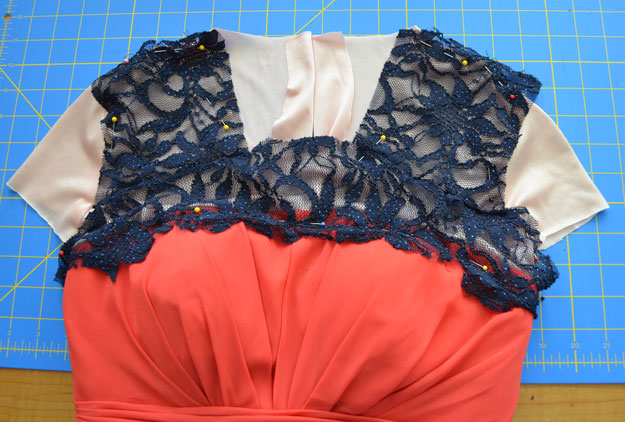
I then pieced together the remaining scraps of lace to fit the lining.
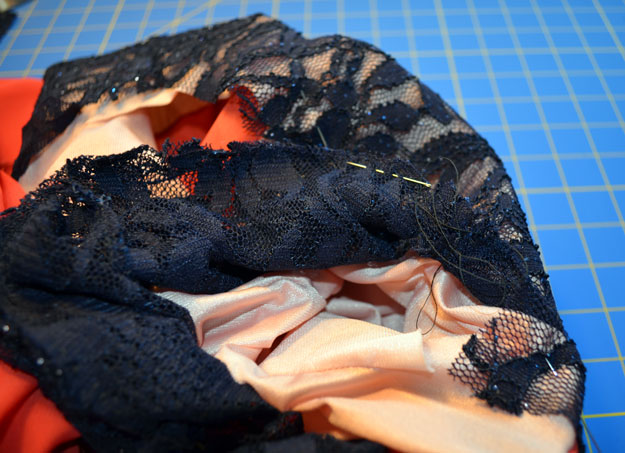
Then I sewed the pieces of lace together, I found it safer to sew while pinned to make sure the pieces would all fit. Of course ideally I would have had a piece of lace large enough to cut out the pattern and would have been able to machine sew it together along with the lining thus hiding the seams.
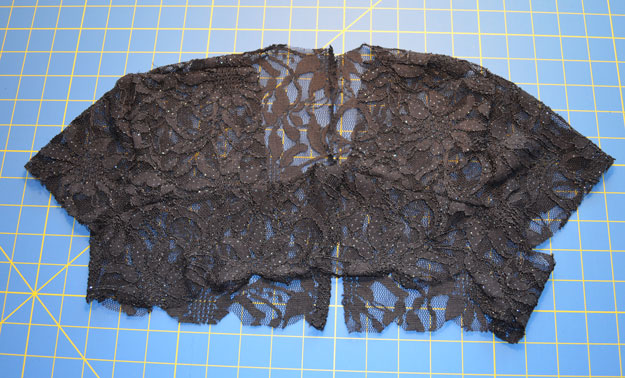
I then had the lace overlay all pieced together, including the cap sleeves and was ready for another fitting to make sure the lace would pull taught and not bunch before I sewed it to the dress and lining.
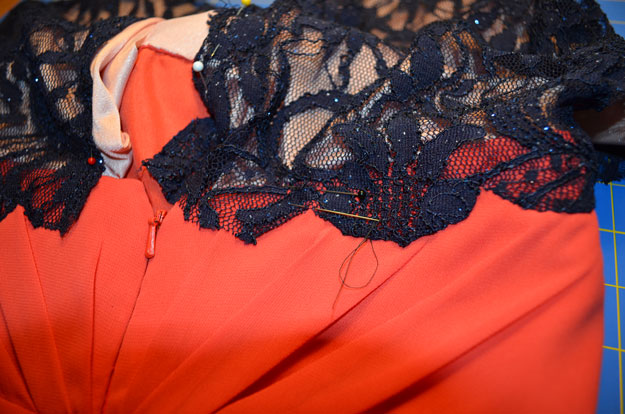
Having made a few adjustments after the fitting, I first stitched the scalloped lace to the dress
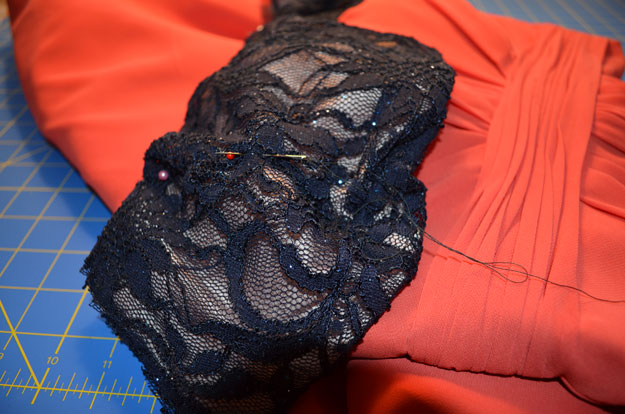
Then I sewed the lace shoulder seams and cap sleeve seams to the lining shoulder seams so they would stay in the correct place as I hemmed the sleeves and neckline.
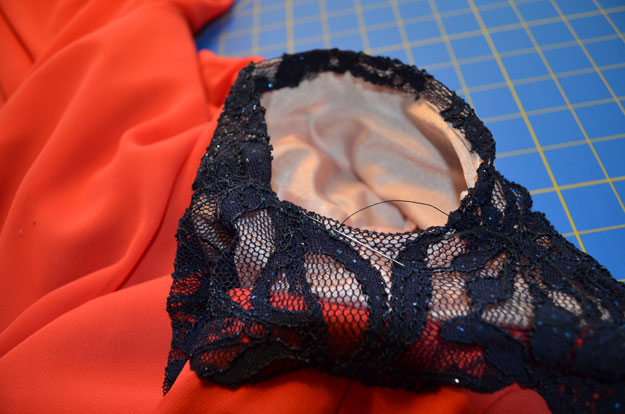
I then folded a small hem on the sleeve and sewed the lace to the lining
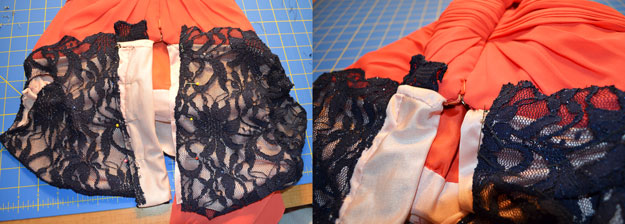
After sewing the edges of the overlapping backs I sewed hooks and straight eyes to each side to finish off the back.
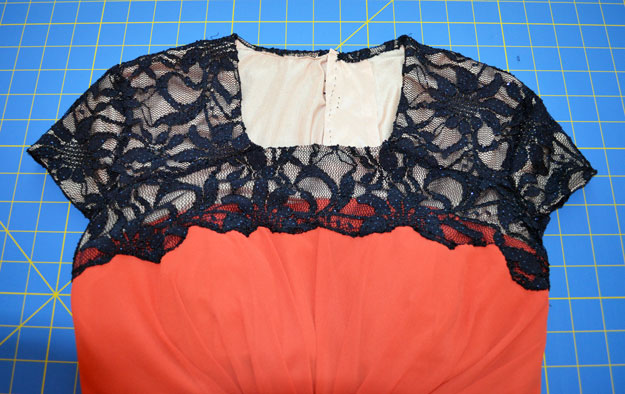
Lastly I folded in the edge of the lace and lining around the neck and sewed a small hem.

And now Elise could be a Modest Princess at Prom!
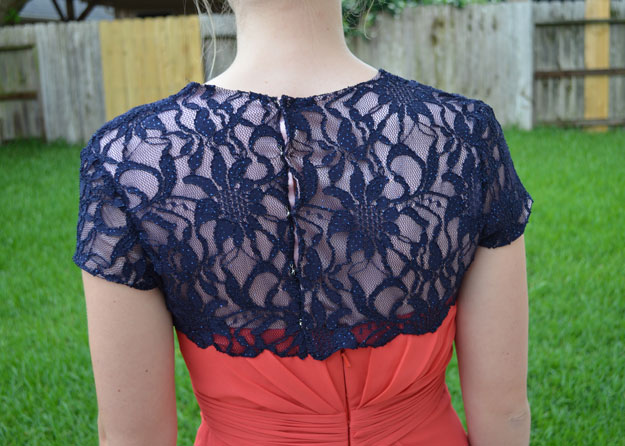
The back wasn’t ideal, Elise accidentally bought silver hooks and eyes even though we had decided that black ones would hide better. Also her shoulders pulled the seam slightly but I was out of time and she was happy with the result so we didn’t make any further adjustments.

 Adding a T-shirt to a Strapless Yellow Dress
  Strapless Dress to Yoga Waistband Skirt
So, what do you think ?