I have refashioned several men’s white shirts into toddler white shirts, the first time I printed a pattern and followed a tutorial but when I went to make another one the website no longer had the tutorial and free pattern. I was able to enlarge and reuse the pattern but have had trouble finding a tutorial to follow so here it is for my own future use.
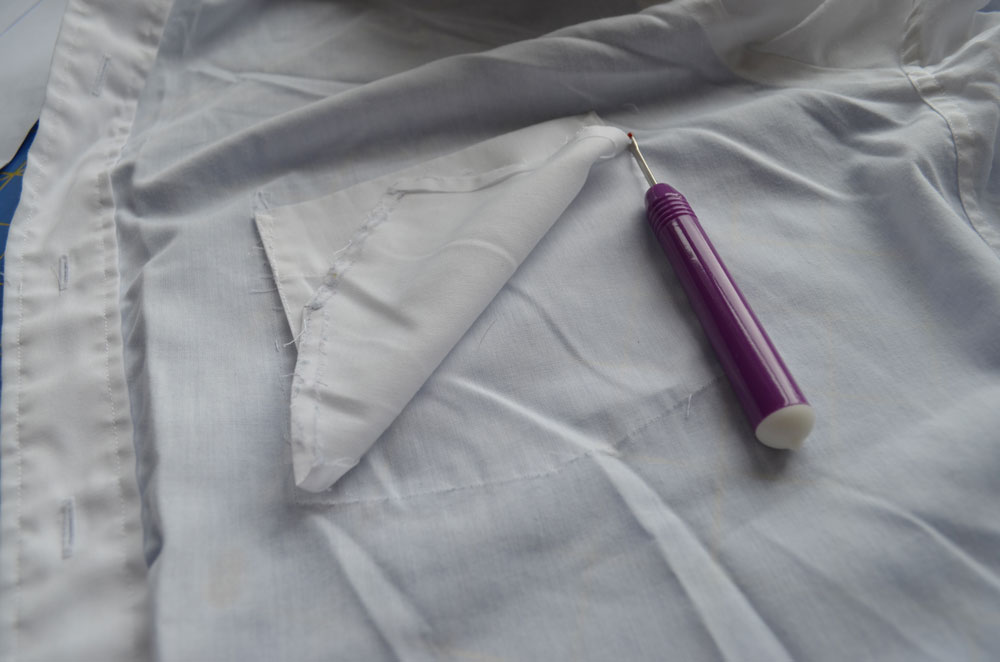
First I seam ripped the pocket.
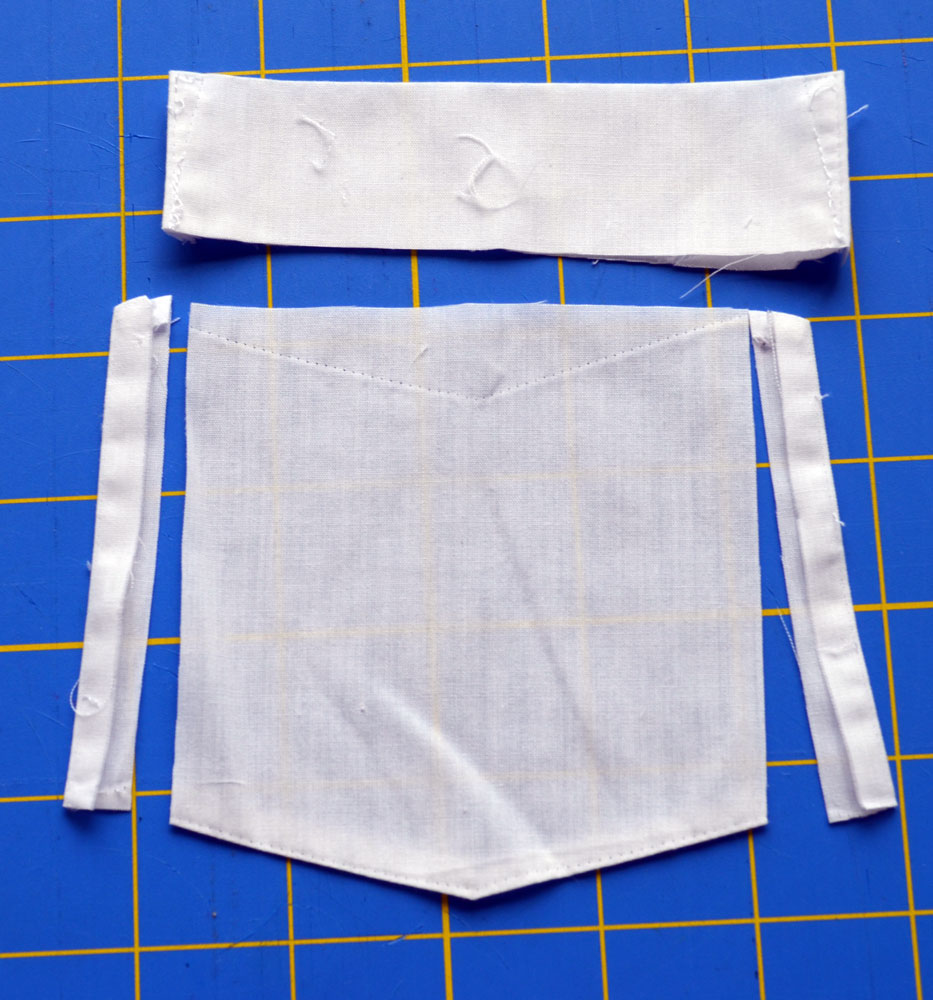
Then trimmed the pocket down to resize it for the toddler shirt. I reused the bottom fold but pressed new folds on the sides and top.

I lined up the front shirt pattern to reuse the bottom hem of the original shirt and made sure the top button falls low enough to allow for the collar to be attached above it as I am reusing the button placket.
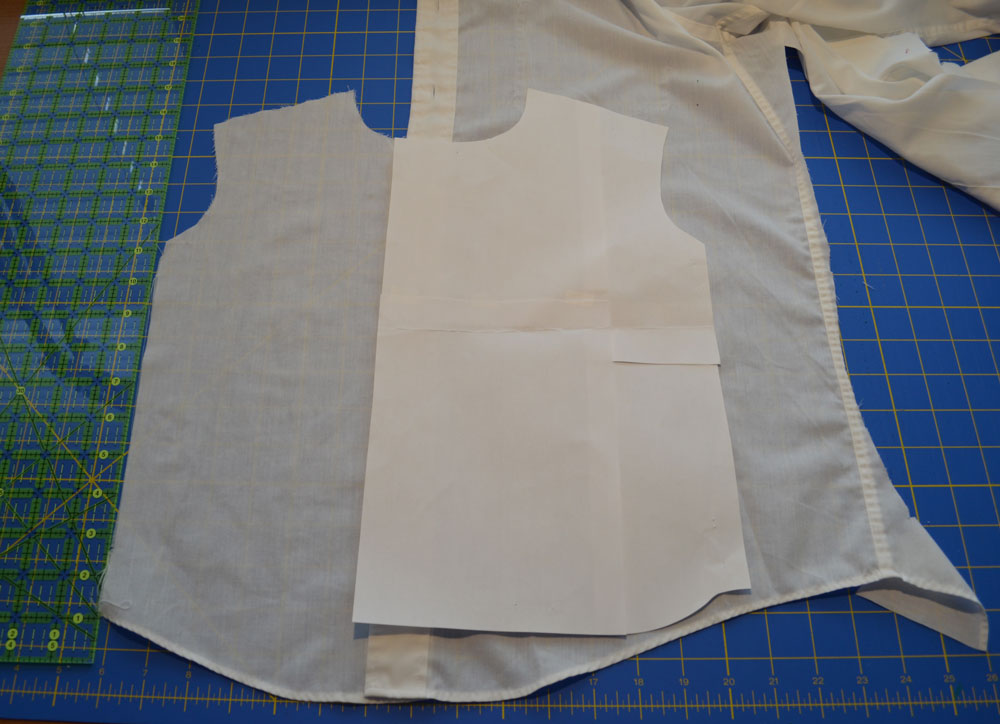
I then buttoned the shirt front right already cut out with the original shirt so as to make sure the button holes will line up with the buttons and cut the front left out. (The pocket had to be seam ripped first as my pattern goes up above the original placement of the shirt pocket.)
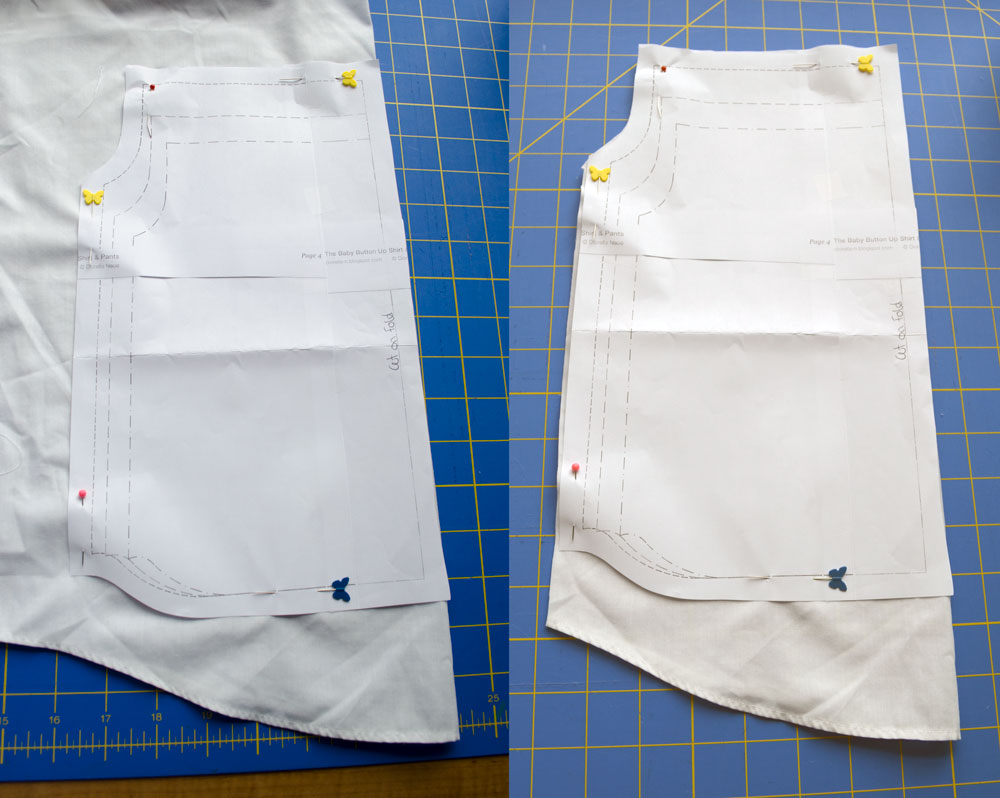
With the shirt back folded in half, and the pattern lined up to use the bottom hem of the shirt (I add extra length to help keep the shirt tucked in) I cut out the bottom back.
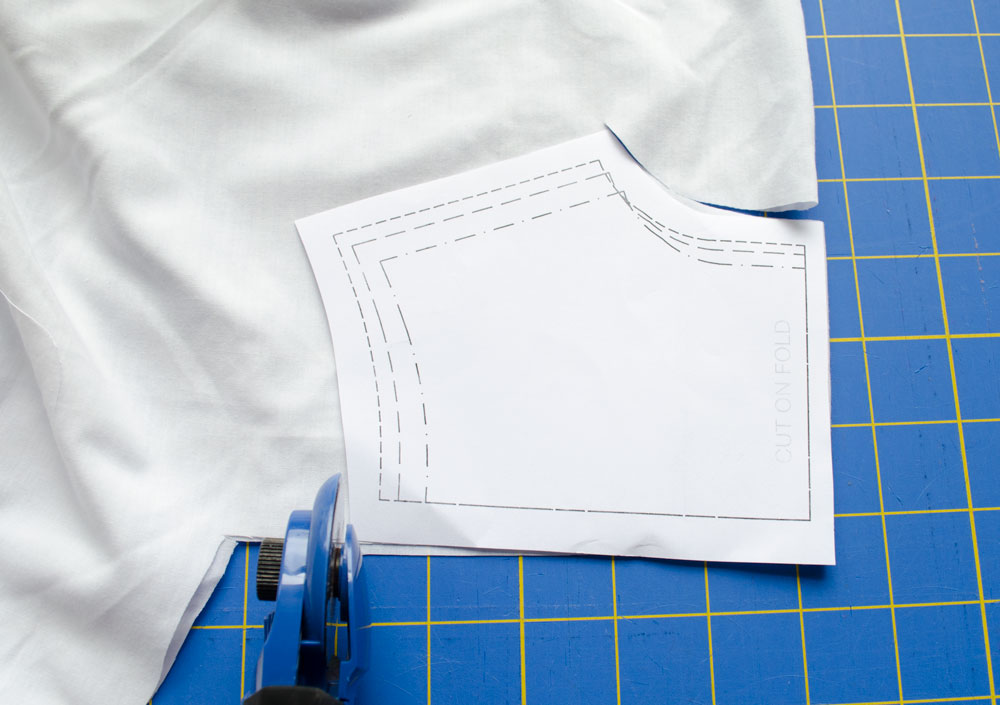
This is the top of the back, also cut on the fold of the back of the original shirt.
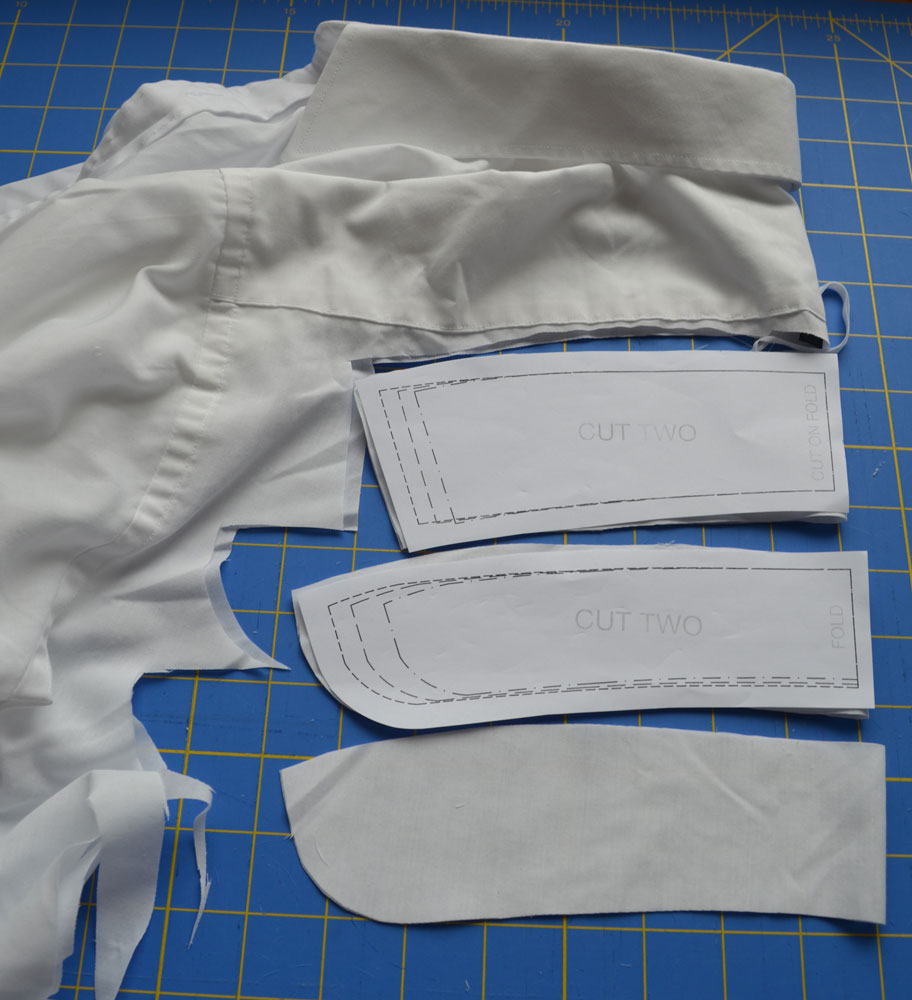
Next I cut out the collar pieces, I cut out the collar but having tried twice with the pattern and not liking the end result both times (I didn’t use any interfacing or anything to stiffen it.) I decided this time to reuse the original collar of the shirt which turned out much better.
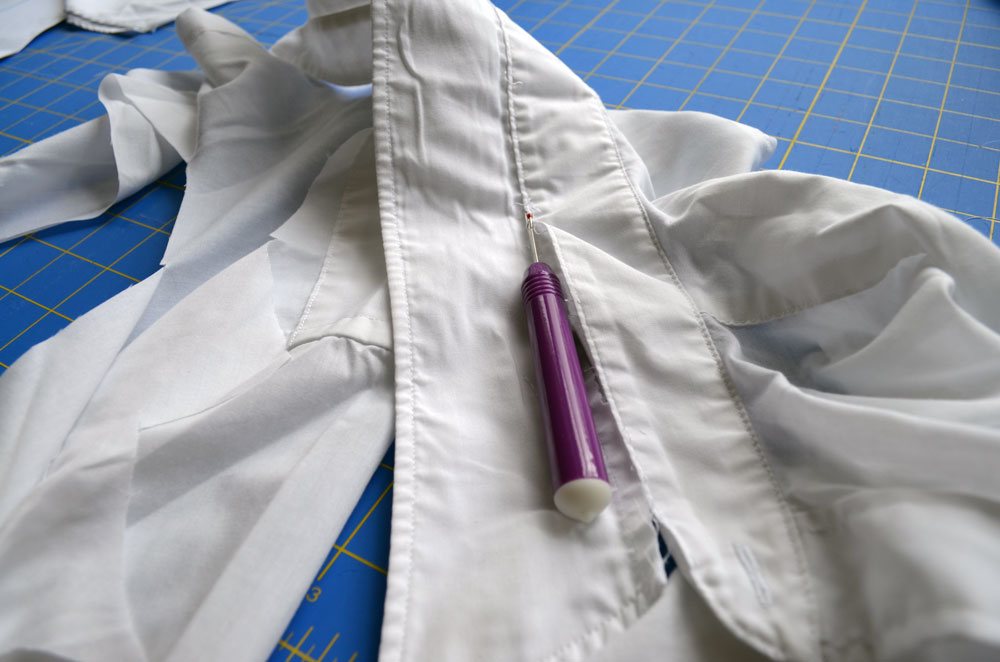
So I seam ripped the collar off the original shirt.
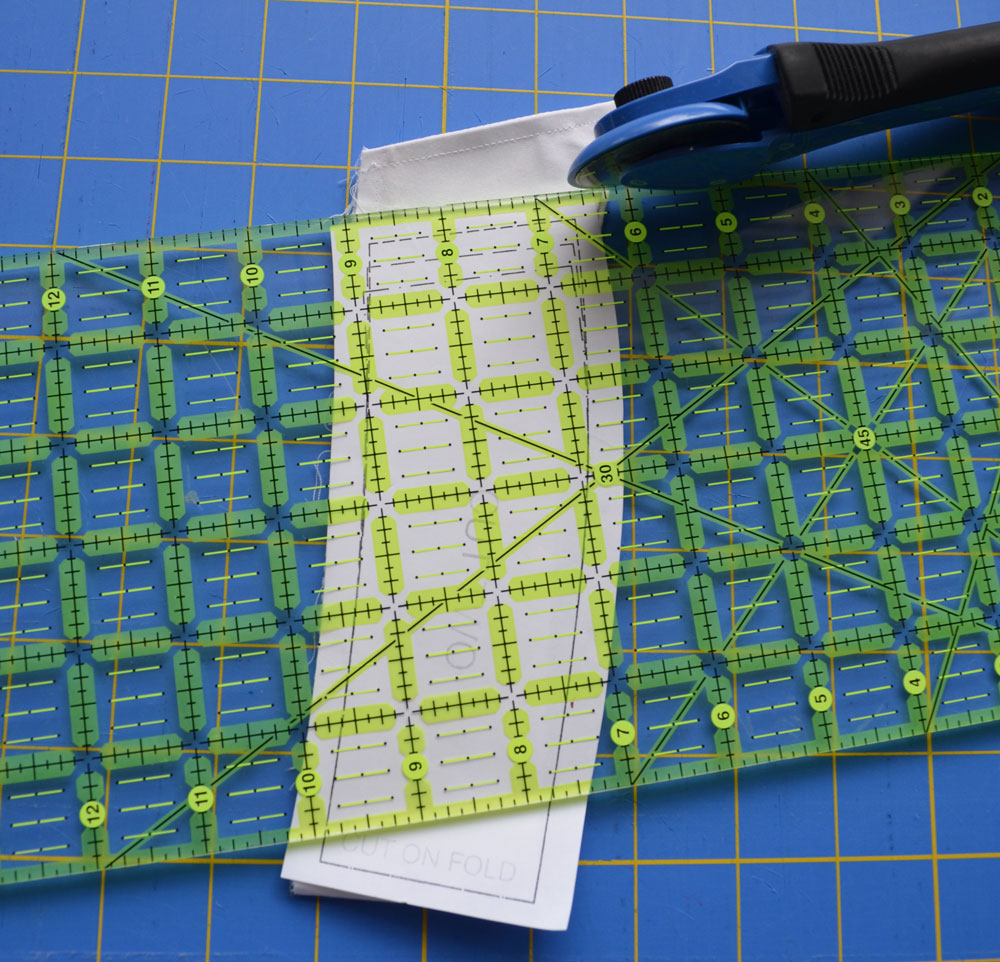
and trimmed it to match the size of the pattern collar.
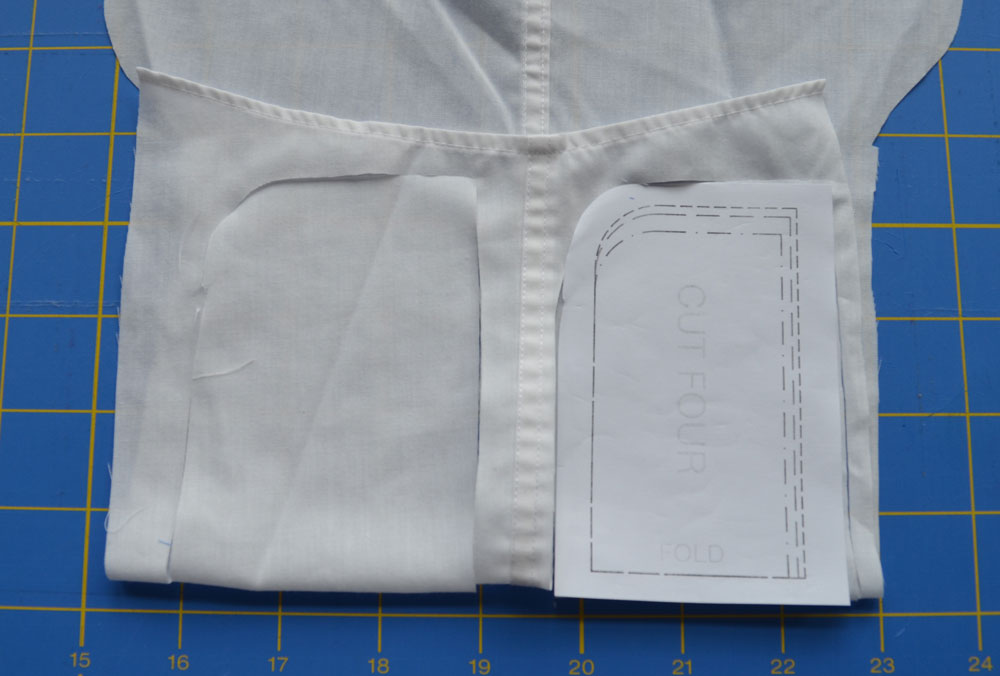
These cuff pieces are cut out of whatever part of the shirt I had enough left to cut the pieces on the fold, four pieces are needed, two for each cuff.
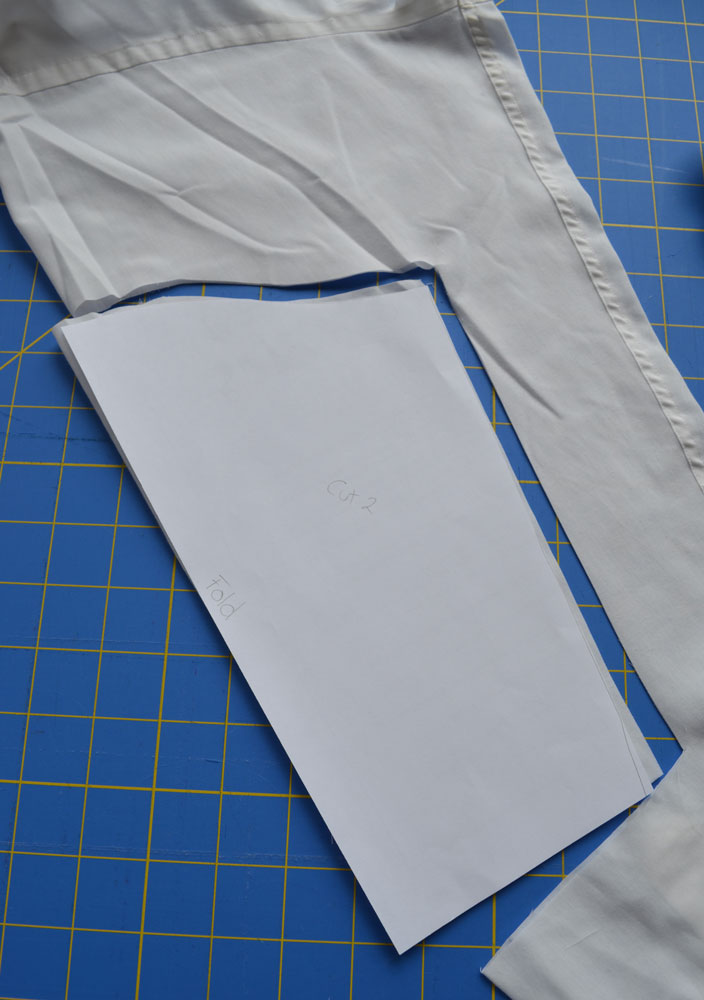
Sleeve pattern I cut on the fold of the original sleeve.
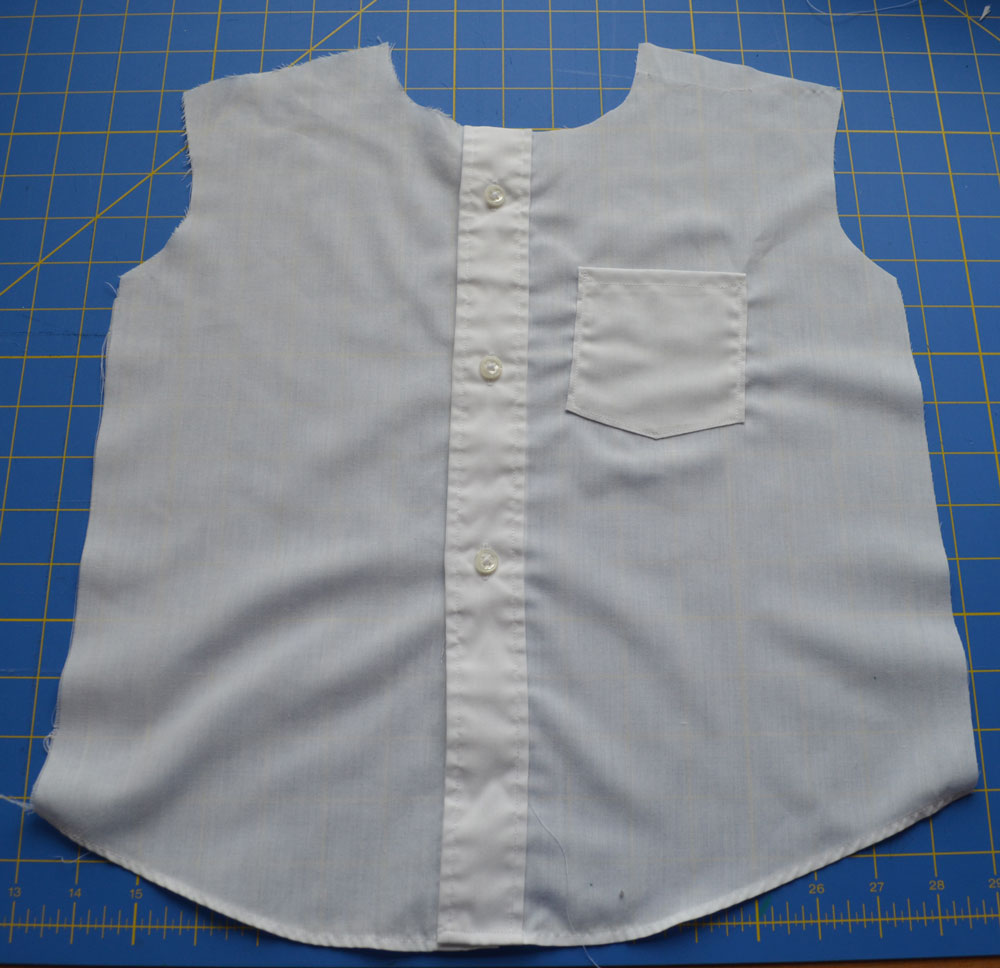
Finally, the cutting is complete and the sewing can begin. I sewed the pocket on (yes slightly crooked… gives the shirt some more character).
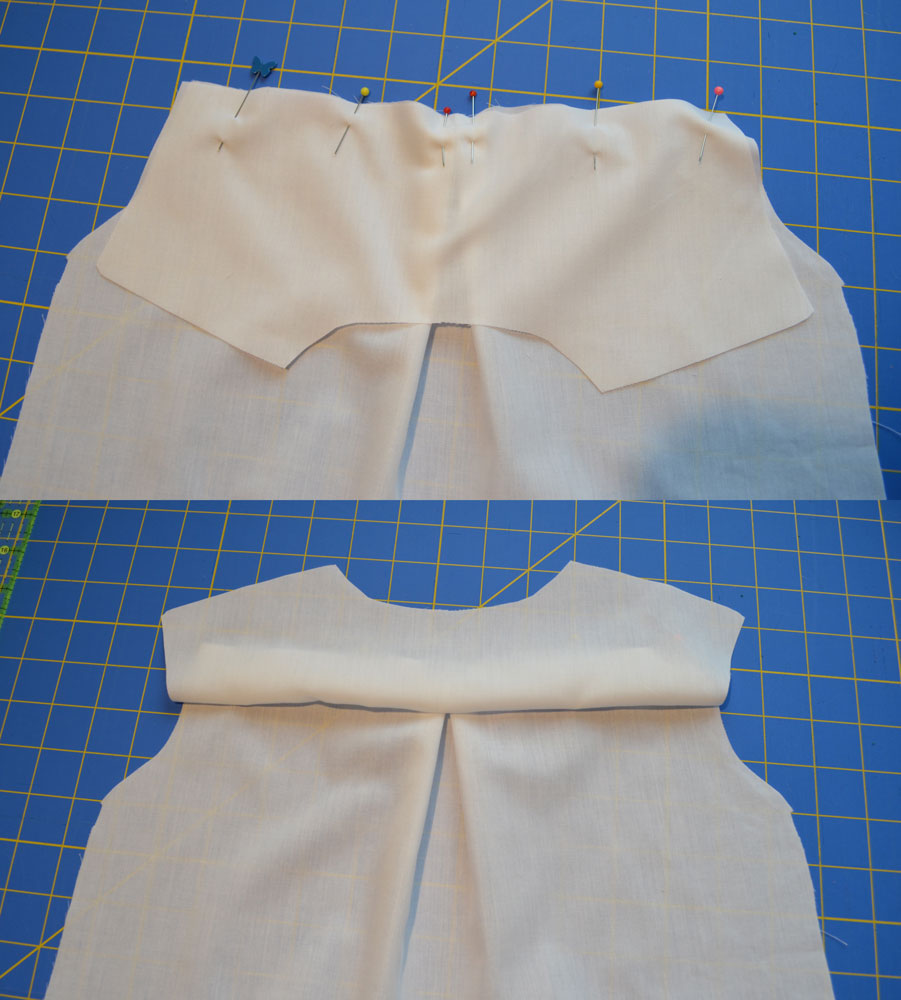
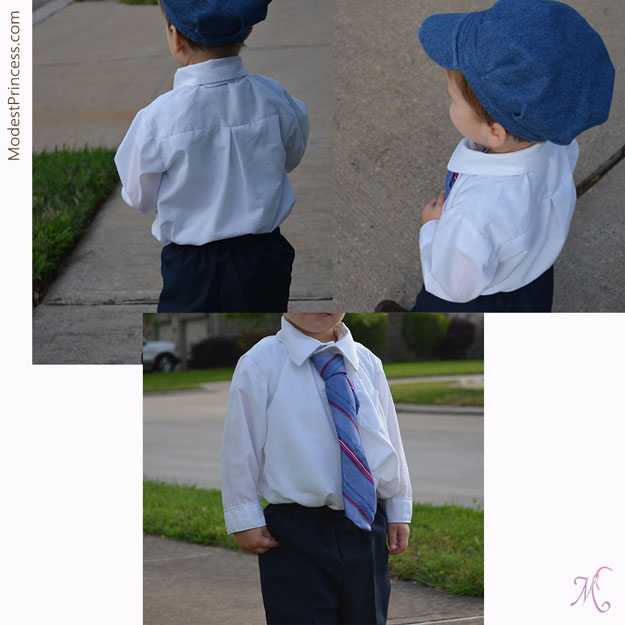
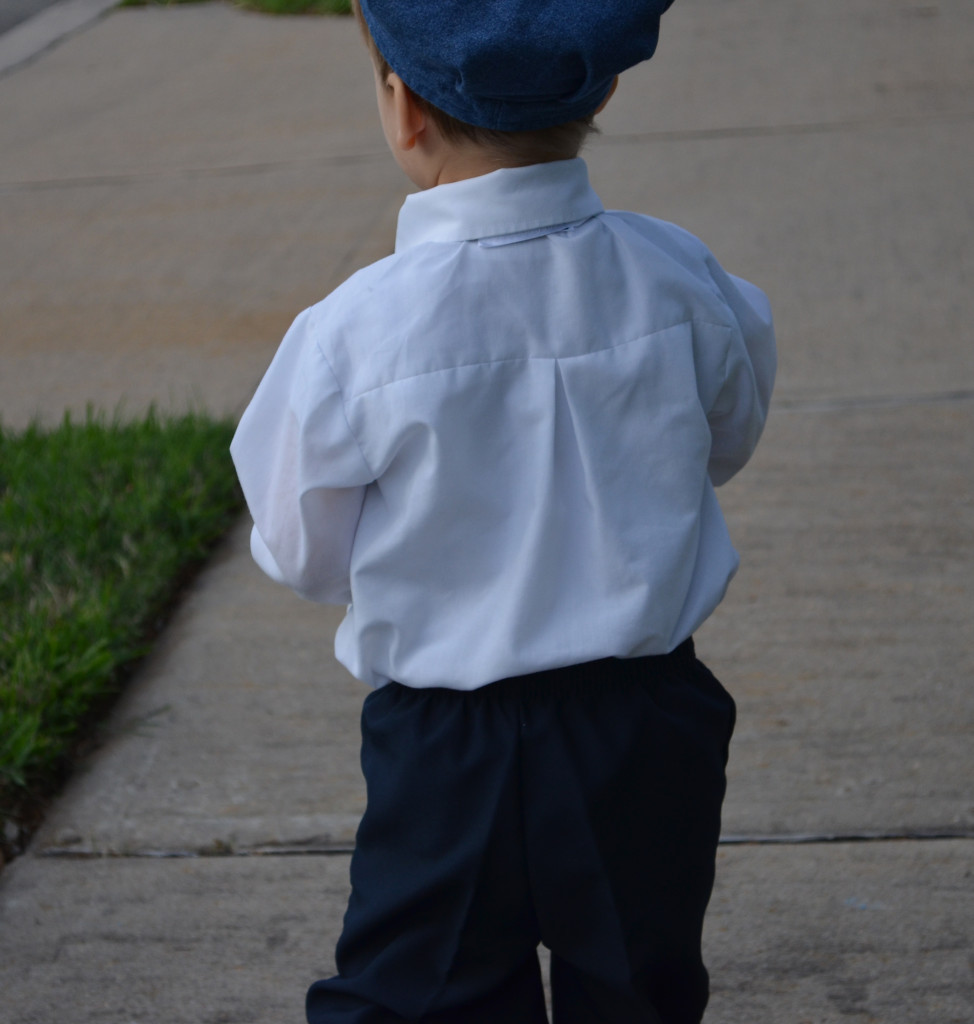
Next I sewed the two back pieces together, folding them at the center to make a pleat at the back of the shirt – an extra detail well worth the effort.
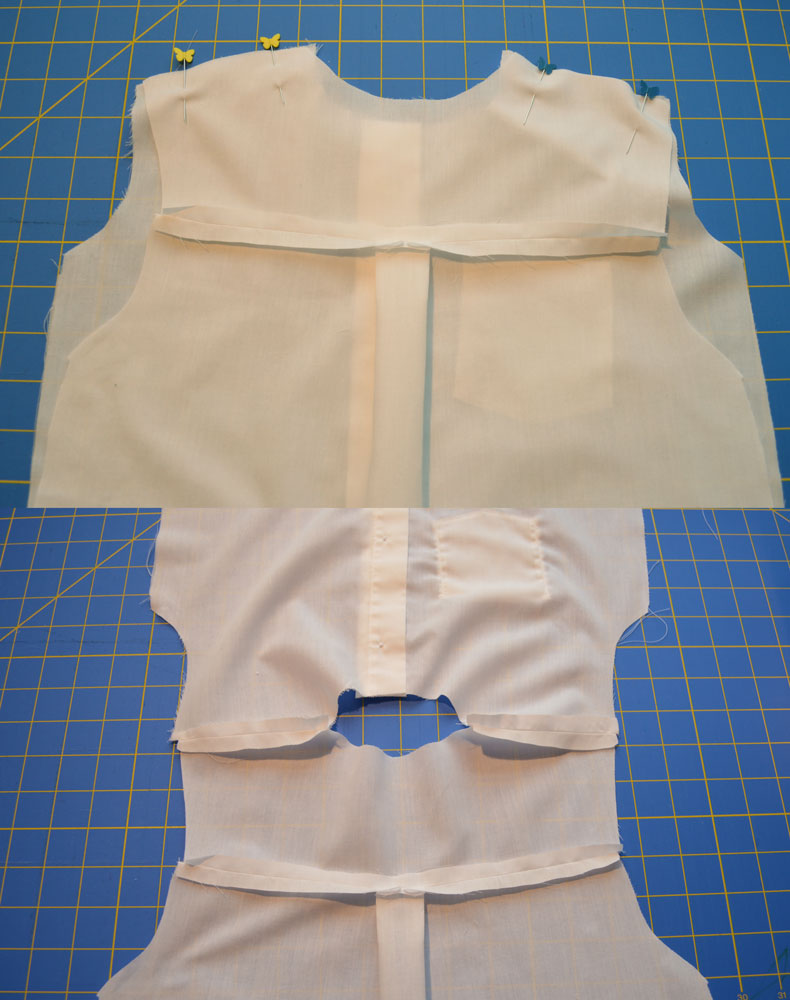
Next pinned and sewed the shoulder seams – always pressing each seam after it is sewed. I read somewhere that pressing all seams gives homemade clothing a more professional look.
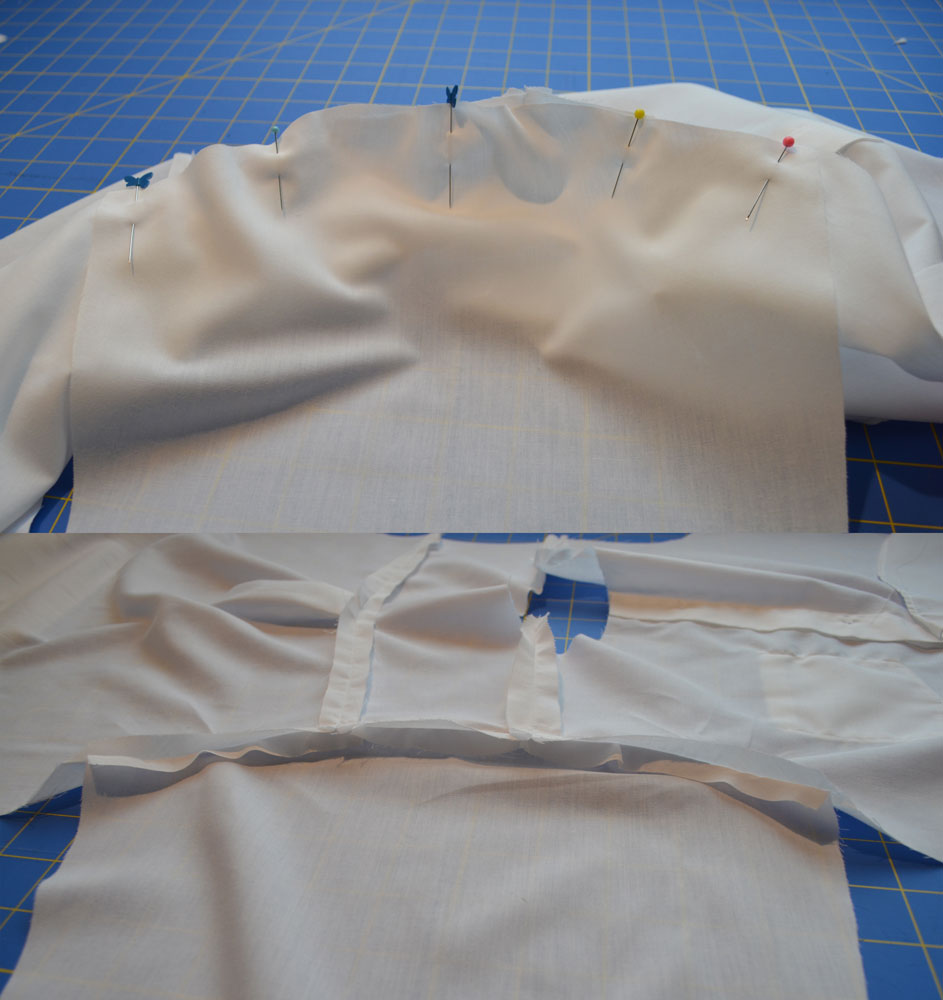
Pinned and sewed the sleeve to the shoulder, this is eased into the curve and you must first place the outside pins and then ease the fabric to fit the curve.
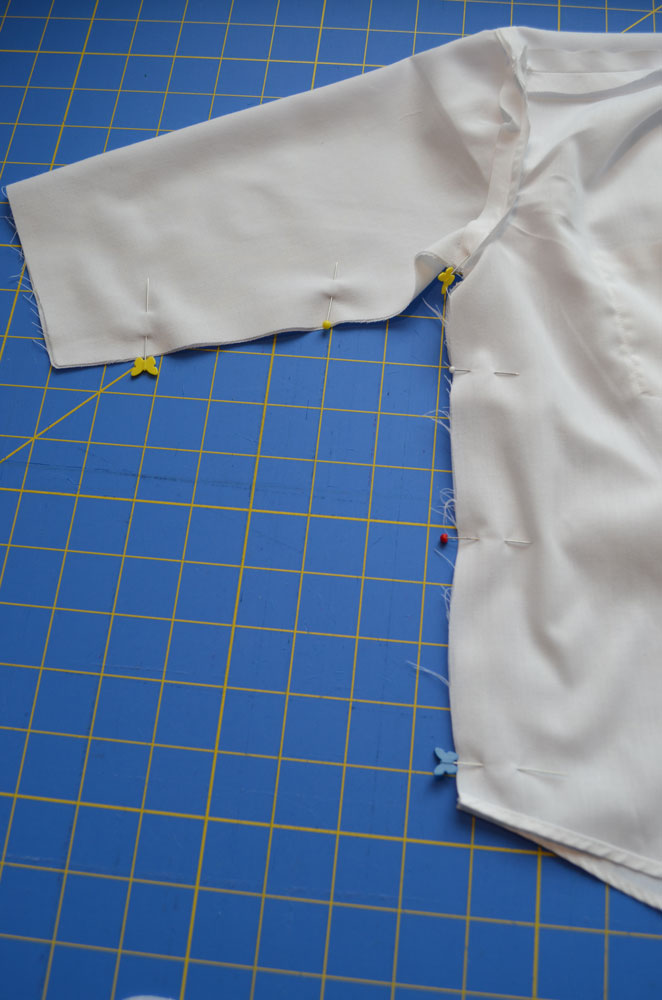
Now ready to pin and sew up the sides of the shirt, I stopped a couple inches from the end of the sleeve and…
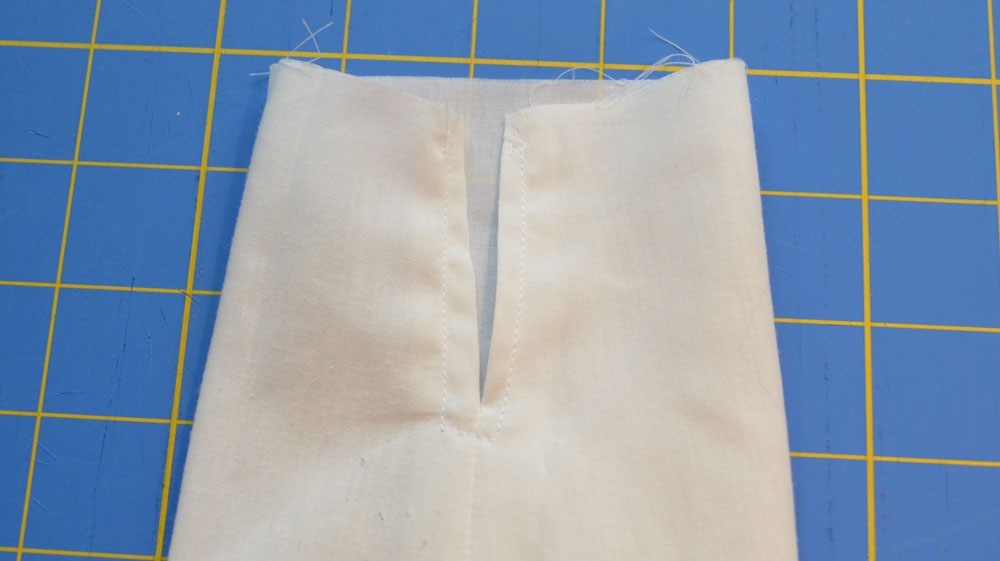
Sewed the edges folded in.
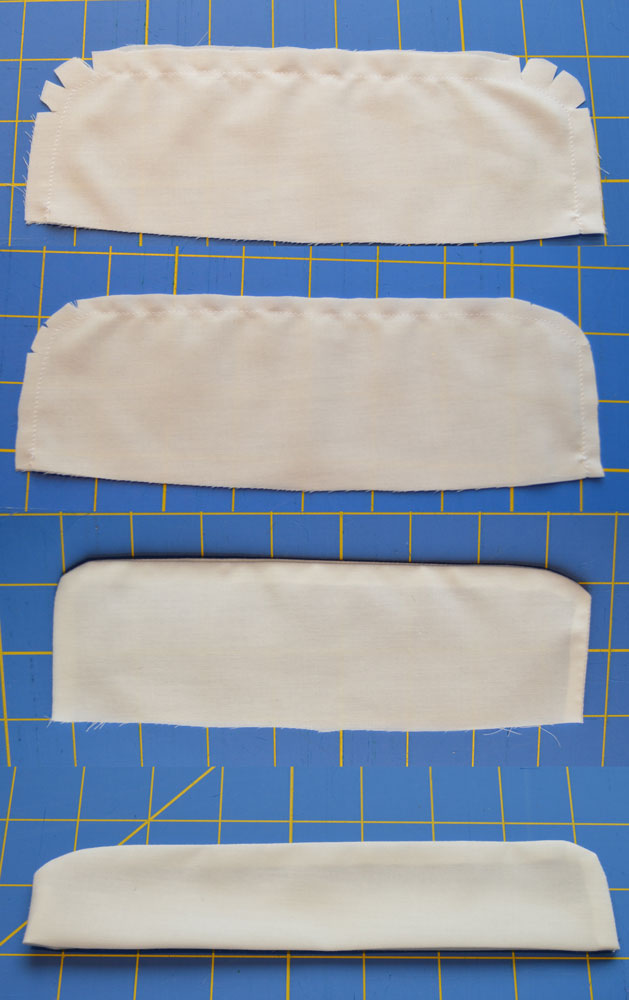
Next the two pieces of cuff are 1) sewn together, clipped, 2) trimmed, 3) pressed inside out and finally 4) tucked under and pressed again.
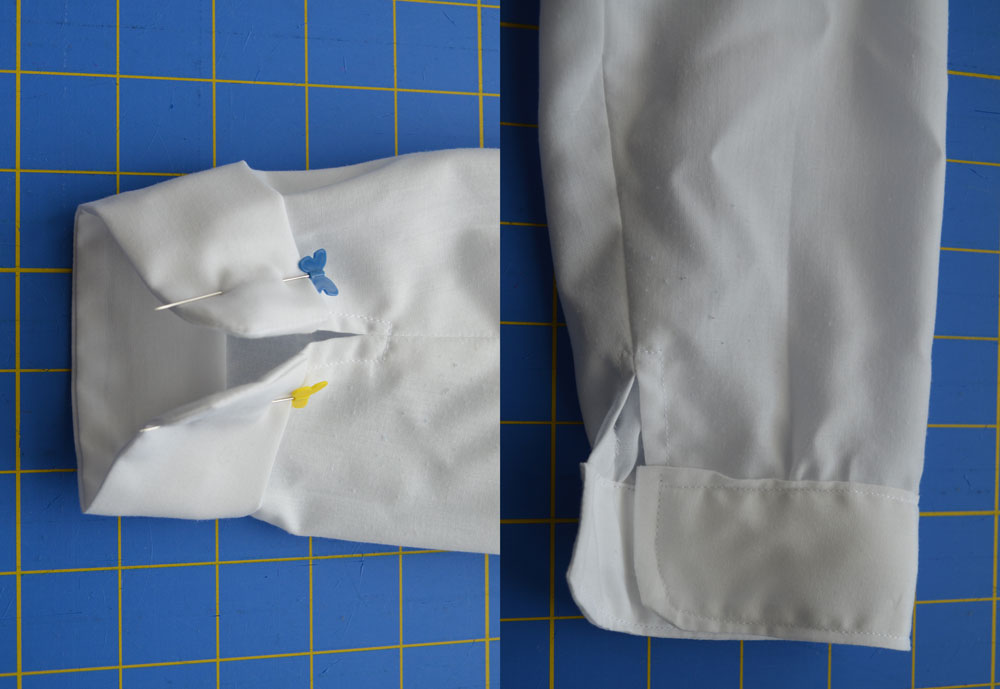
The cuff can now be pinned to the end of the sleeve and top stitched in place. I use snaps on the cuffs instead of buttons – much easier when dressing a wriggly toddler.
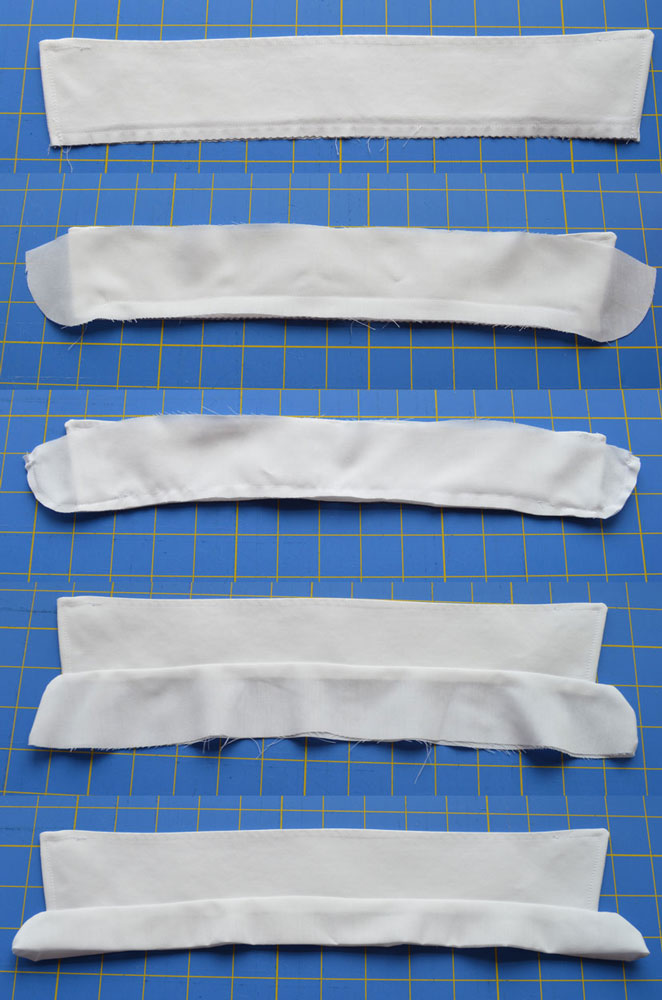
I took the original collar and used the pieces from the pattern to attach it to the shirt. From top to bottom: 1) I resewed the edges of the collar having trimmed them. (I had to seam rip the top stitching far enough to be able to sew the new edges together then I re-top stitched as needed). 2) Each side was sewn individually to each side of the collar. 3) then sewn together around the curve 4) flipped right side out and pressed 5) tucked under and pressed again.
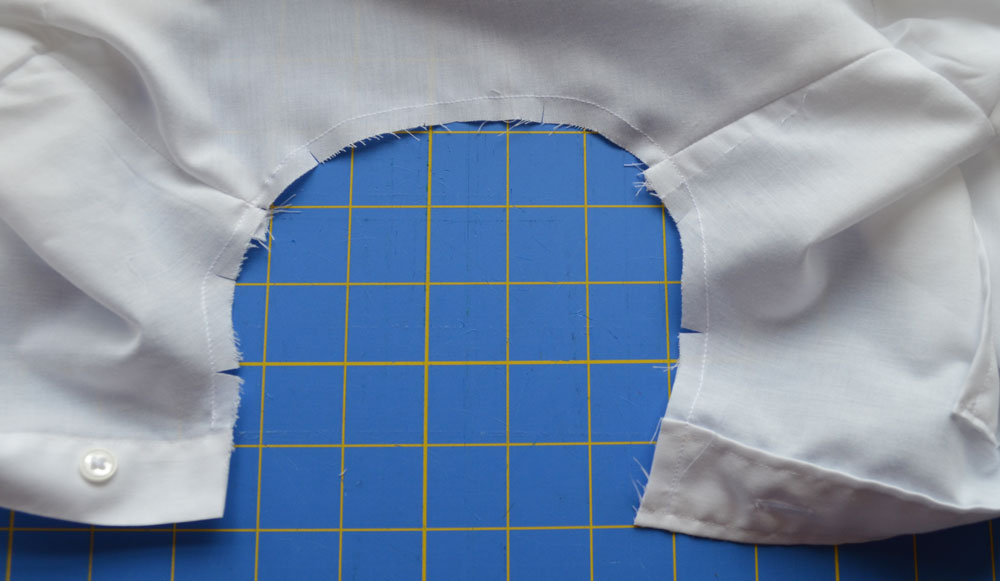
I sewed a stay stitch around the neckline and clipped it.
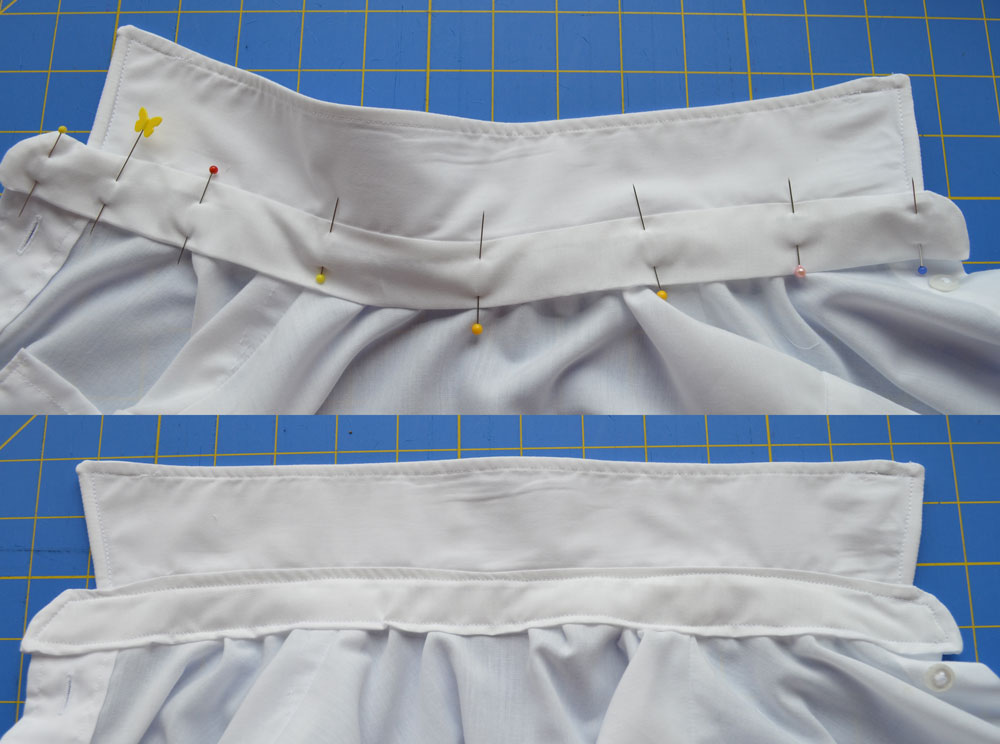
Pinned in place, I sewed the collar all the way around, easing the shirt material into the curve – the puckers actually make the shirt look better.
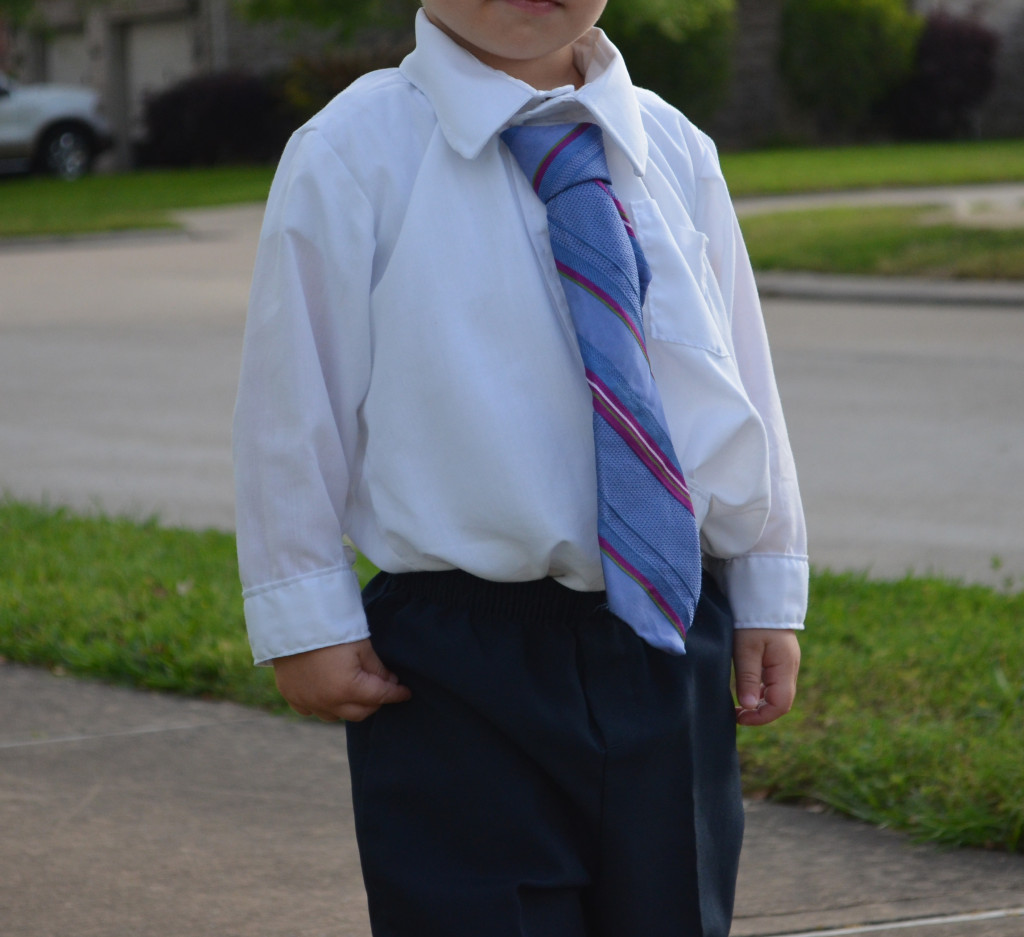
The Final step is to hand stitch the snaps to the wrists and top collar.

 Lengthen a Dress
 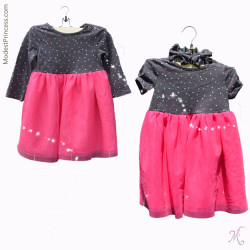 Long Sleeve to Short
So, what do you think ?