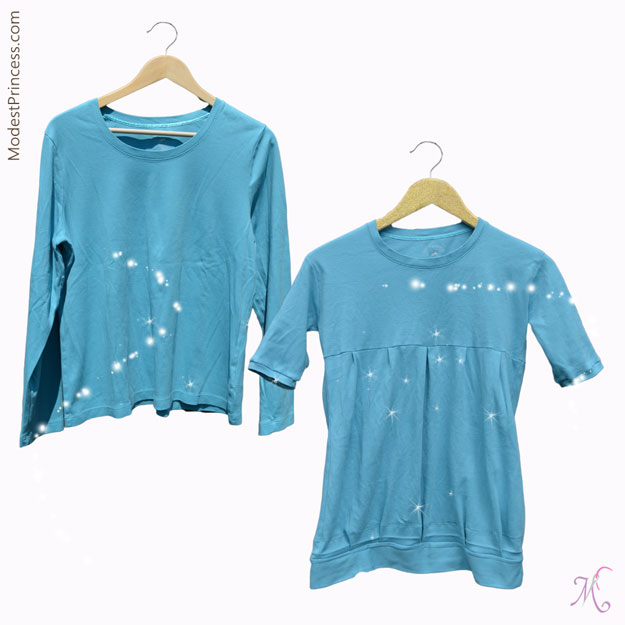
I have a favorite shirt, that just fits so well and I’ve always wanted to have it in other colors but as it was bought resale I don’t know where to buy more. I’ve long thought it would be easy to copy the design, and I was right. I started with an XL long sleeve t-shirt (picked up for 25cents at Thrift Outlet).
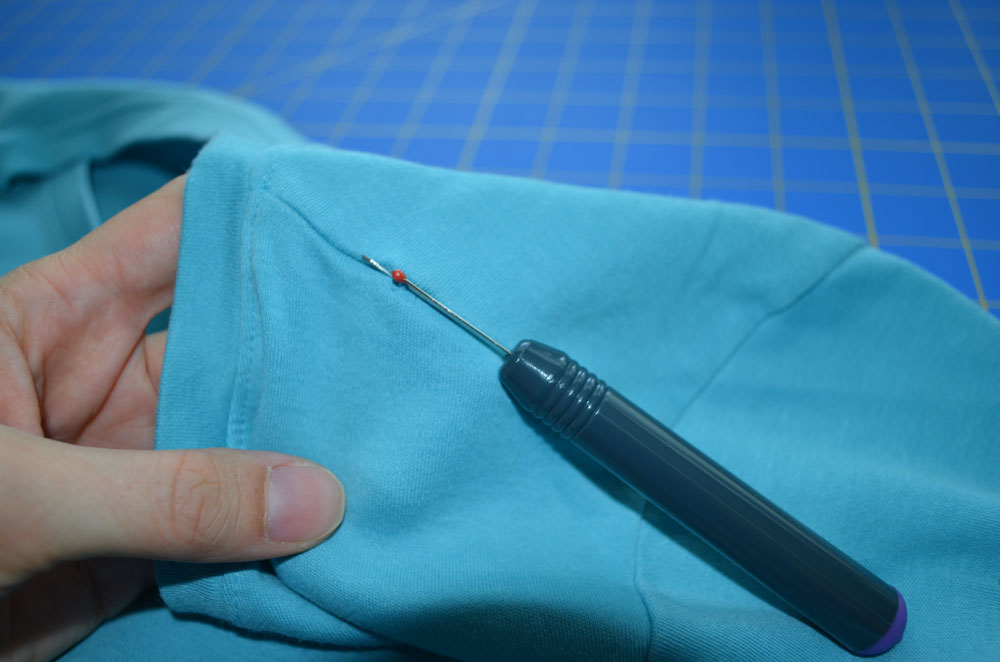
I first seam ripped the shoulder seams.
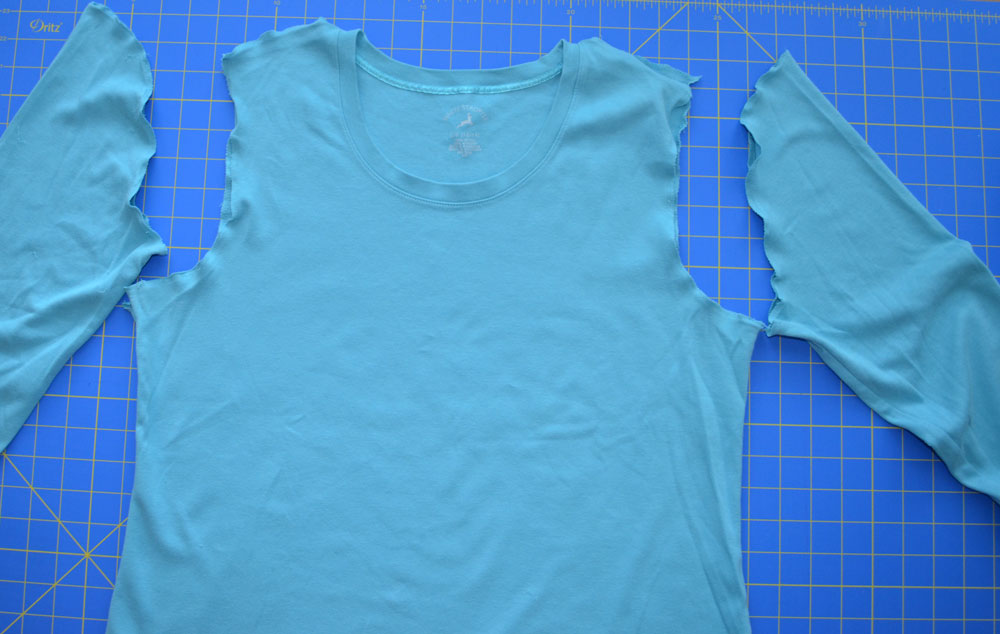
I continued seam ripping till I’d removed the sleeves completely – as I need to resize the arms to fit and the neckline to not be so low.
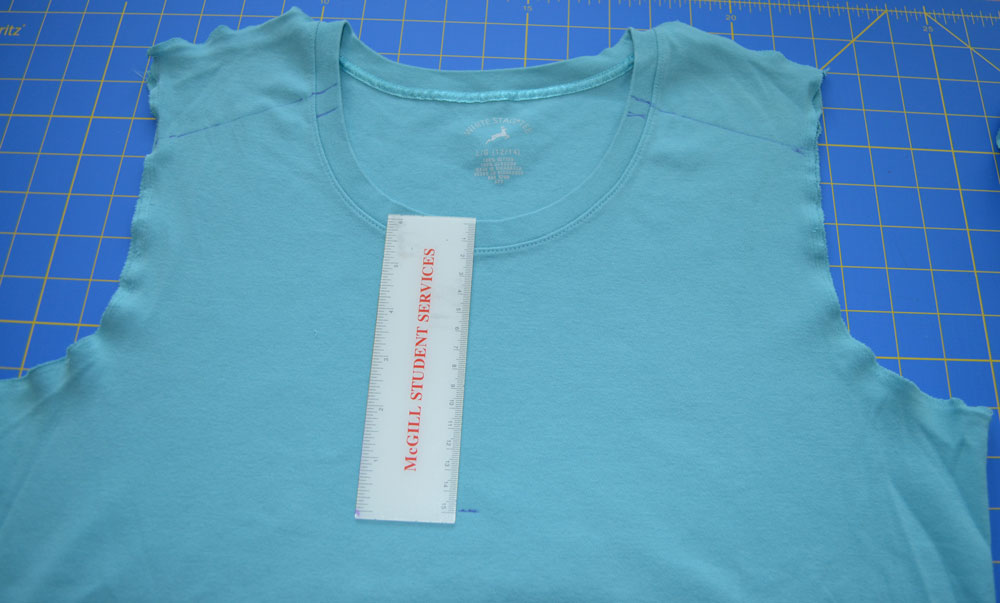
I marked where the adjusted shoulder seams should be, and then measured how far down I wanted the top to go, using my favorite shirt as a guide.
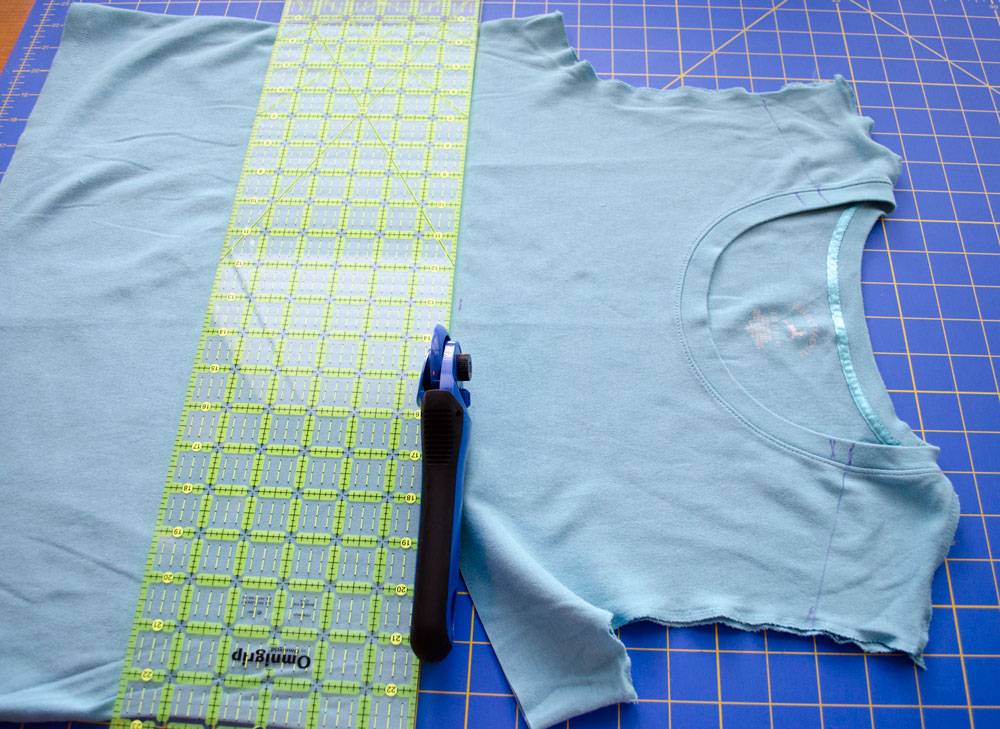
I then cut the top half of the shirt from the bottom half.
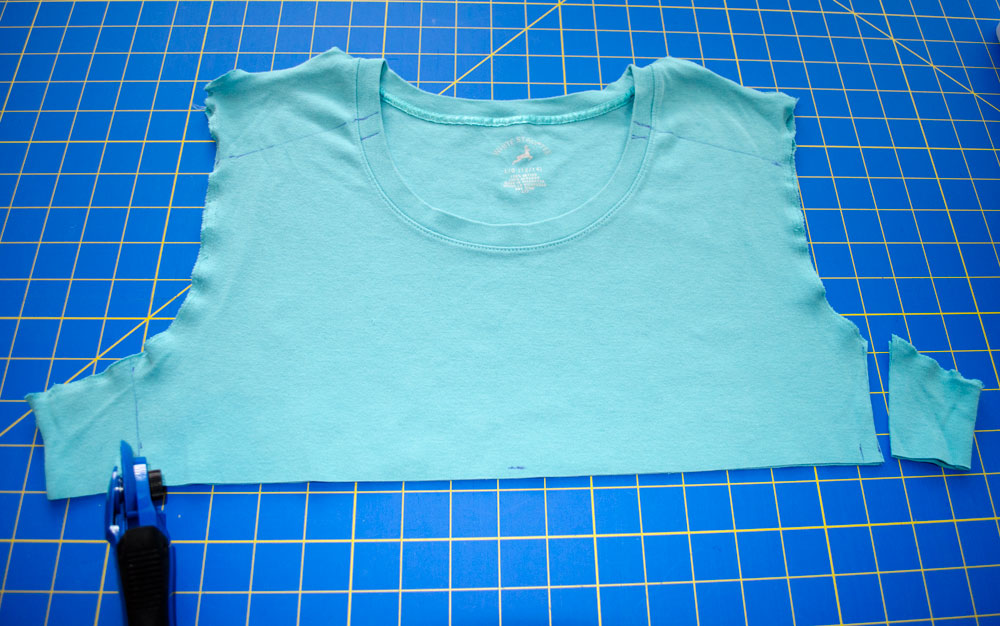
Trimmed the sides in slightly, again because the original shirt was several sizes too big.
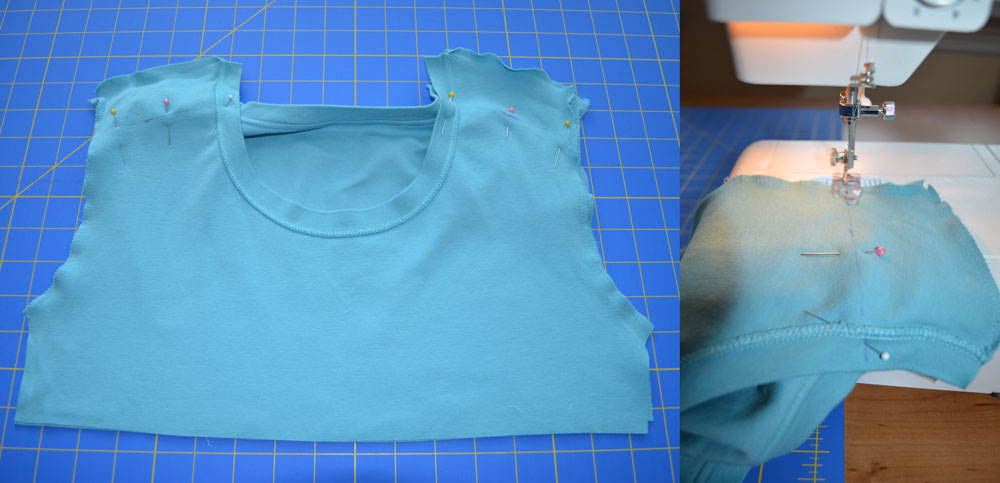
Then I pinned and sewed the new shoulder seams, having made sure the neckline would now be high enough.
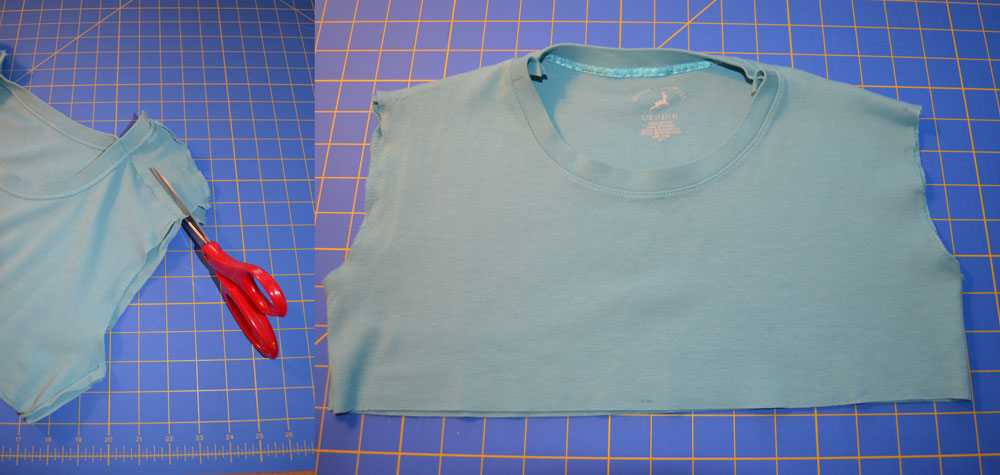
I trimmed the excess off the shoulder seams, and this is what the top of the shirt now looked right side out.
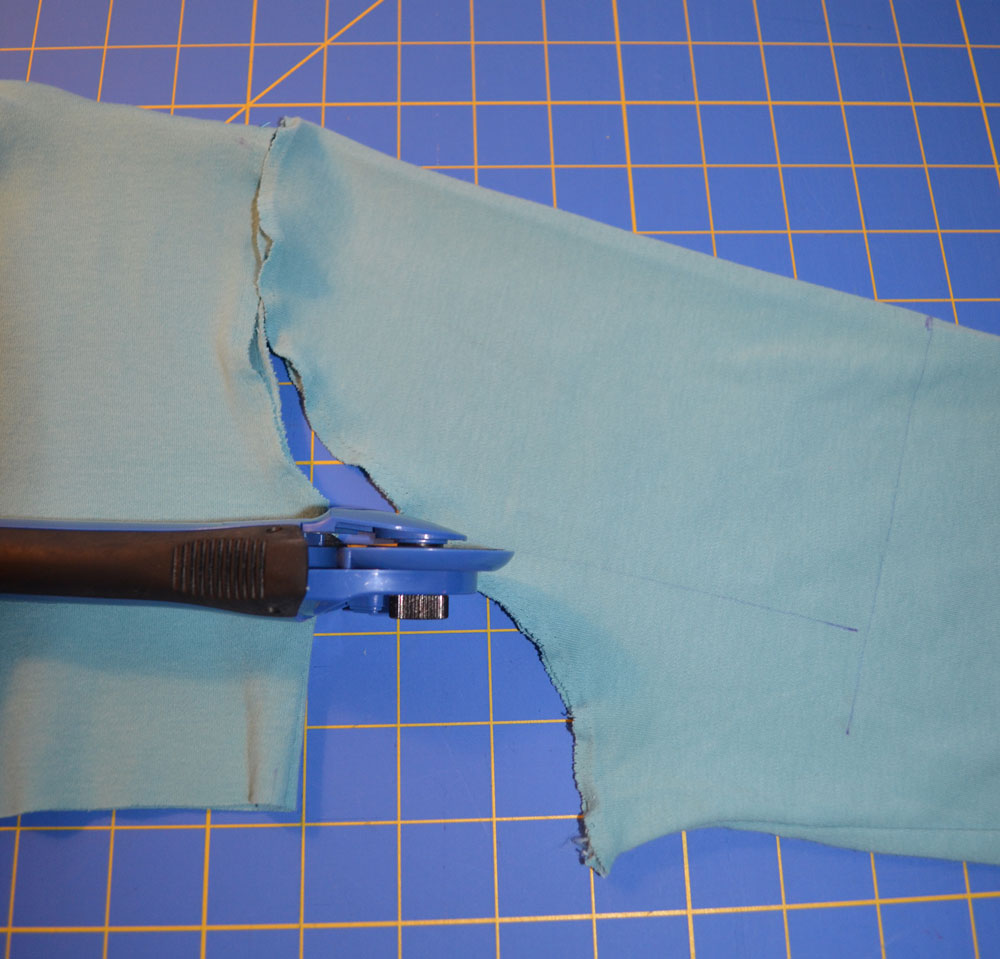
I like 3/4 sleeves so that’s what I marked, and I used my favorite shirt as a guide for the sleeve width, then cut the new sleeve from the old sleeve – keeping the arm hole seam the same so it would still line up.
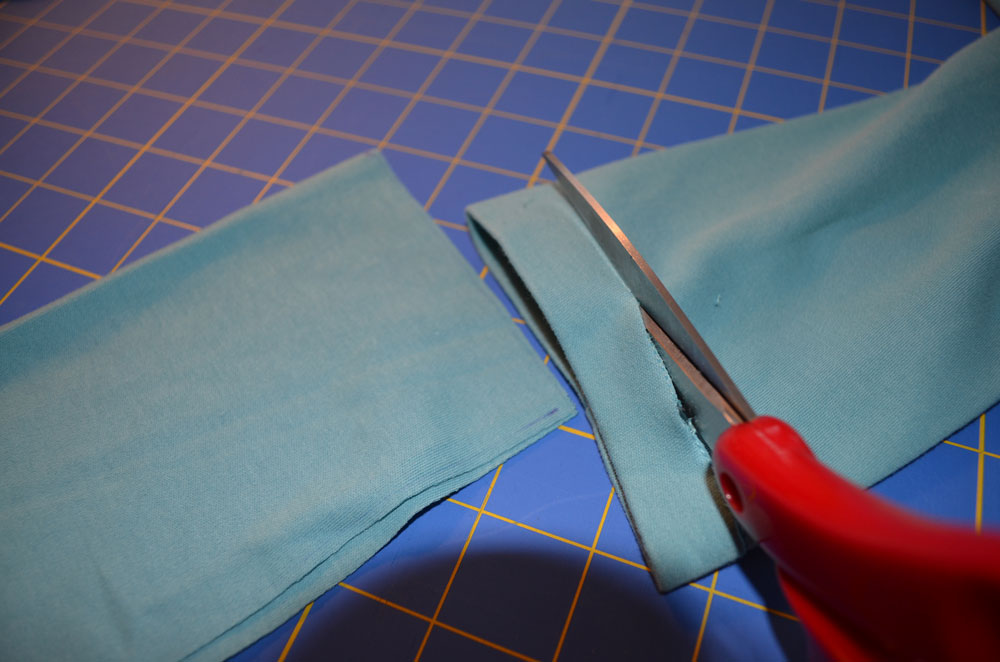
This was actually my 2nd time making one of these, and this was a great improvement – I trimmed the bottom from the original sleeve so as to attach it to the bottom of the new sleeve. This finished cuff made a big difference in the finished look of the shirt.
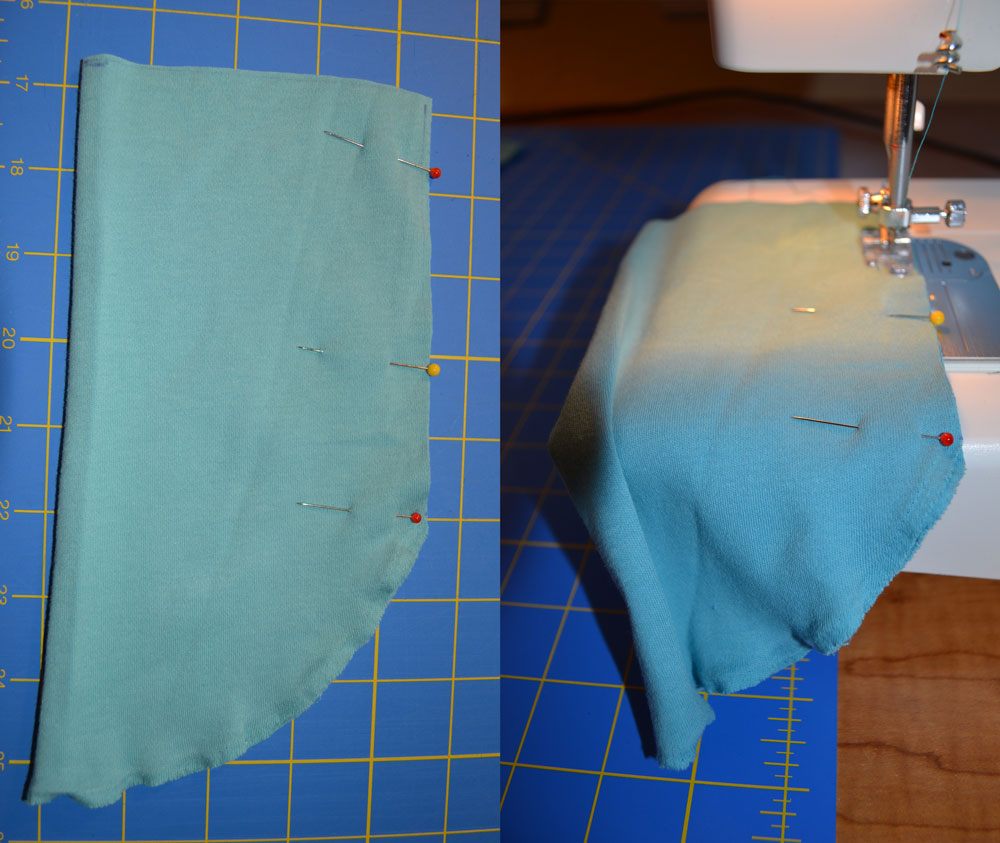
I pinned and sewed the inside seam of the sleeve.
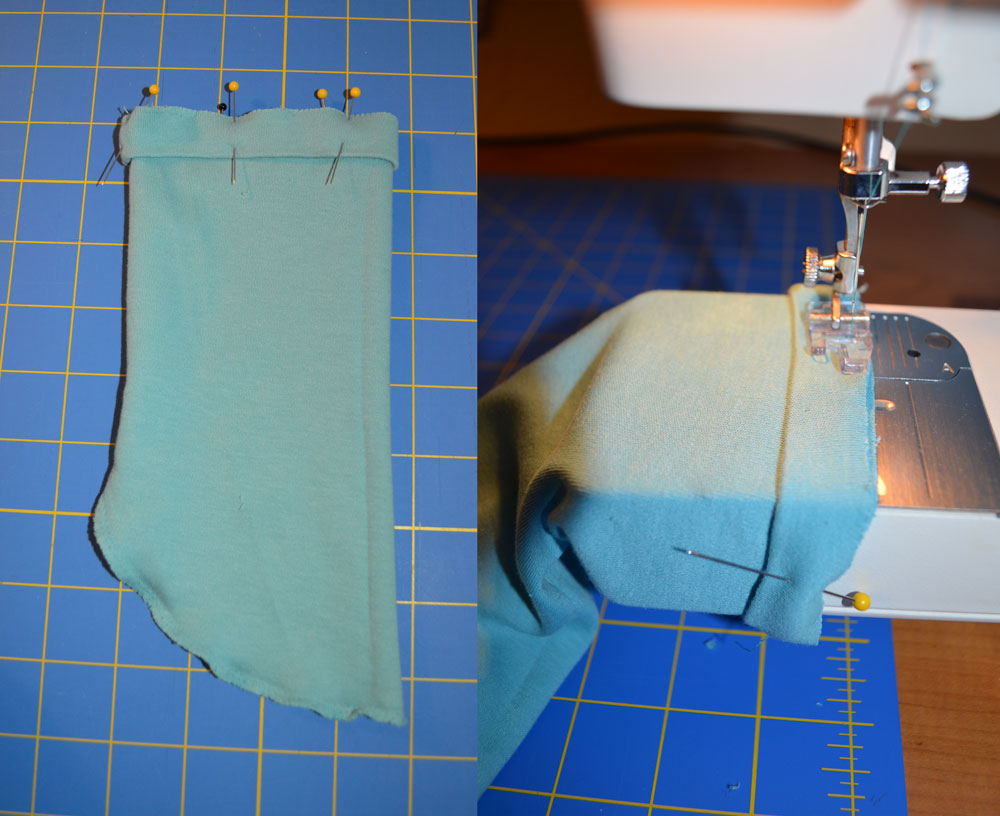
Then pinned and sewed on the cuff.
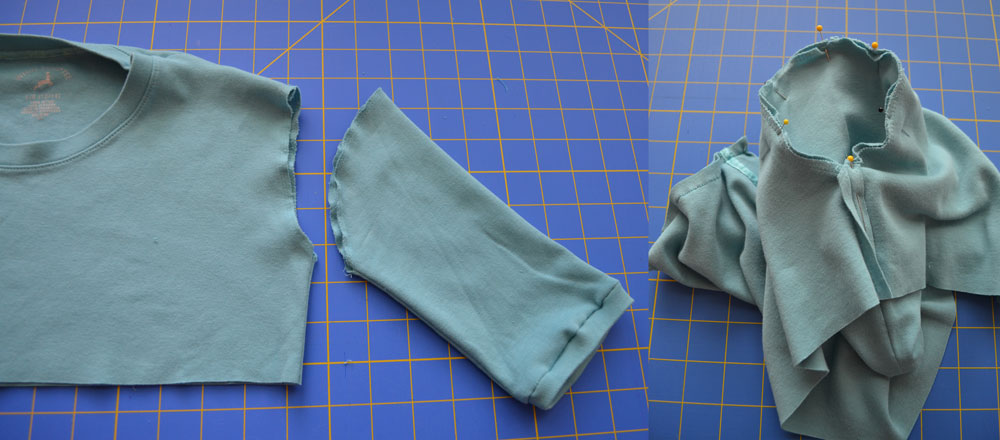
The finished sleeve was now ready to pin into the arm hole of the shirt.
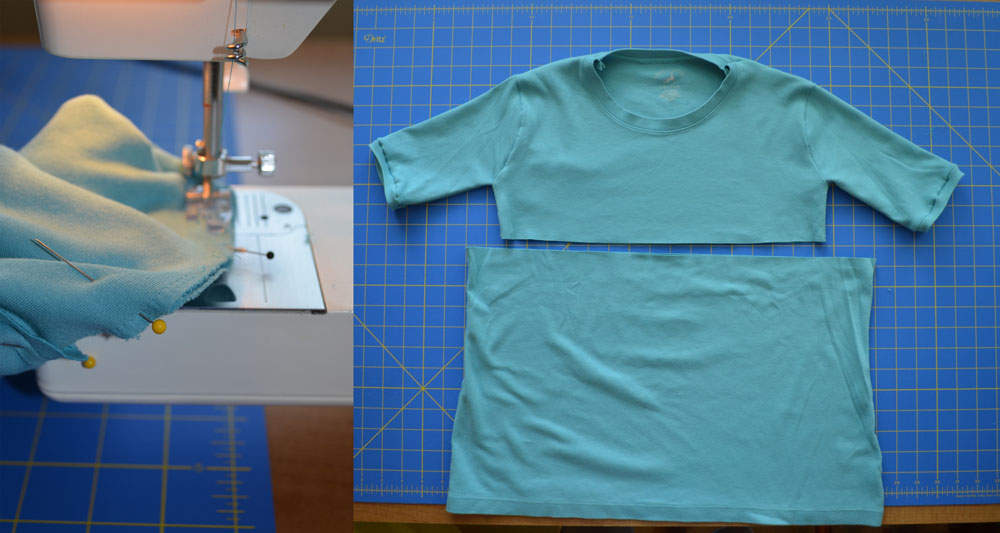
With careful pinning and sewing, the sleeves matched up with the arm holes – here they are both attached, and now we just need to finish the bottom of the shirt. I didn’t calculate how much wider the shirt needed to be to make the pleats, but it worked out great.

I pinned the top to the bottom, creating pleats in the bottom to match up the size with the smaller top, then sewed over the pleats.
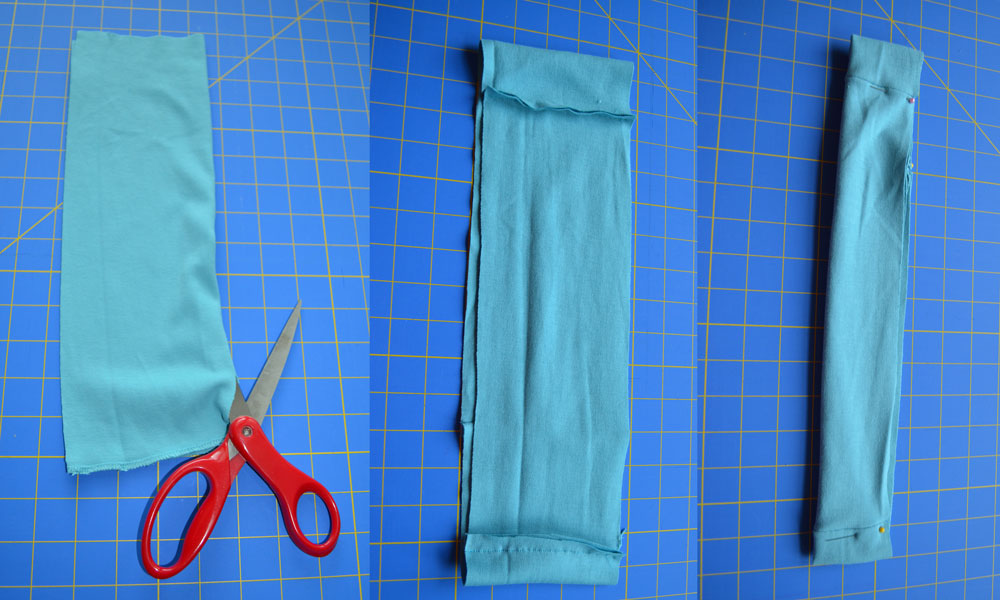
To finish the bottom of the shirt, and add some length I used what was left of the sleeves to create a waistband, I had to attach several pieces to make it long enough, and folded it in half so I’d have a finished edge.
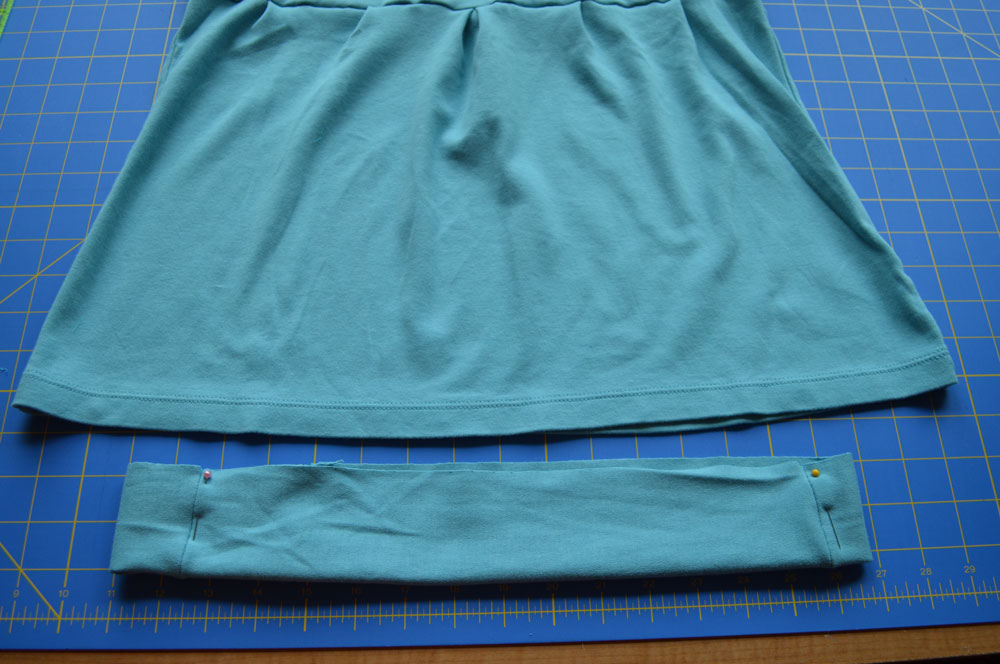
Here is the bottom waistband ready to be sewn onto the bottom of the shirt. After wearing the shirt a few times it was a little short so I ended up going back and seam ripping the bottom seam of the shirt and gained an inch or so of length which made enough difference to make the shirt more comfortable to wear.
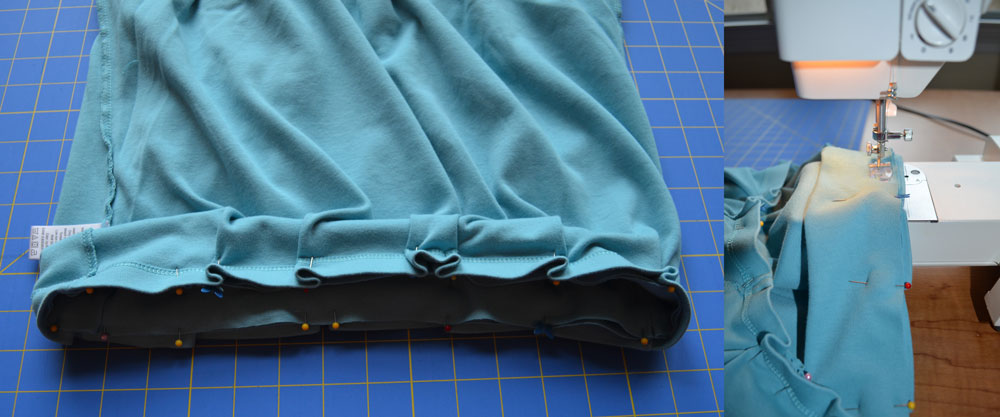
I pleated the bottom of the shirt onto the waistband, and sewed in place.

Here is the finished shirt – as well as my 1st attempt at this type of t-shirt refashion, in pink. Notice the sleeves are not finished as neatly, but the finished length is longer – the pink shirt was longer to begin with which I’d highly recommend.

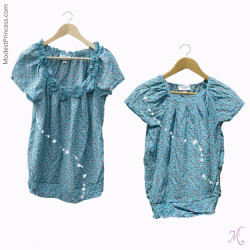 Flower Shirt Refashion
 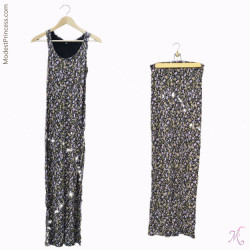 Maxi Dress to Maxi Skirt
So, what do you think ?