What’s better than one awesome skirt? a two-in-one!
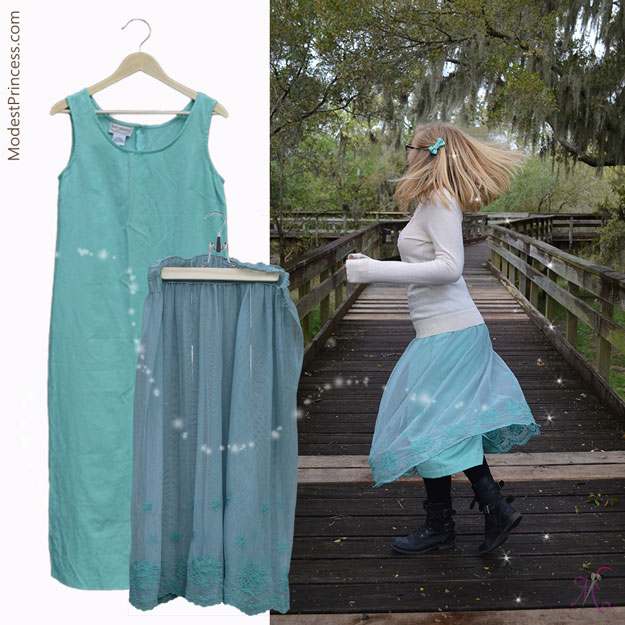
We found the dress with the lace first (it was originally a spaghetti strap dress – we started cutting before taking a picture). We couldn’t simply turn the dress into a skirt as the lining was too tight, so we removed the lace from the lining. After some searching, we found a dress of a suitable color to go under the lace and decided to turn it into a skirt over which the lace could be worn.
We removed the spaghetti straps and lining from the lace dress (sorry forgot to take pics). The overlay was now ready for the skirt. The lace doesn’t fray so no additional finishing needed.
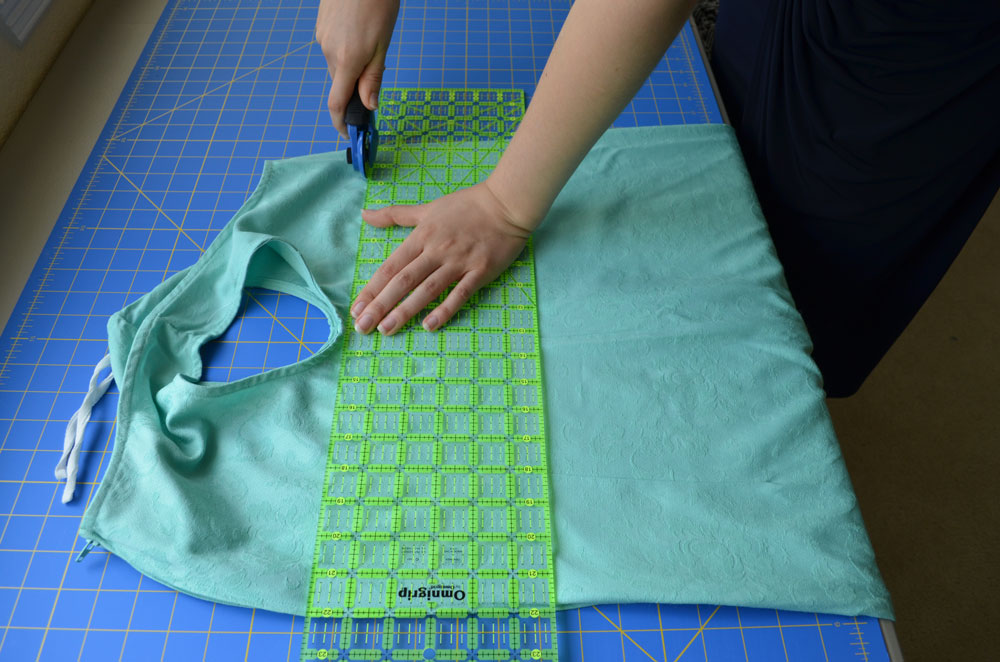
Then we we cut off the top of the 2nd dress, cutting through the zipper.
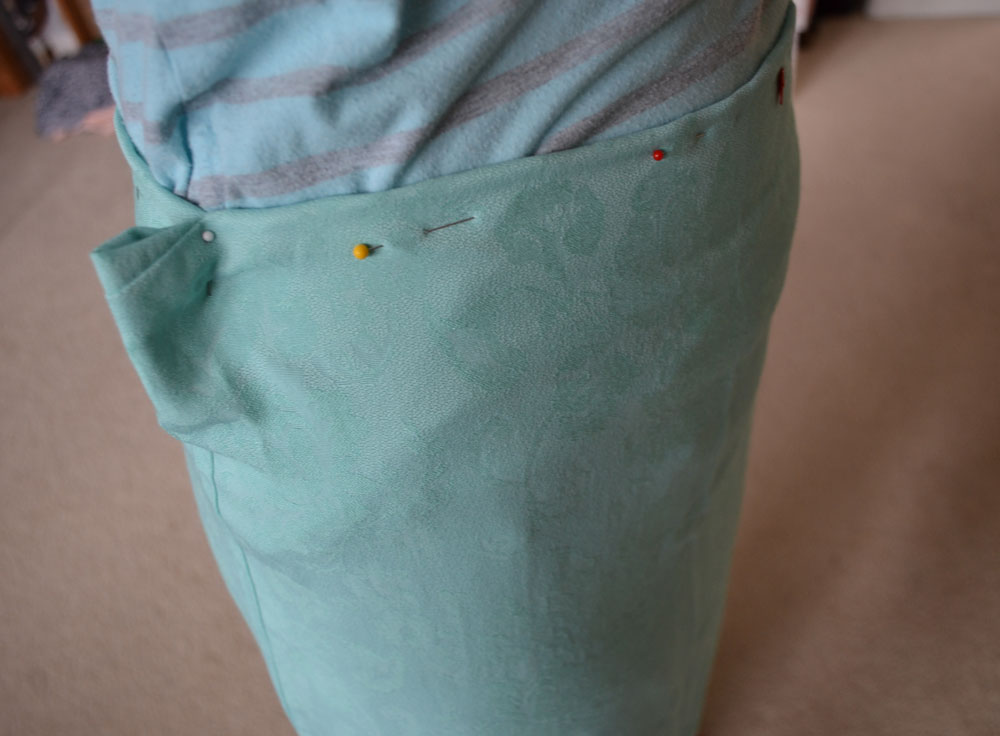
We pinned the waist down and tried it on, we found out it was too wide, so we pinned the sides in.
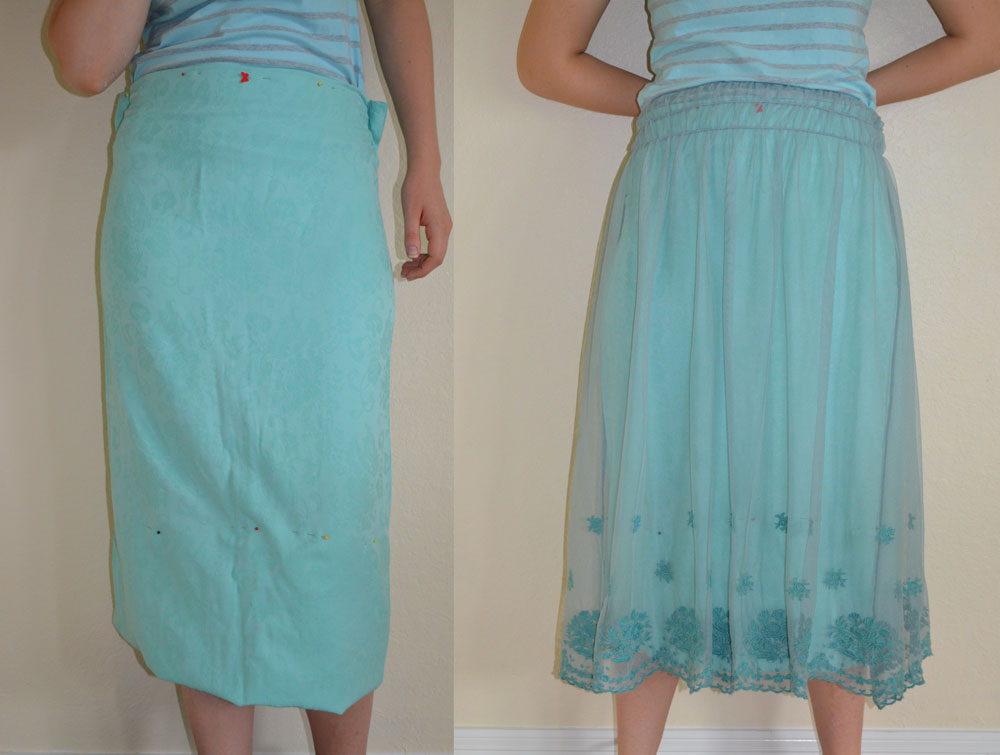
We then pinned up the bottom to the desired tea-length. We tried on the lace overlay to make sure the two would look good together – wow!
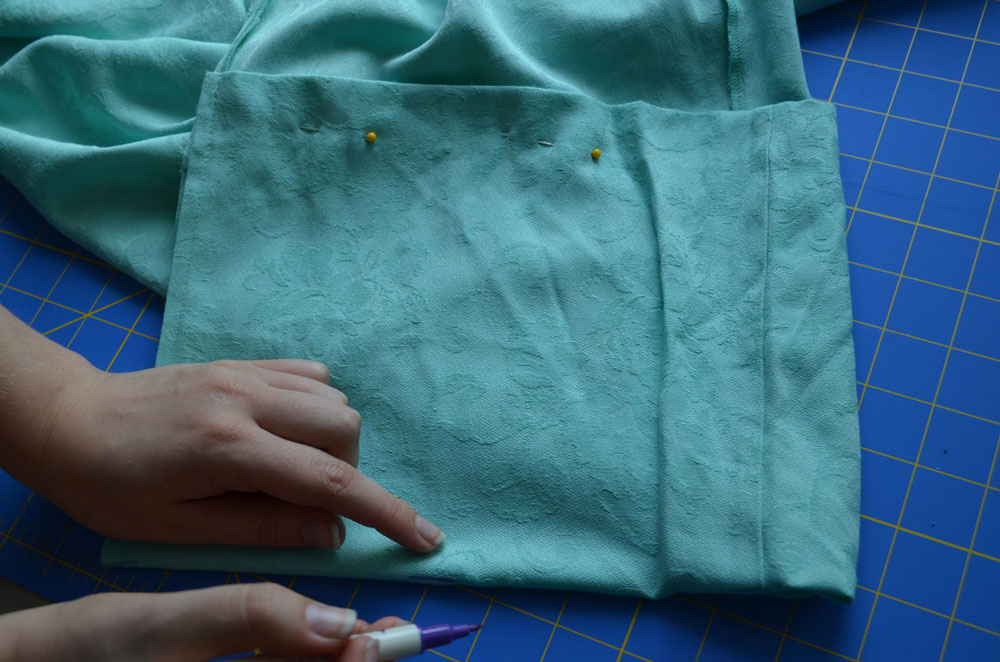
We turned the dress inside out and marked where to cut the bottom.
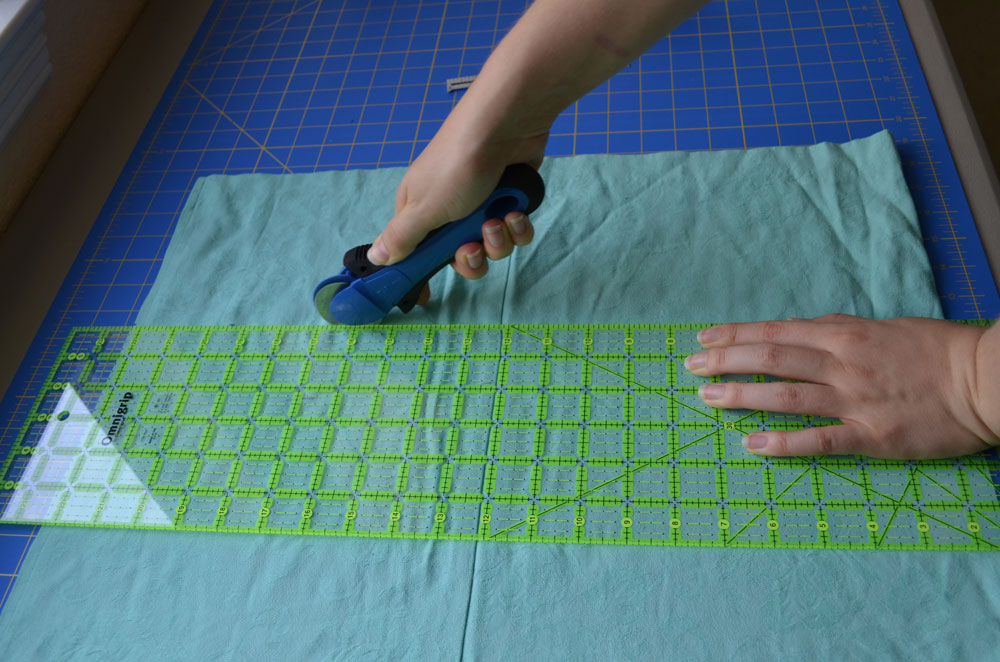
And cut the excess off the bottom of the skirt.

We measured and ironed a 1 inch hem.
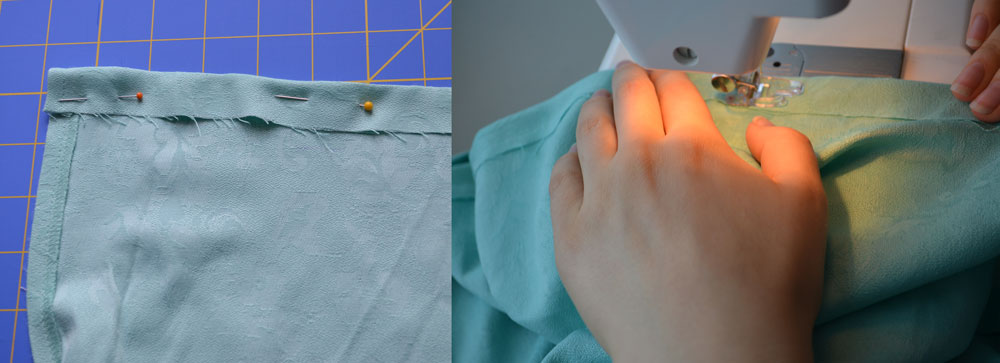
Pinned and sewed the hem.
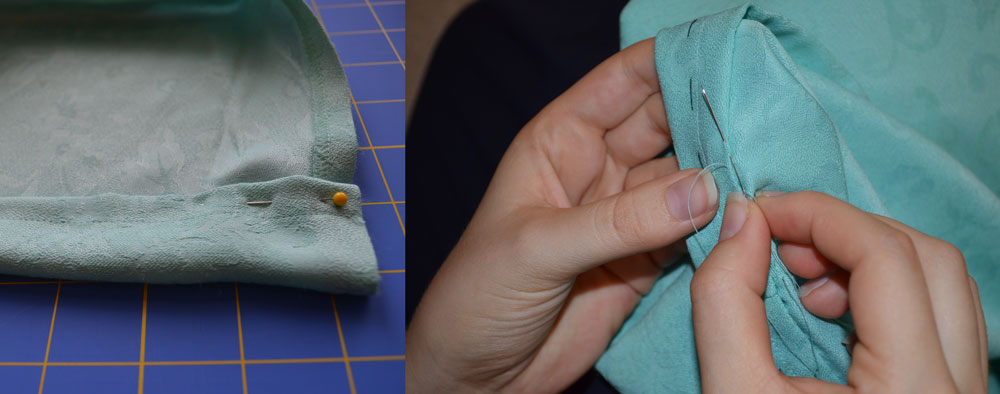
Then folded the edge over and hand stitched an invisible hem stitch so there would not be a line of machine sewing at the bottom of the skirt.
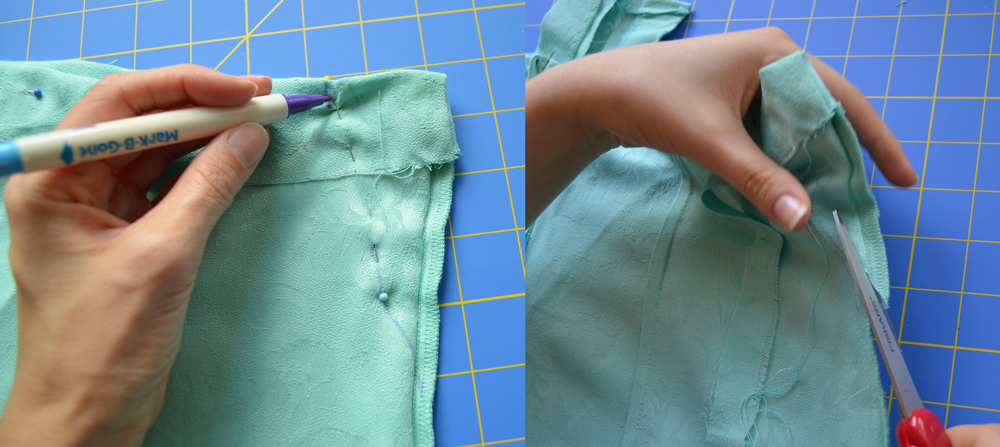
We marked where the side seams needed to be taken in to fit Sierra’s Waist, sewed this side seam and trimmed the excess.
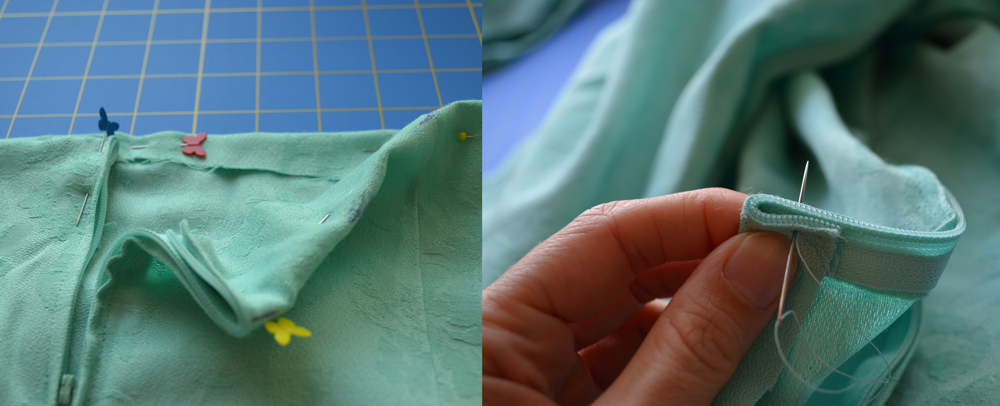
The zipper was cut when we cut the top off the dress, so we hand stitched the cut zipper pieces down.
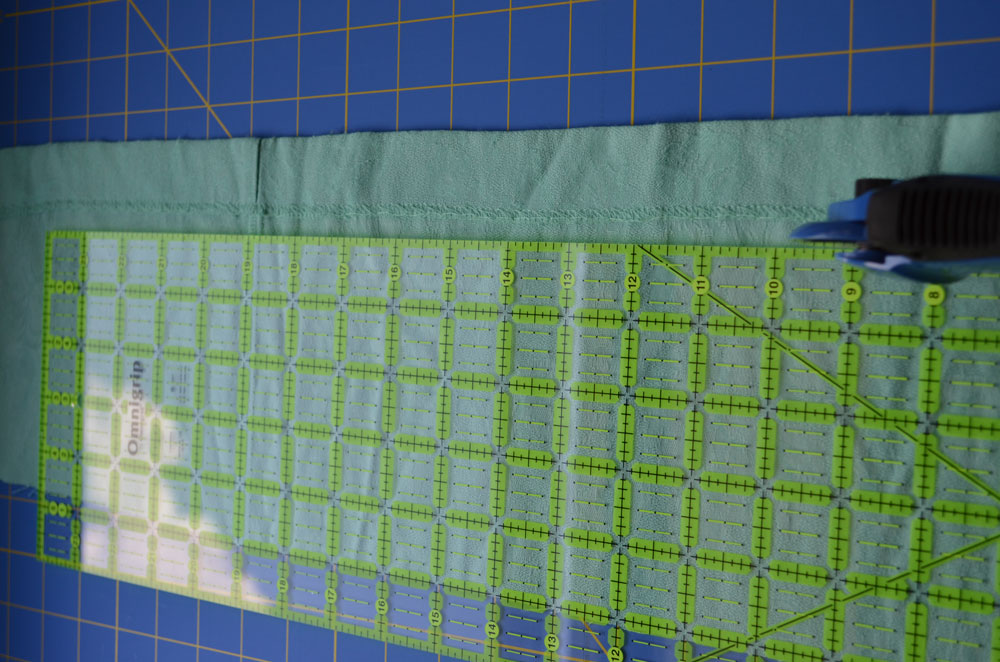
We cut a waist band using the original bottom hem of the dress, with an extra ¼ inch which we are going to fold under.
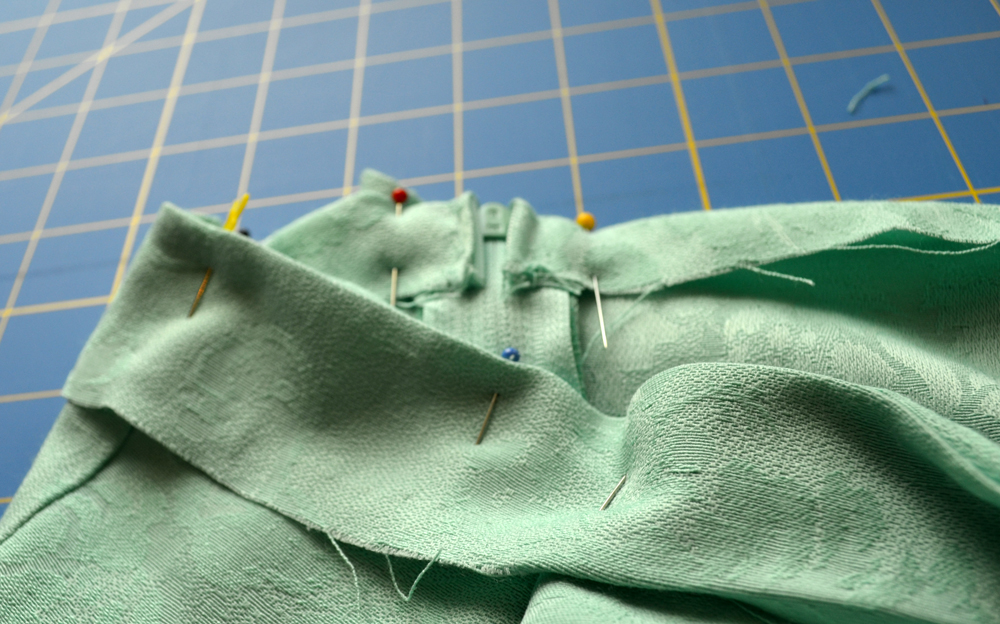
We pinned the original bottom hem turned waistband to the top of the skirt, and ran a basting stitch. We made the waistband slightly tighter as we’d noticed a slight droop in the top of the skirt.
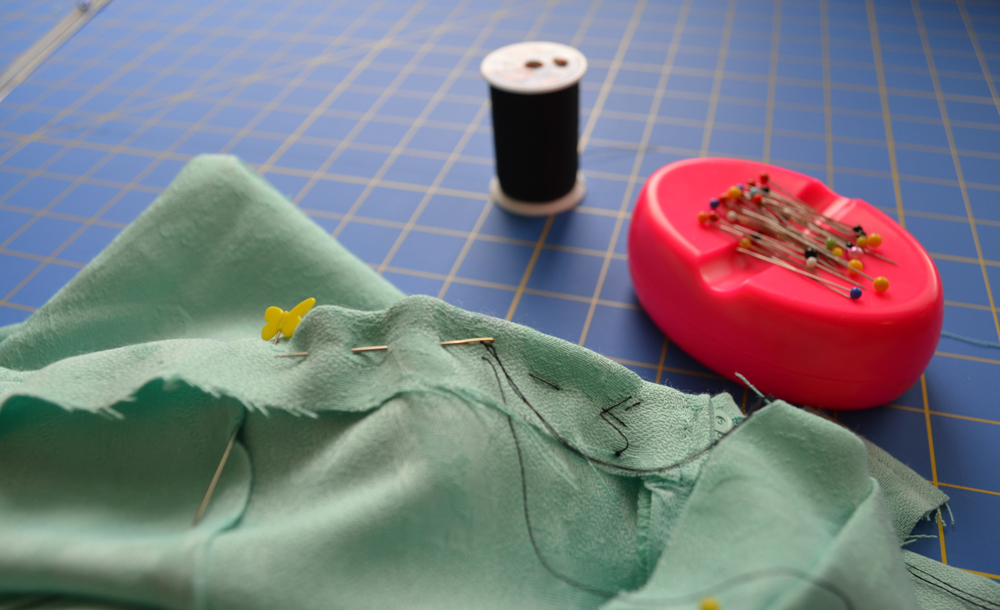
We basted first so that we could try the skirt on without getting stabbed by pins and make sure it would work before the final sewing. The basting was done in a contrasting thread, so it was easy to see and remove once final stitching was in place.
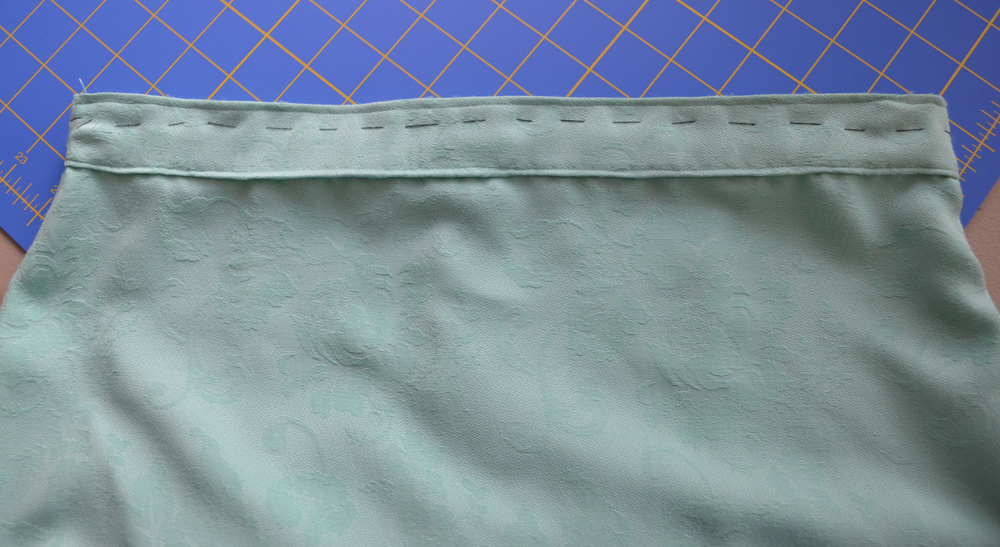
We machine stitched the waistband to the top of the skirt, both at the top and bottom of the waistband. We hand sewed the edges around the zipper and had one final fitting before removing the basting stitches.

As mentioned above, the lace lining didn’t need any finishing as the edges did not fray. The original buttons even worked as is to button the lace over the mint skirt when a more fancy look is desired.
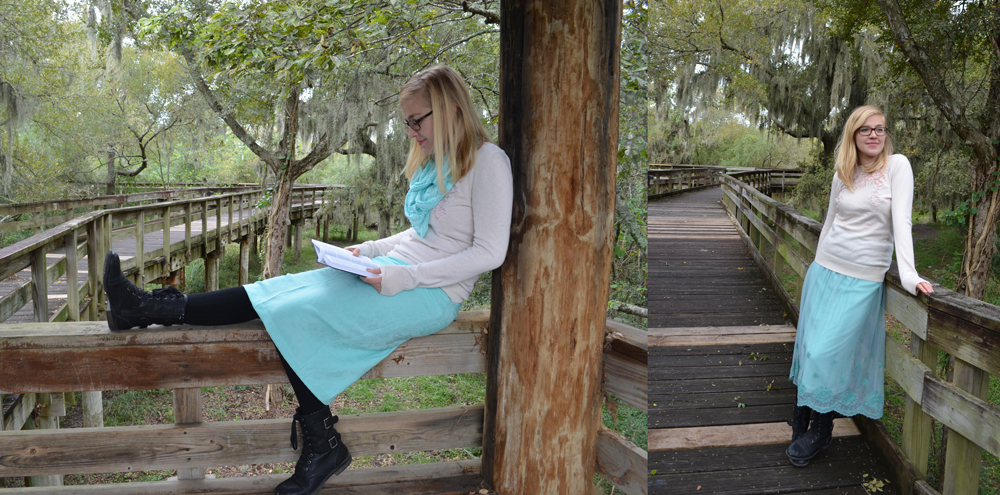
Lots of options for this two-in-one skirt!

 Beaded Neckline Prom Dress
  T-shirt to Fitted Undershirt
So, what do you think ?