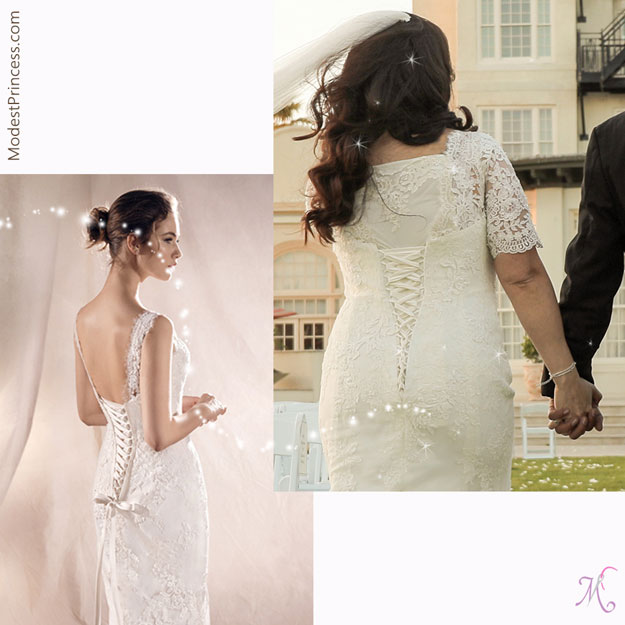
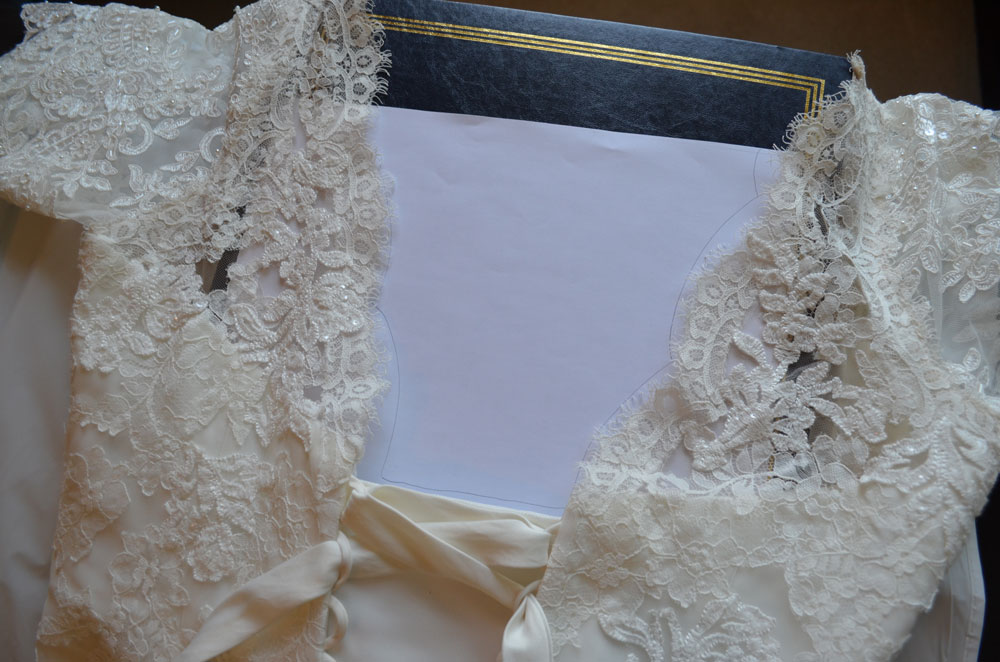
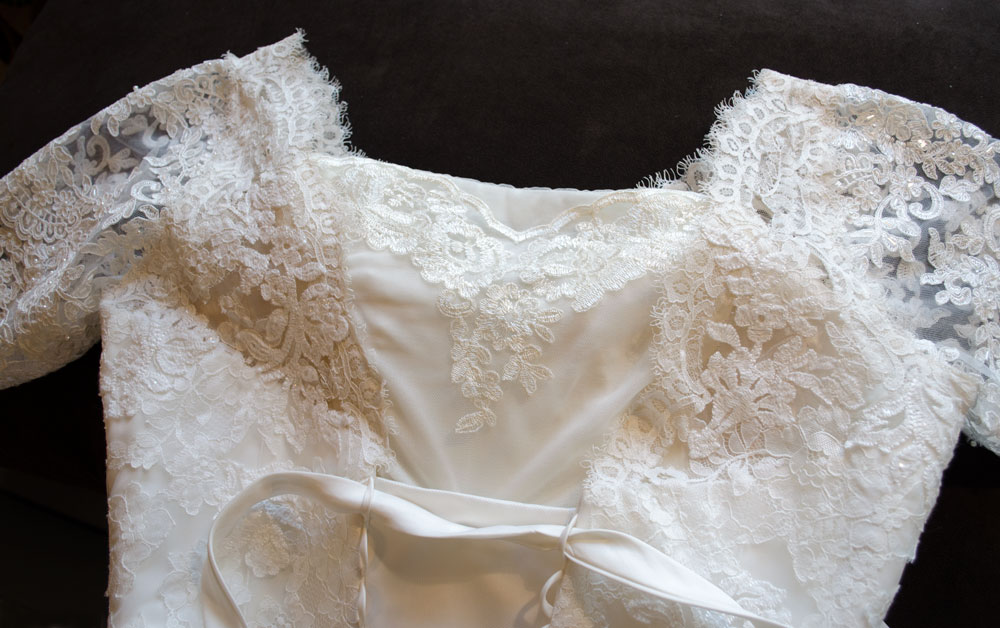
Low Back Snap in Panel: The back of the dress was too low to be modest, the original dress came with a panel behind the corset style lacing which gave us the idea to create a 2nd panel higher up which would also be sewn to one side, and snapped to the other.
I first tried tracing the scalloped shape of the opening of the back which we were trying to fill, but realized that would be too hard to cut out precisely so I simply took measurements and made a rectangle which would fit in the space.
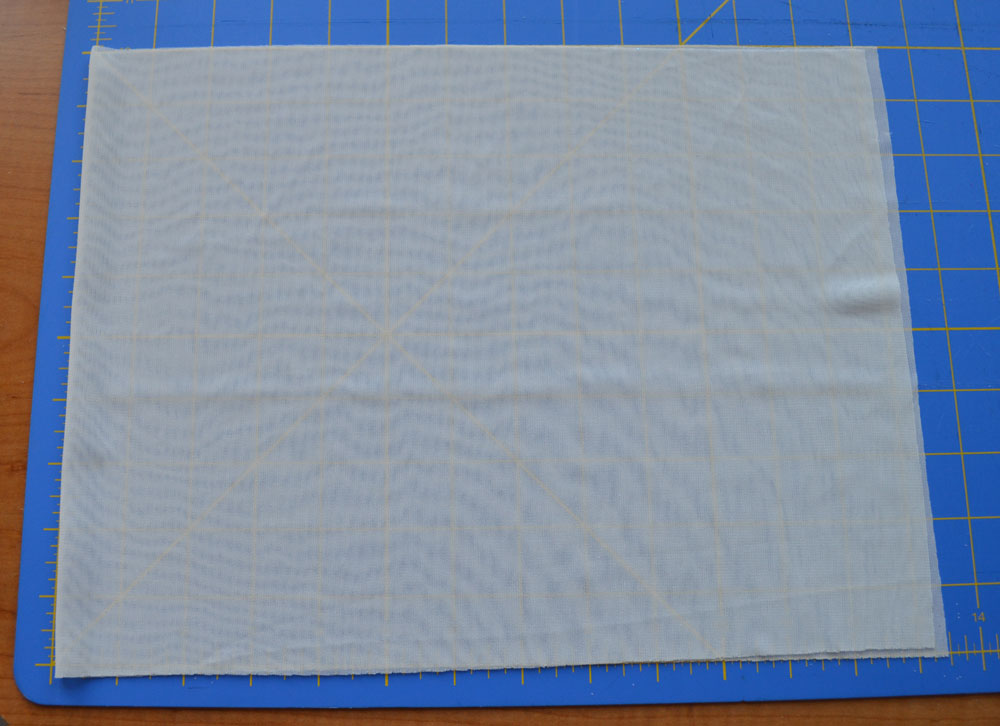
Here is the cut rectangle out of lining fabric, folded over so there are two layers as we are trying to create a non-sheer back panel. I sewed around the edges and flipped this rectangle right side out so the seams were in the inside and all edges were finished.
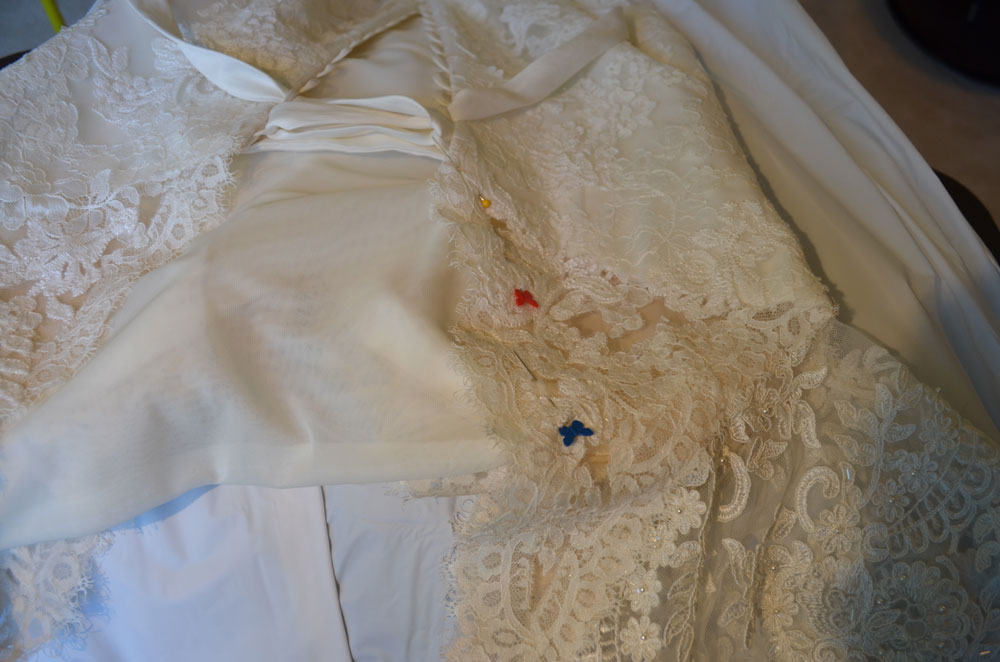
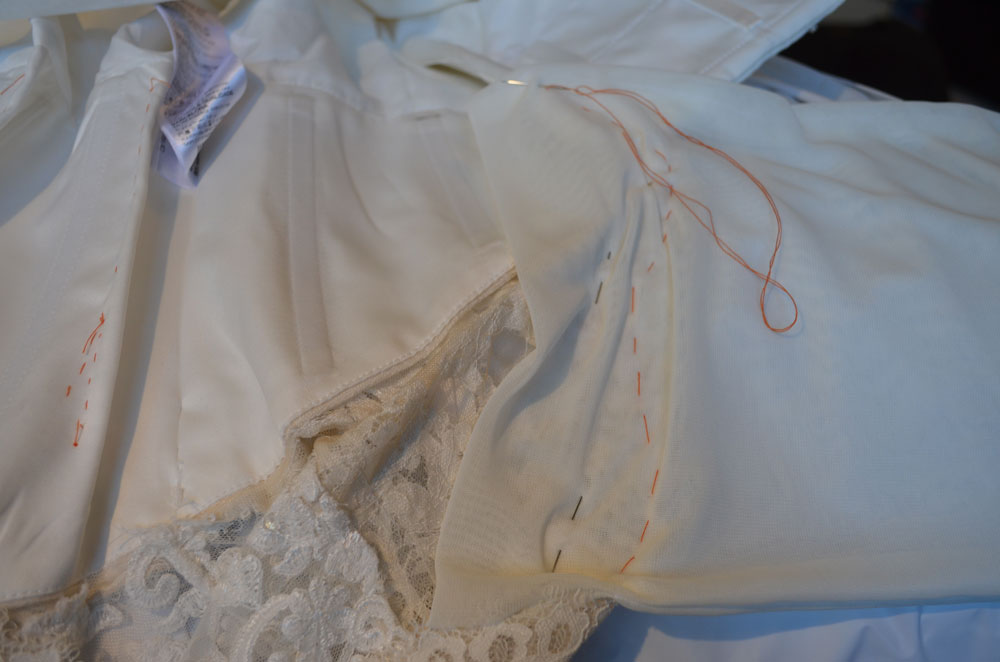
Then I pinned it to one side of the dress.
And hand basted into place with bright orange so this stitching would be easy to remove as this was just for a fitting to see if the concept of a snap on back panel would work.
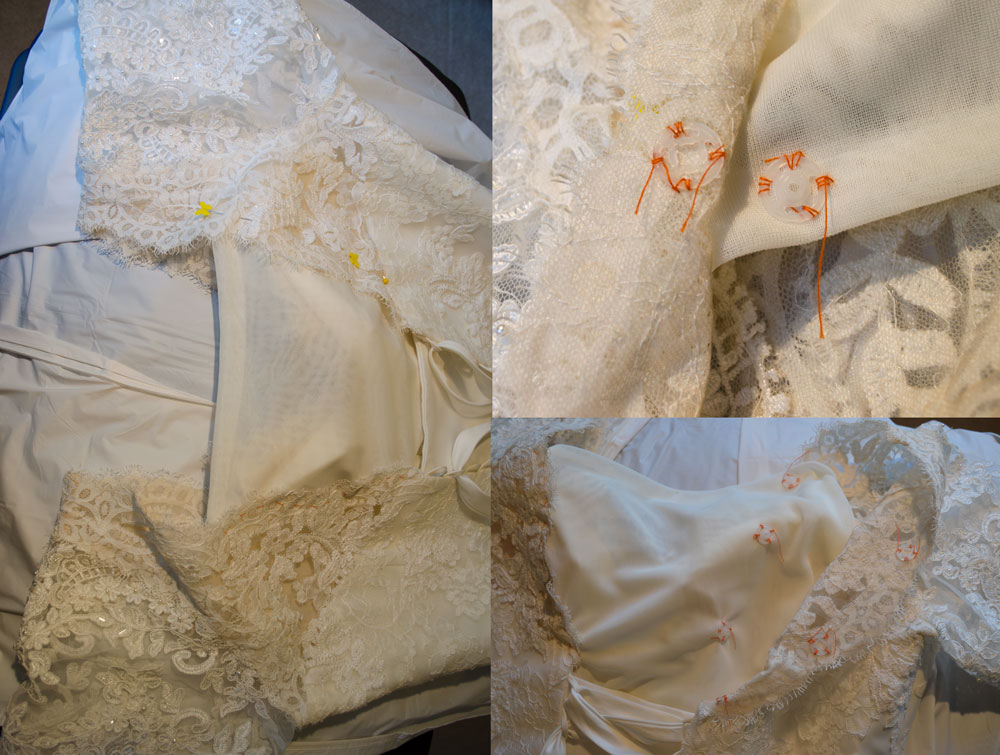
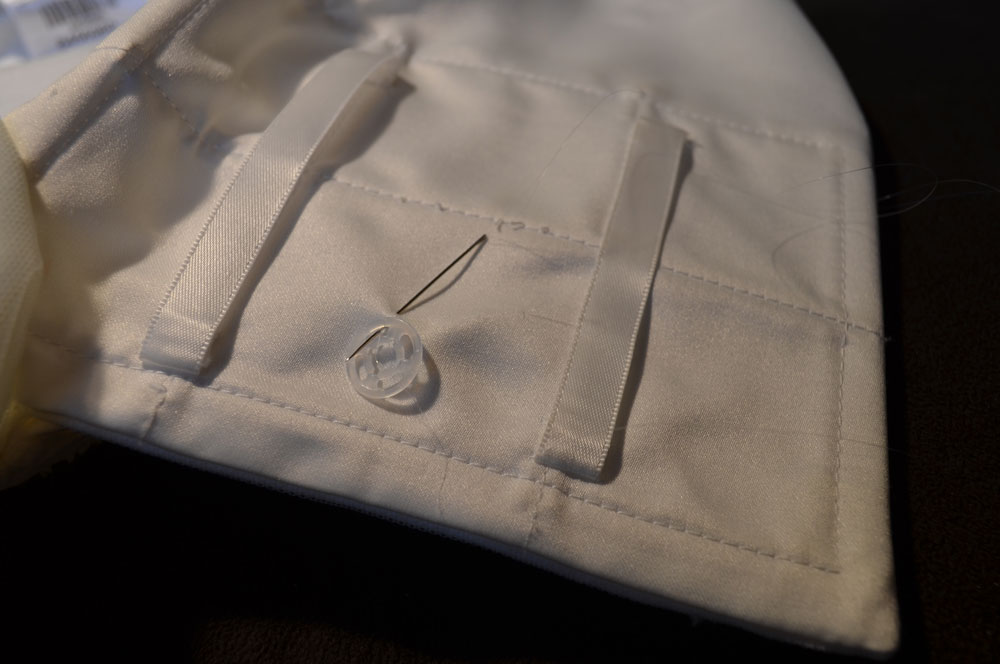
I also basted the nylon snaps into place.
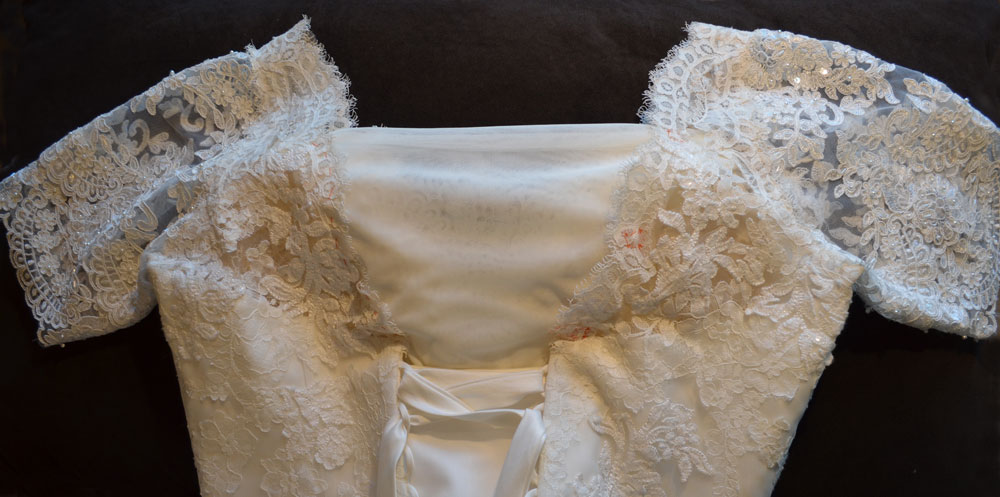
And the snap in back panel is ready for a fitting.
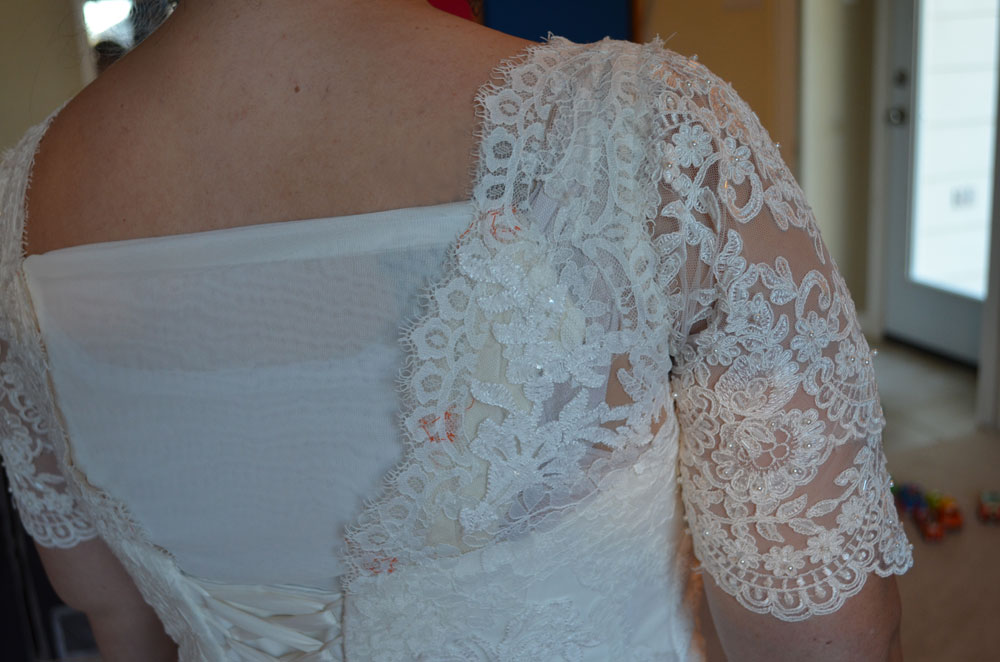
It actually turned out much better than I had anticipated, it pulled tightly across her back and looked great – now to create the final product without the orange stitching.
And with an added layer of lace so the back wouldn’t look plain and would blend in with the dress more.
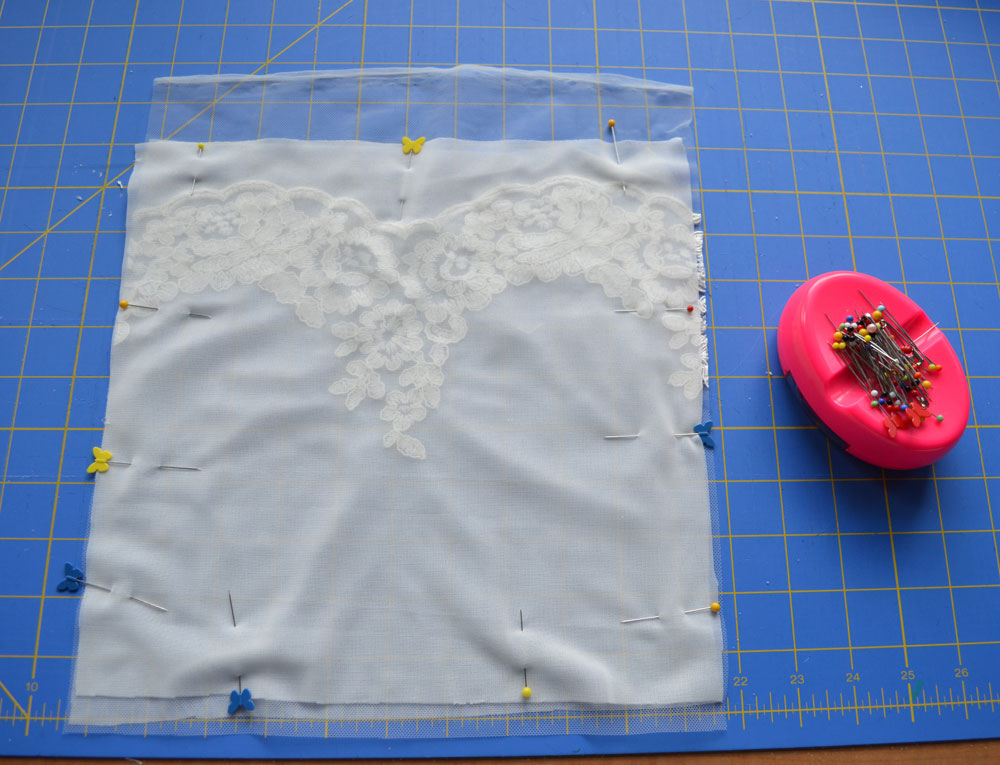
Three layers of course added to the difficulty of sewing, with three slippery layers now pinned together, the lace sandwiched in between the lining layers.
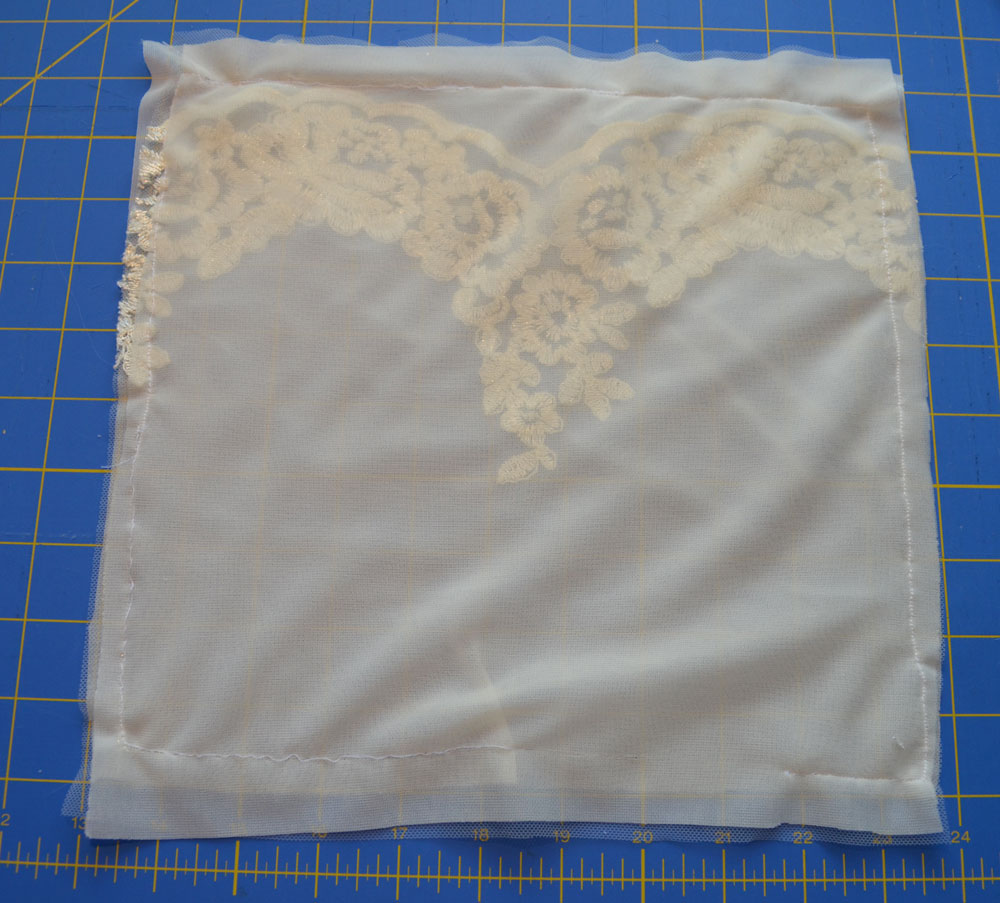
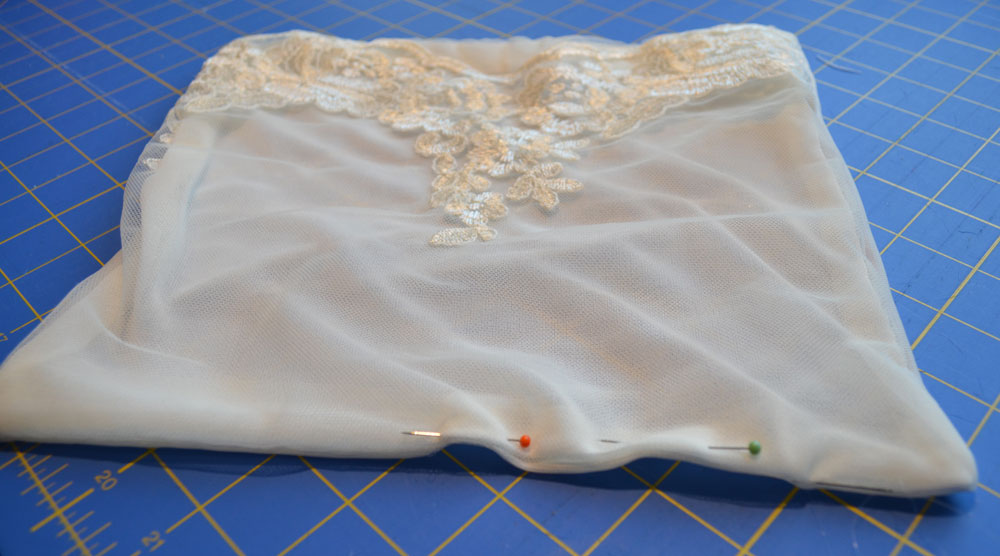
I sewed around all edges, leaving a small opening for turning, I used invisible thread for the top thread in my sewing machine for this step and it was very tricky and the thread dropped a few times… but as this was being turned inside out I didn’t worry about it.
After turning, the small opening was slip stitched closed with invisible thread.
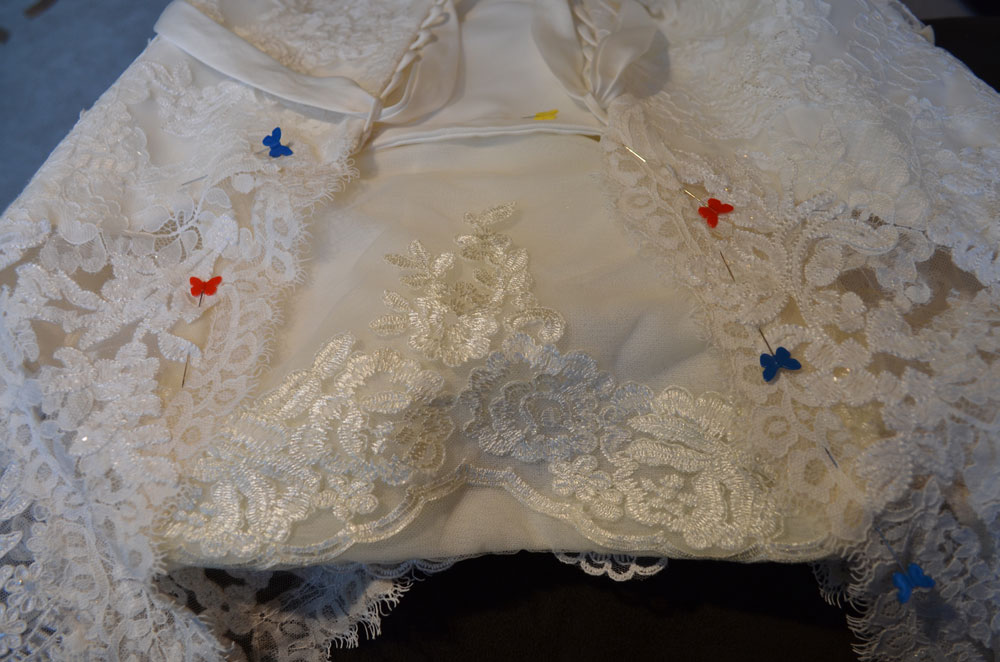
And the panel was pinned into the dress – the lace color doesn’t exactly match the color of the dress but Emily planned on having her hair down so this would mostly not be seen. Next I used invisible thread to hand stitch one side to the edge of the dress.
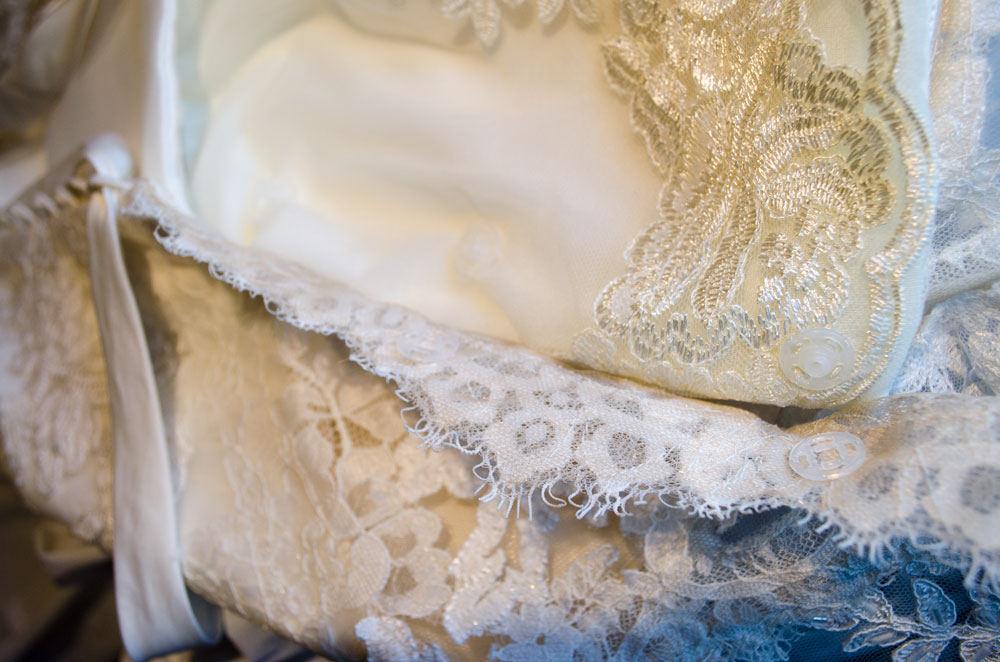
And sewed three snaps on the opposite side.
As well as one snap in the center of the back panel original to the dress behind the corset style lacing – this snap is on the inside of the dress and to help pull the panel tighter.
Ready for final fitting, the panel was found to be not quite tight enough across the back but after pulling one side a little tighter and added a few stitches it was tight across the back which was now modest.
An added benefit to the back panel was that it pulled the entire dress tighter across the back which helped keep the sleeves up. Before we added the back panel the sleeves were falling off her shoulders which isn’t much use as the purpose of adding sleeves was for modesty.
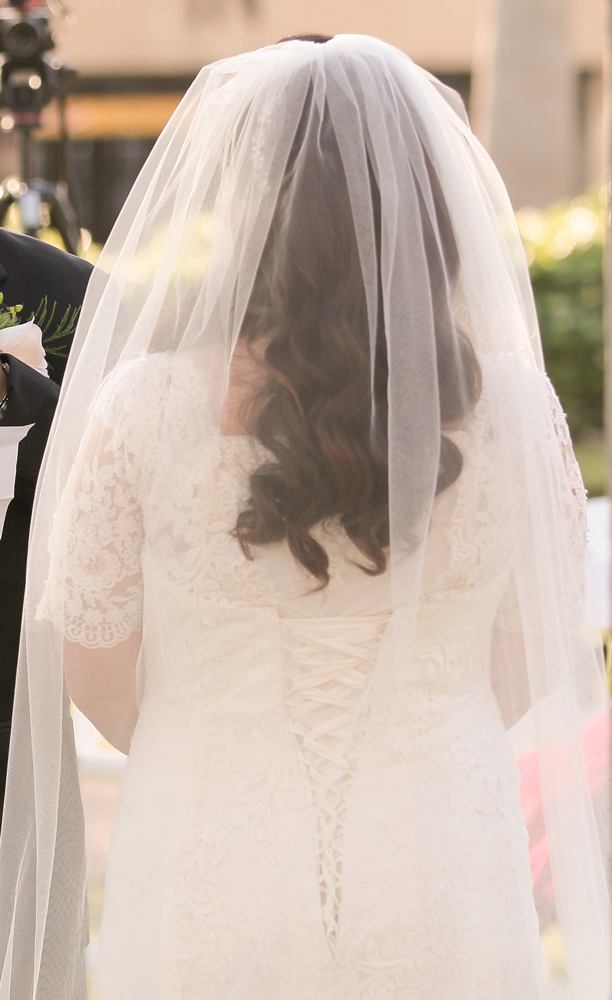
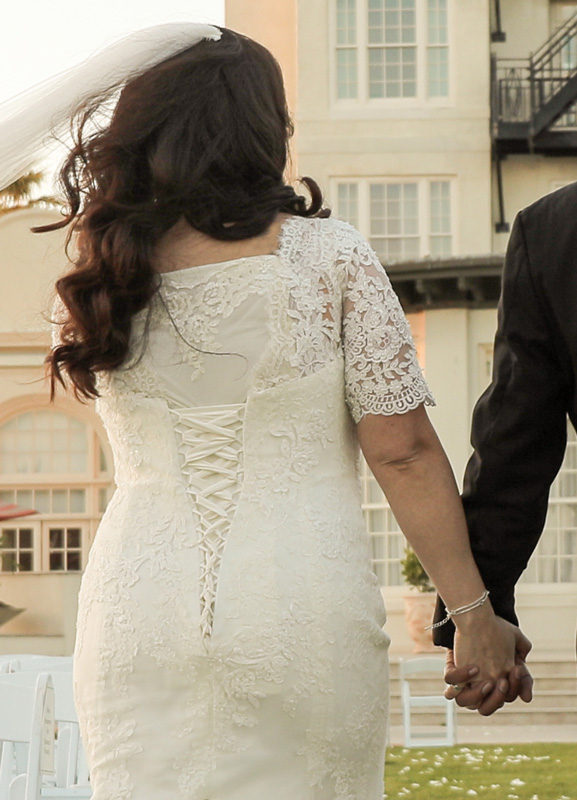
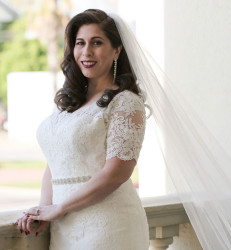
The details of the back panel are a bit lost through the veil and under her hair – but the coverage is there!
And coverage is still there when the veil and hair blow away!


 Wedding Dress Modesty Fixes – Bust Resized
  Wedding Dress Modesty Fixes – Cleavage Fix
So, what do you think ?